Where to find Documents
Go to Knowledge → Documents in the left sidebar.
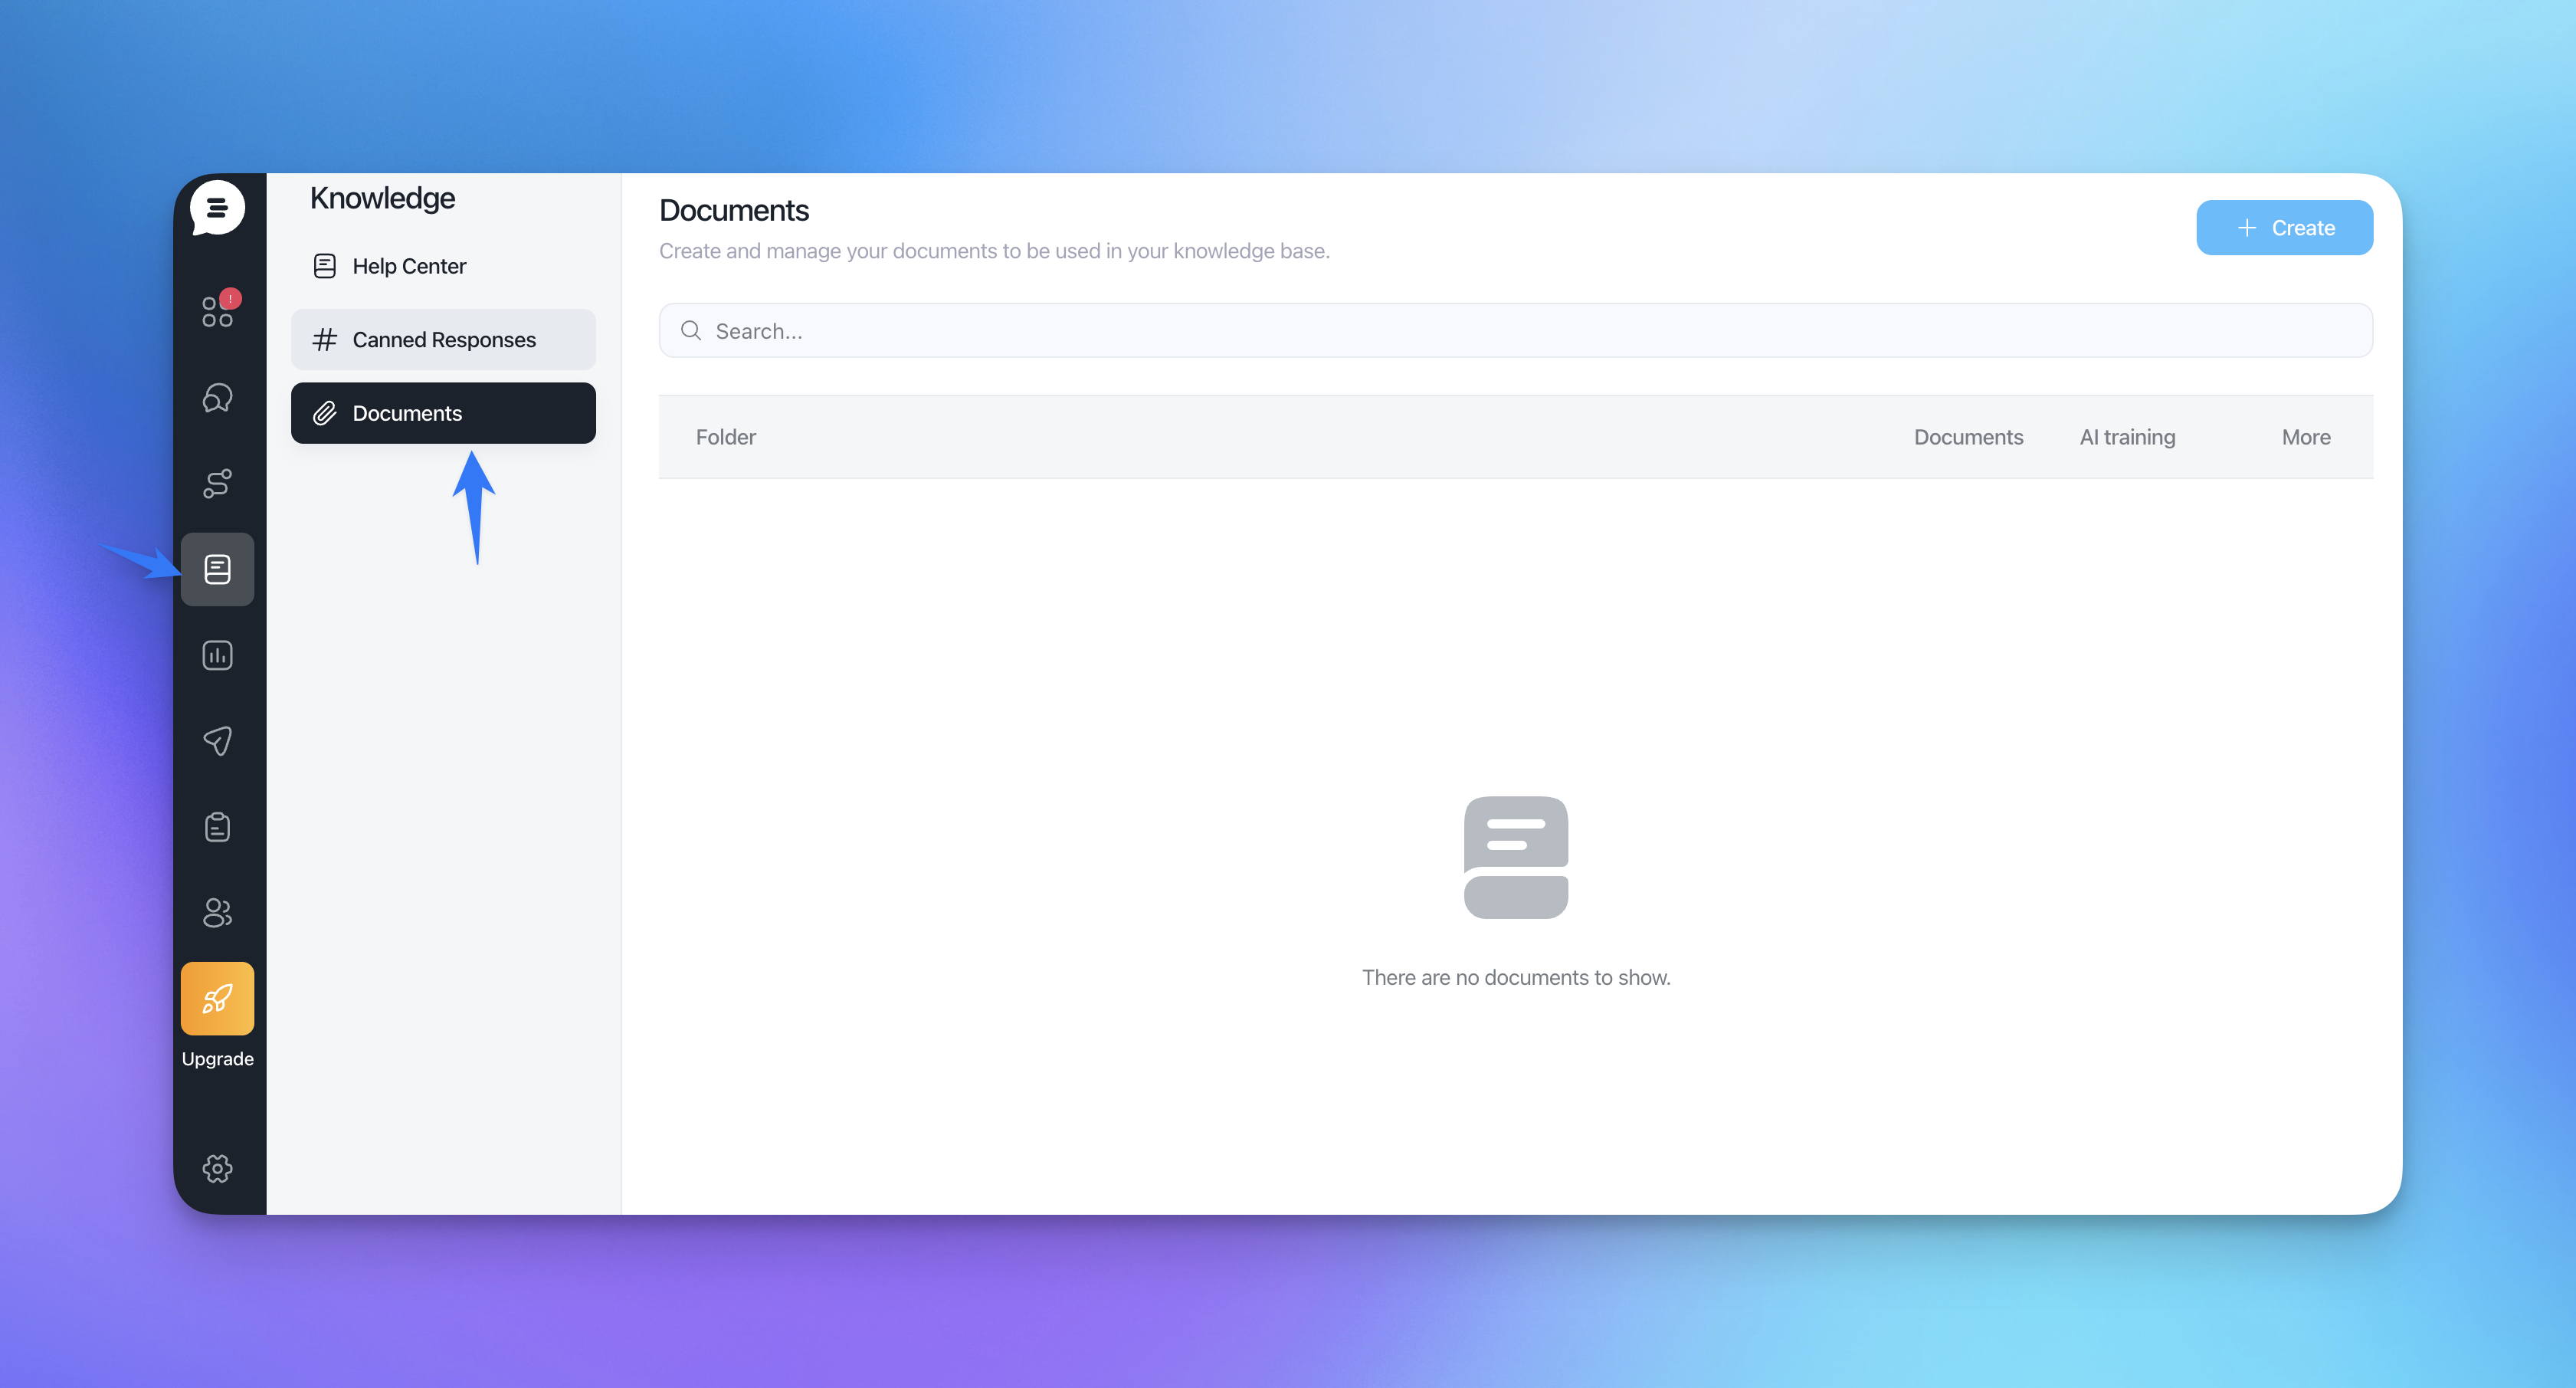
Here you’ll see:
A list of folders and documents
The status (Enabled/Disabled)
The AI training indicator
Supported file types
You can create documents from scratch or upload files. We currently support:
PDF (
.pdf)Word documents (
.doc,.docx)Text files (
.txt)
Creating folders and audiences
Folders help you group documents and apply an audience filter.
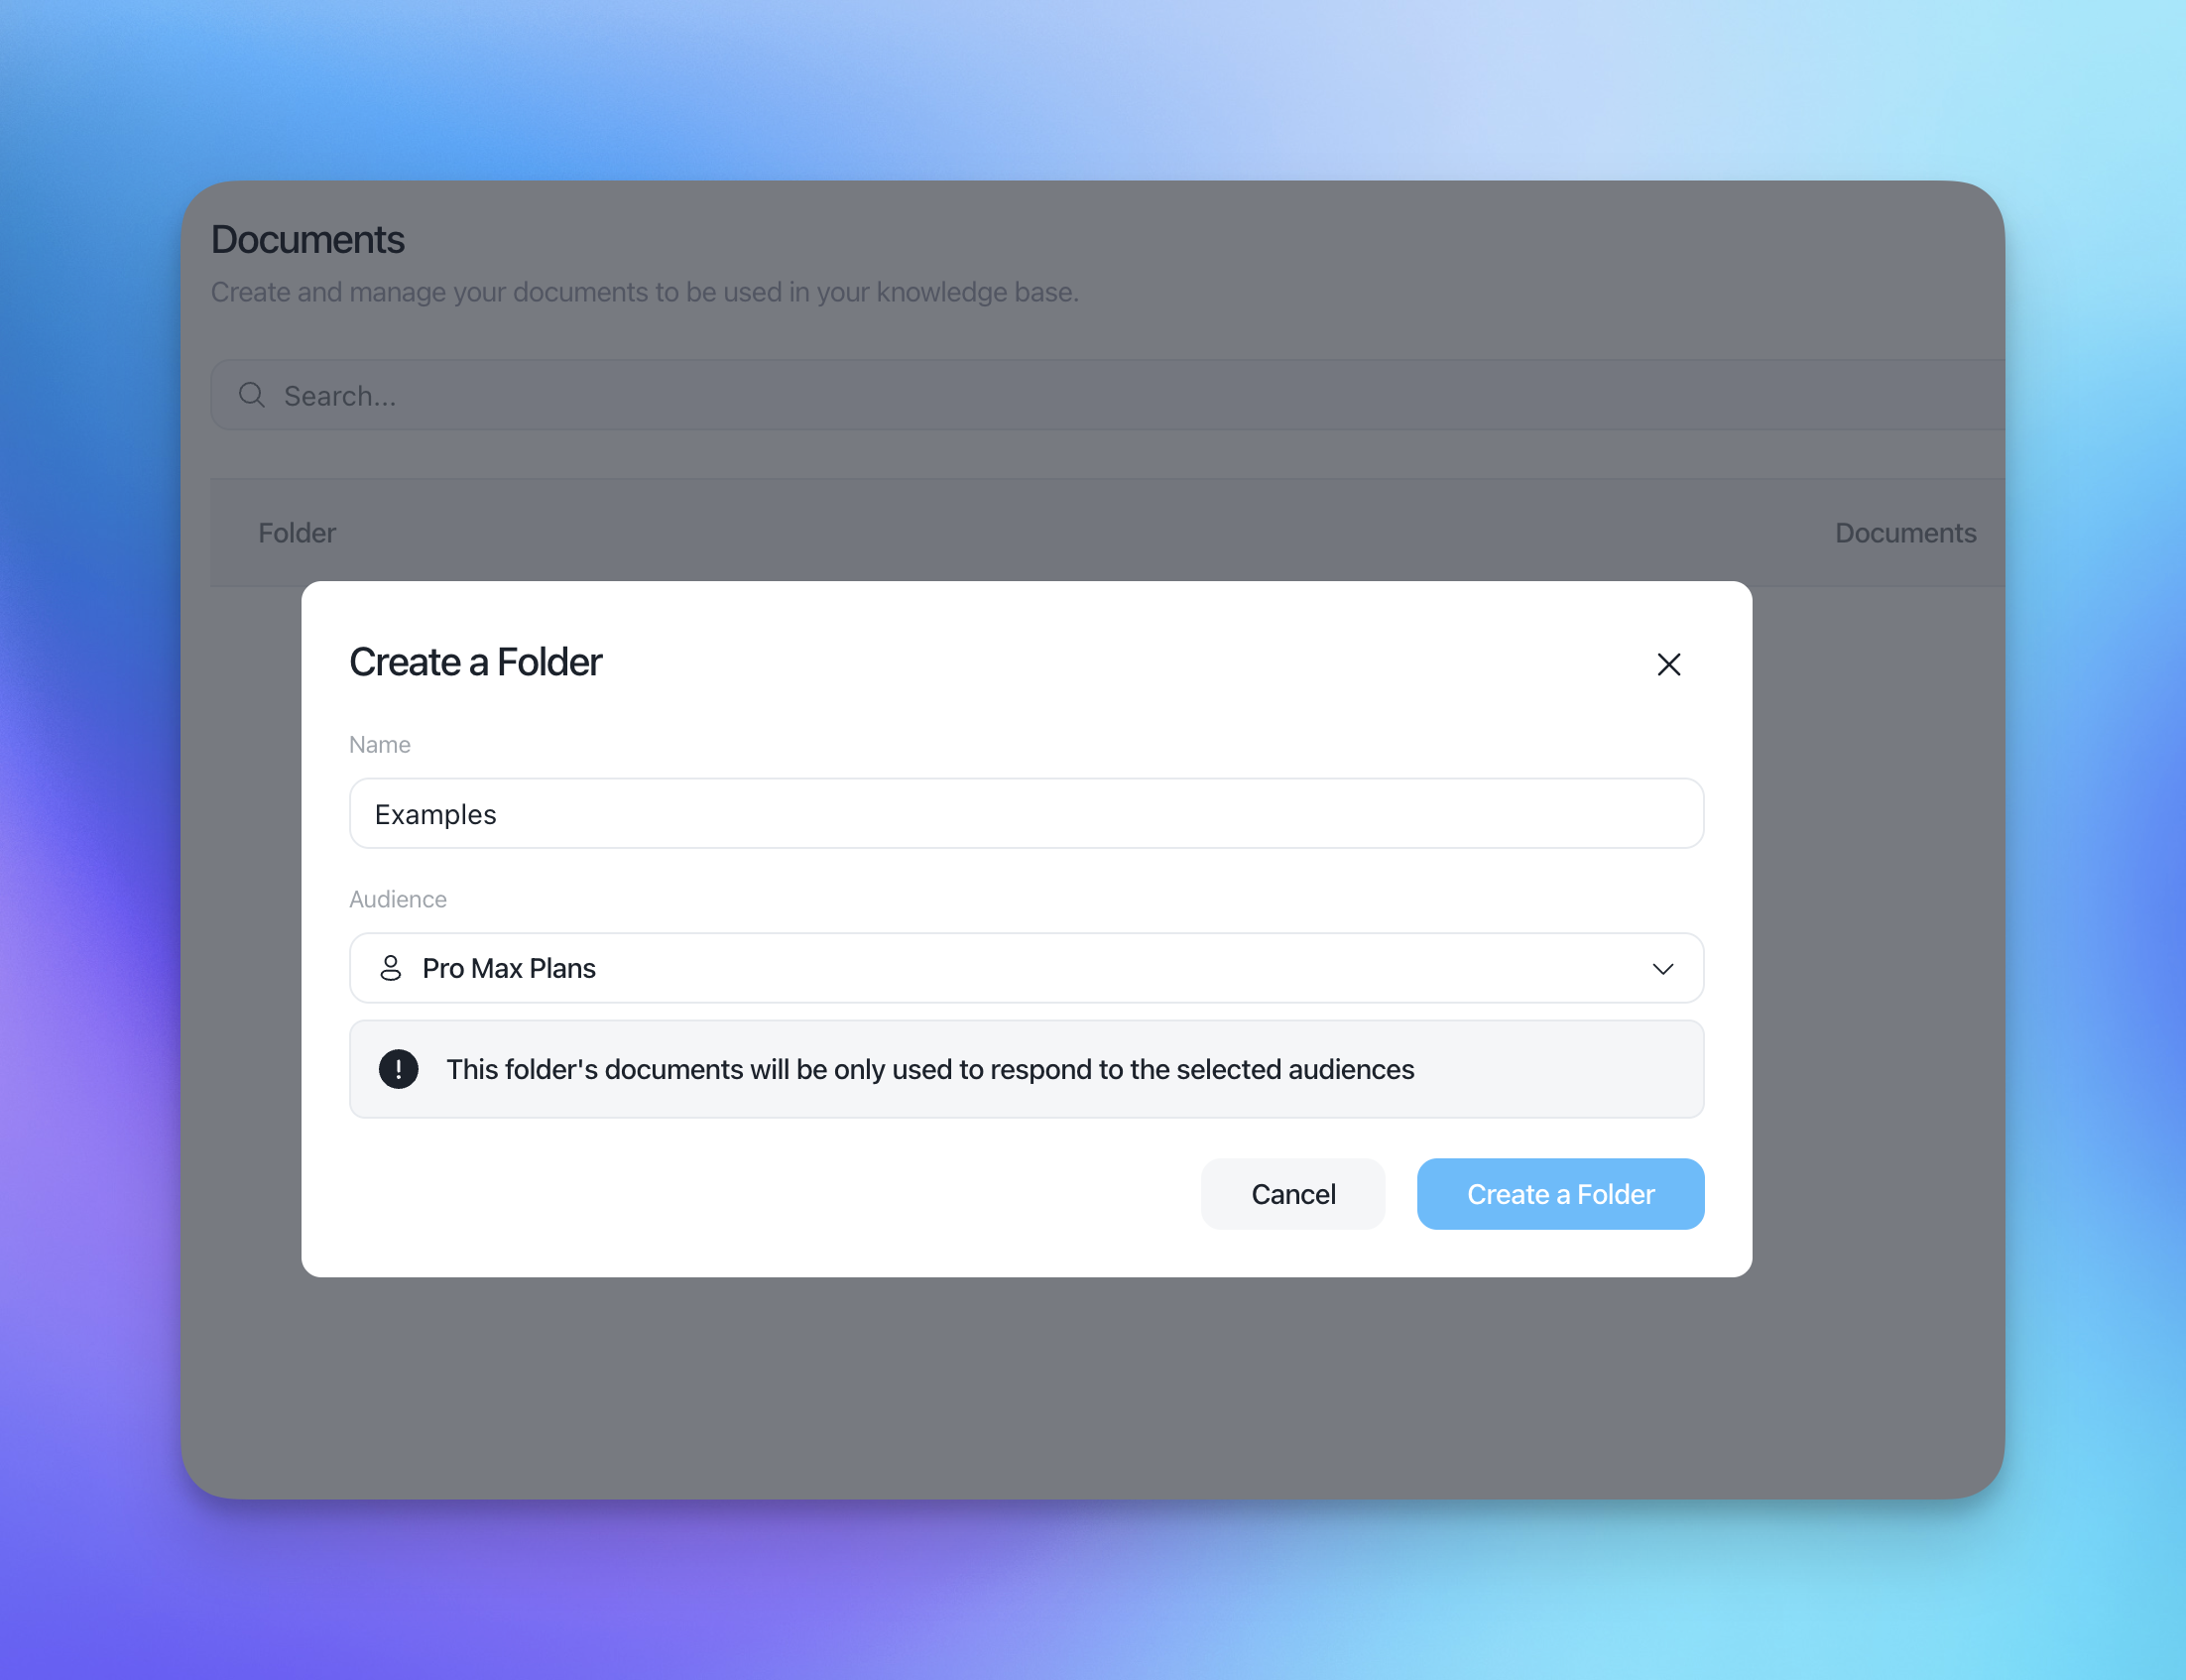
In Knowledge → Documents, click Create → Create a Folder.
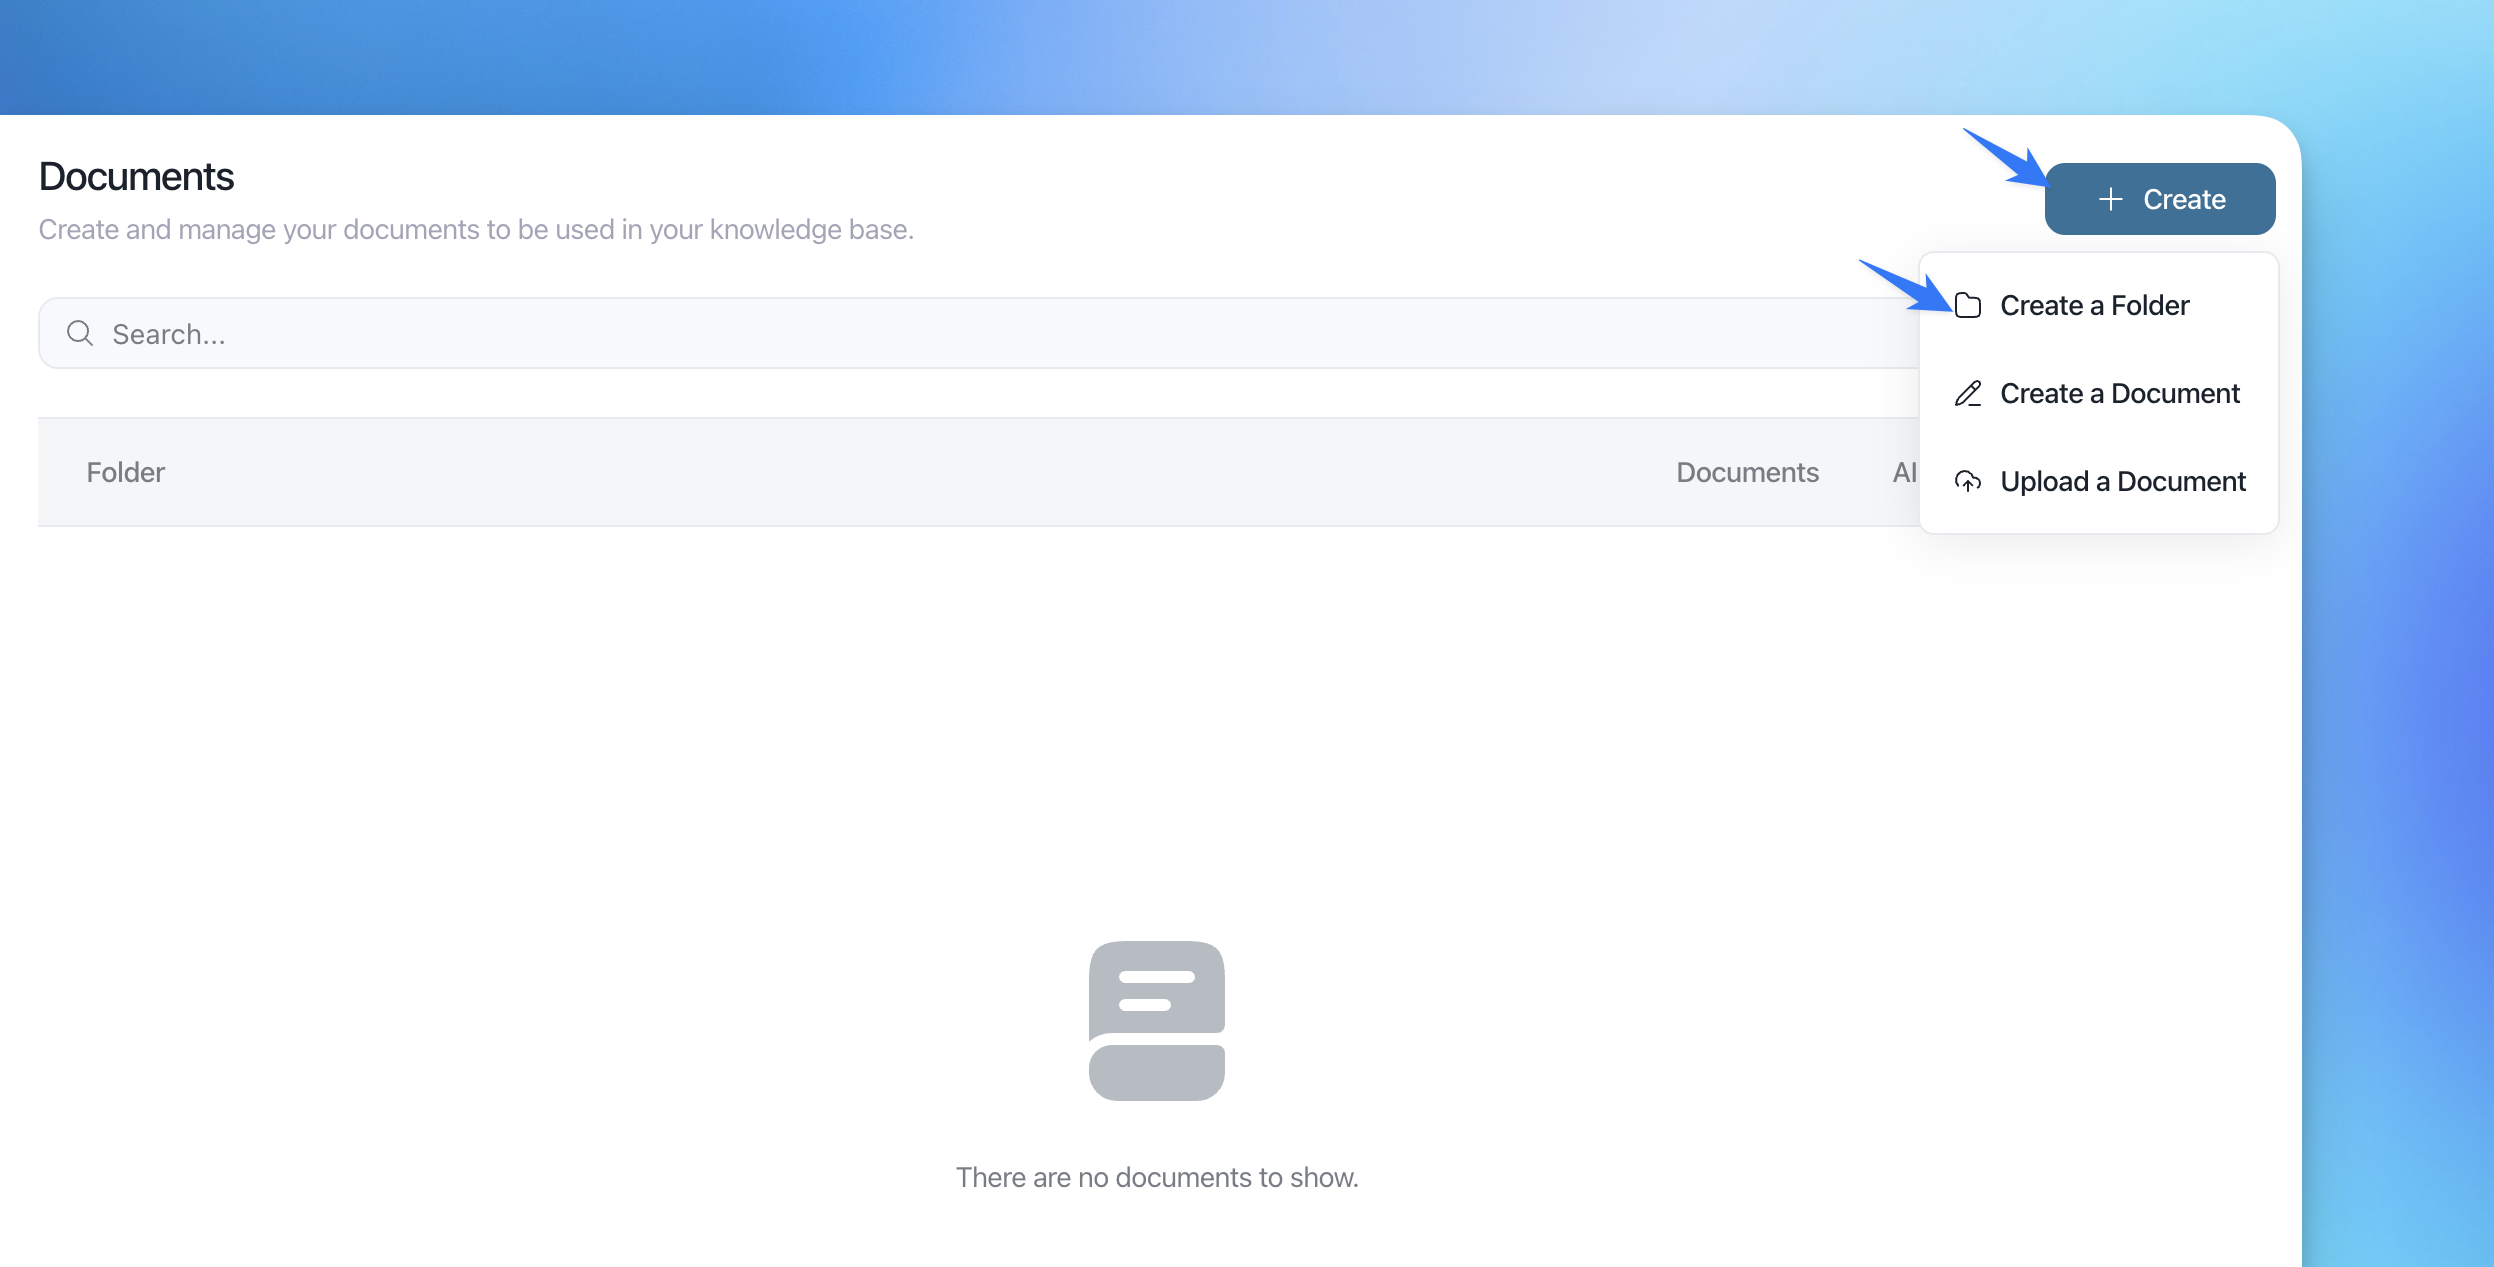
Give your folder a Name (e.g. “Invoice examples”).
Choose an Audience from the dropdown.
Only this audience will see the folder’s documents in the Help Center.
Aura will only use these documents to answer questions coming from this audience.
Click Create a Folder.
Note: The audience set on a folder applies to all documents inside that folder. You can edit the audience and title, create multiple sub-folders and manage documents from within the folder.
Creating a new document from scratch
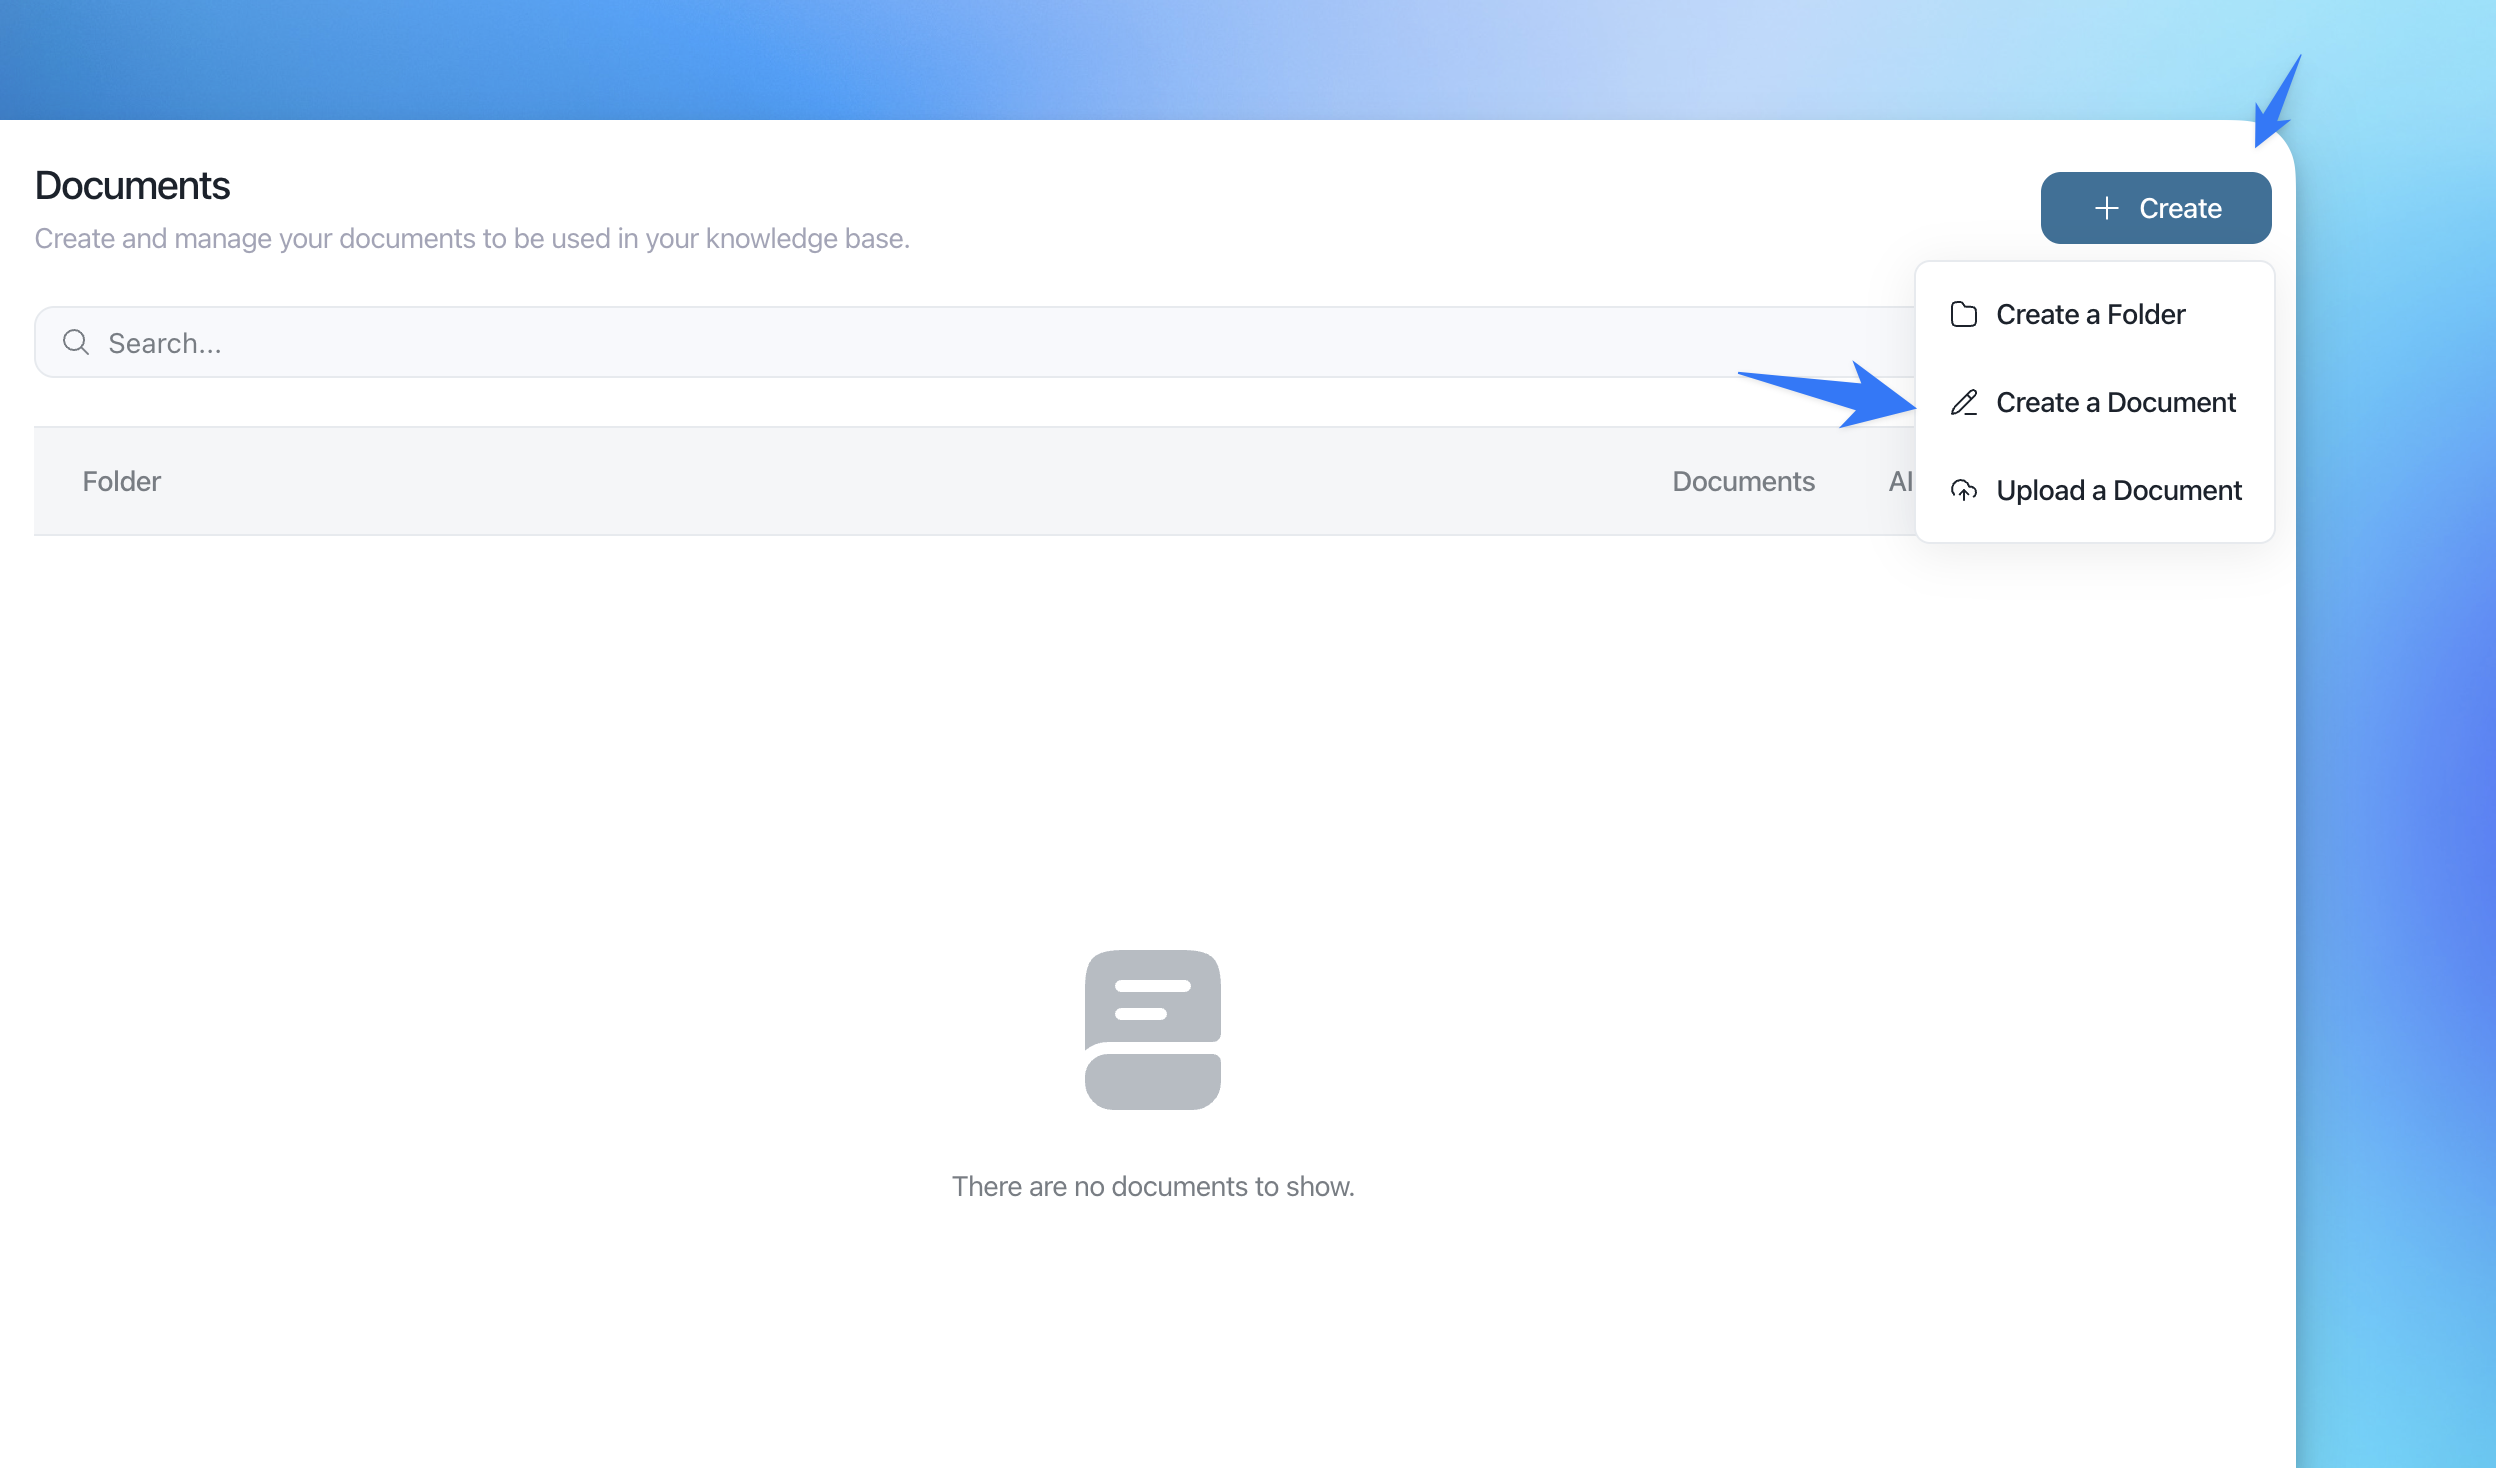
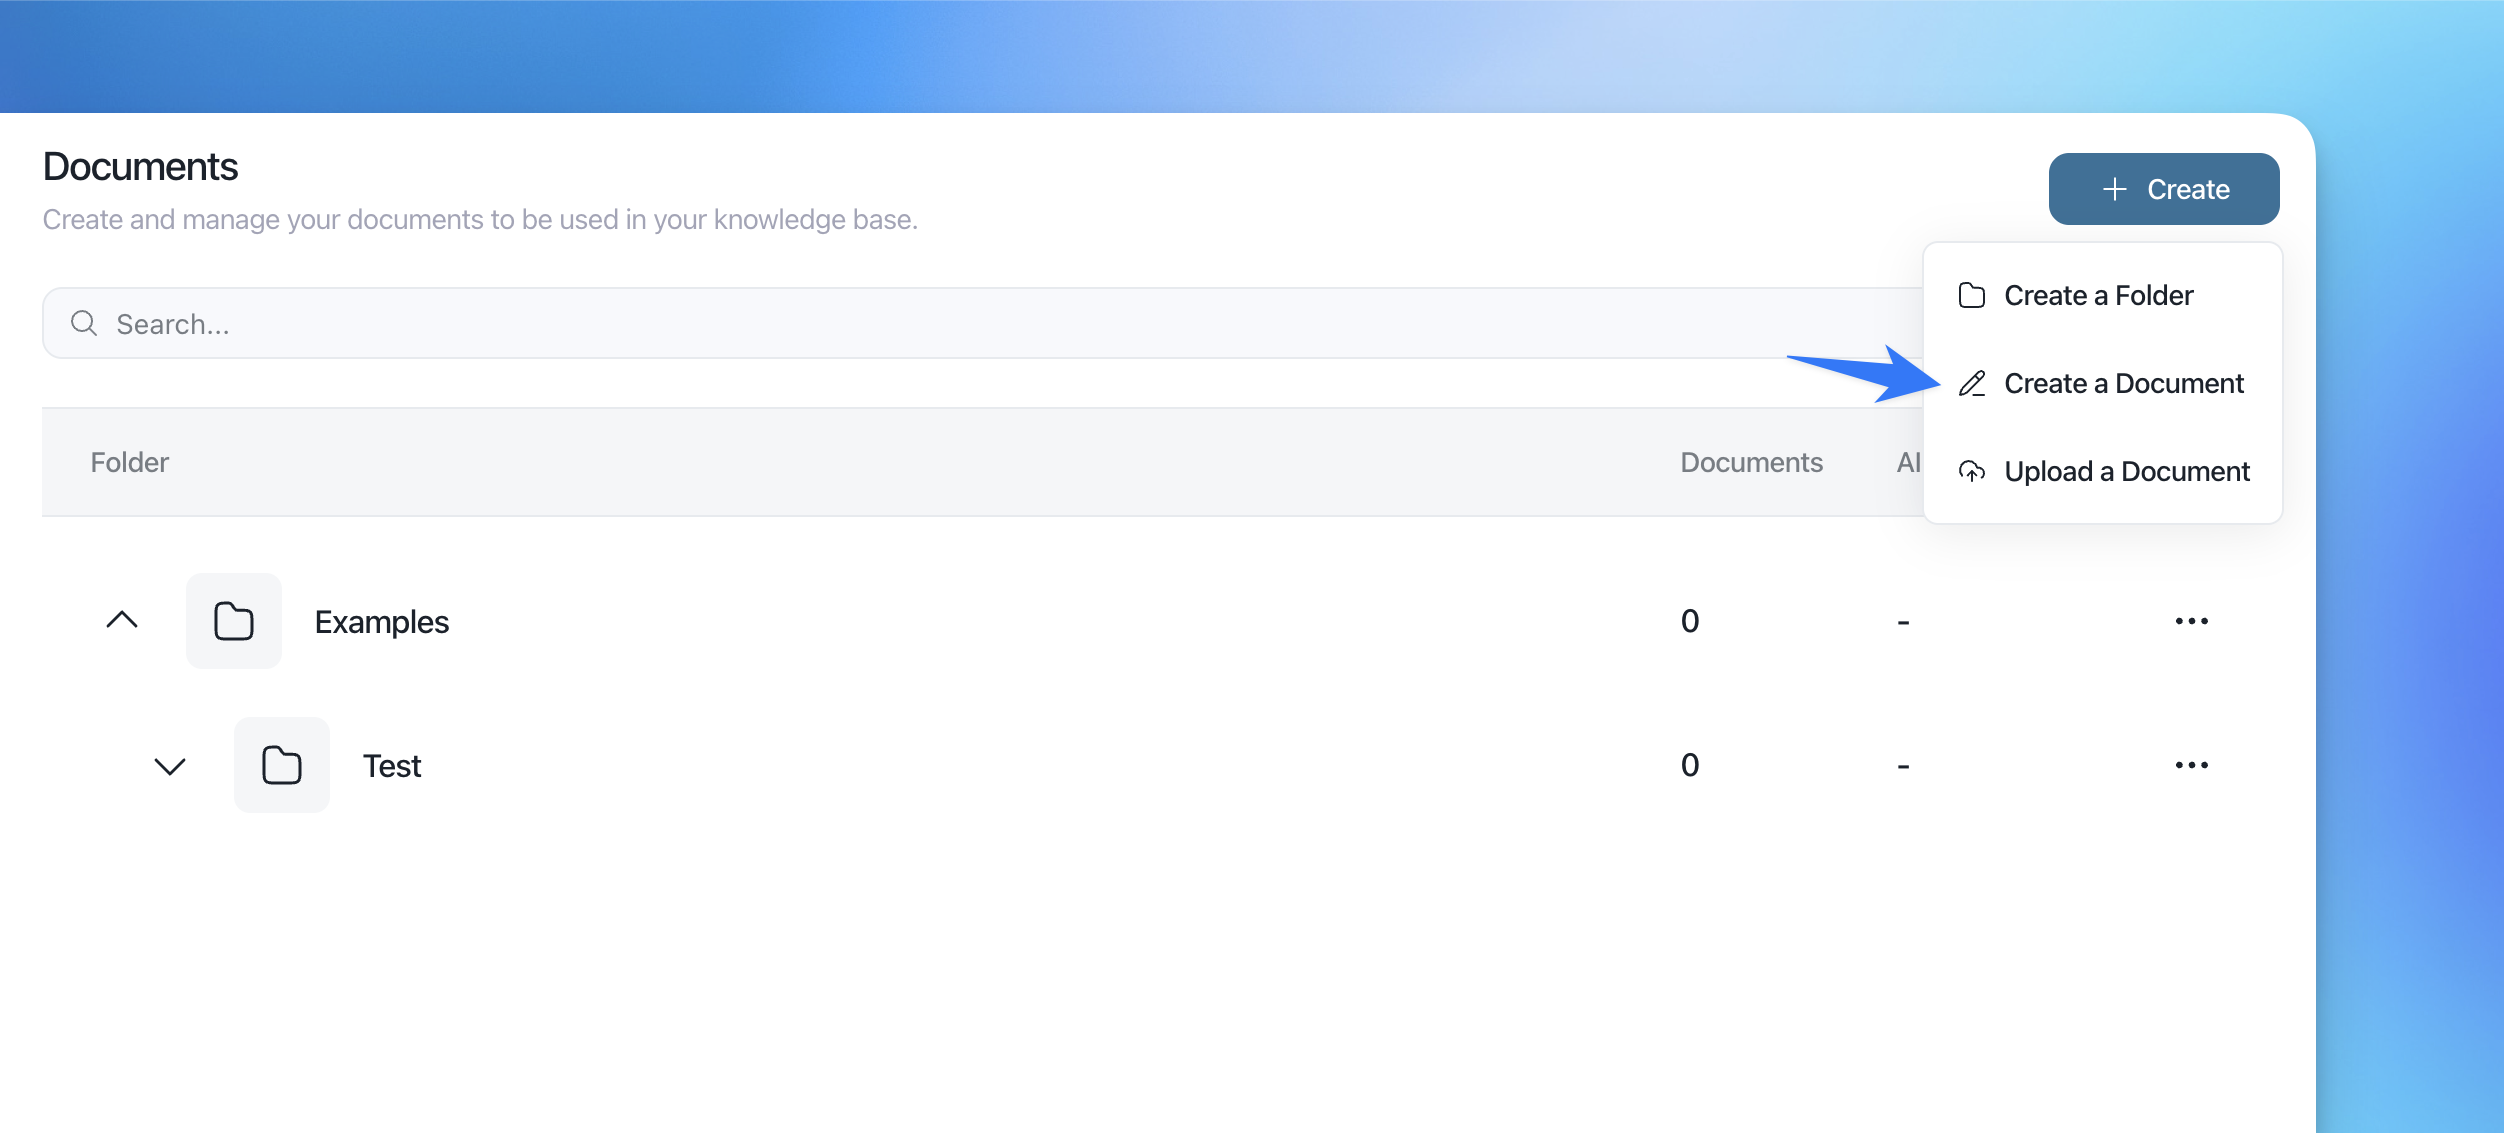
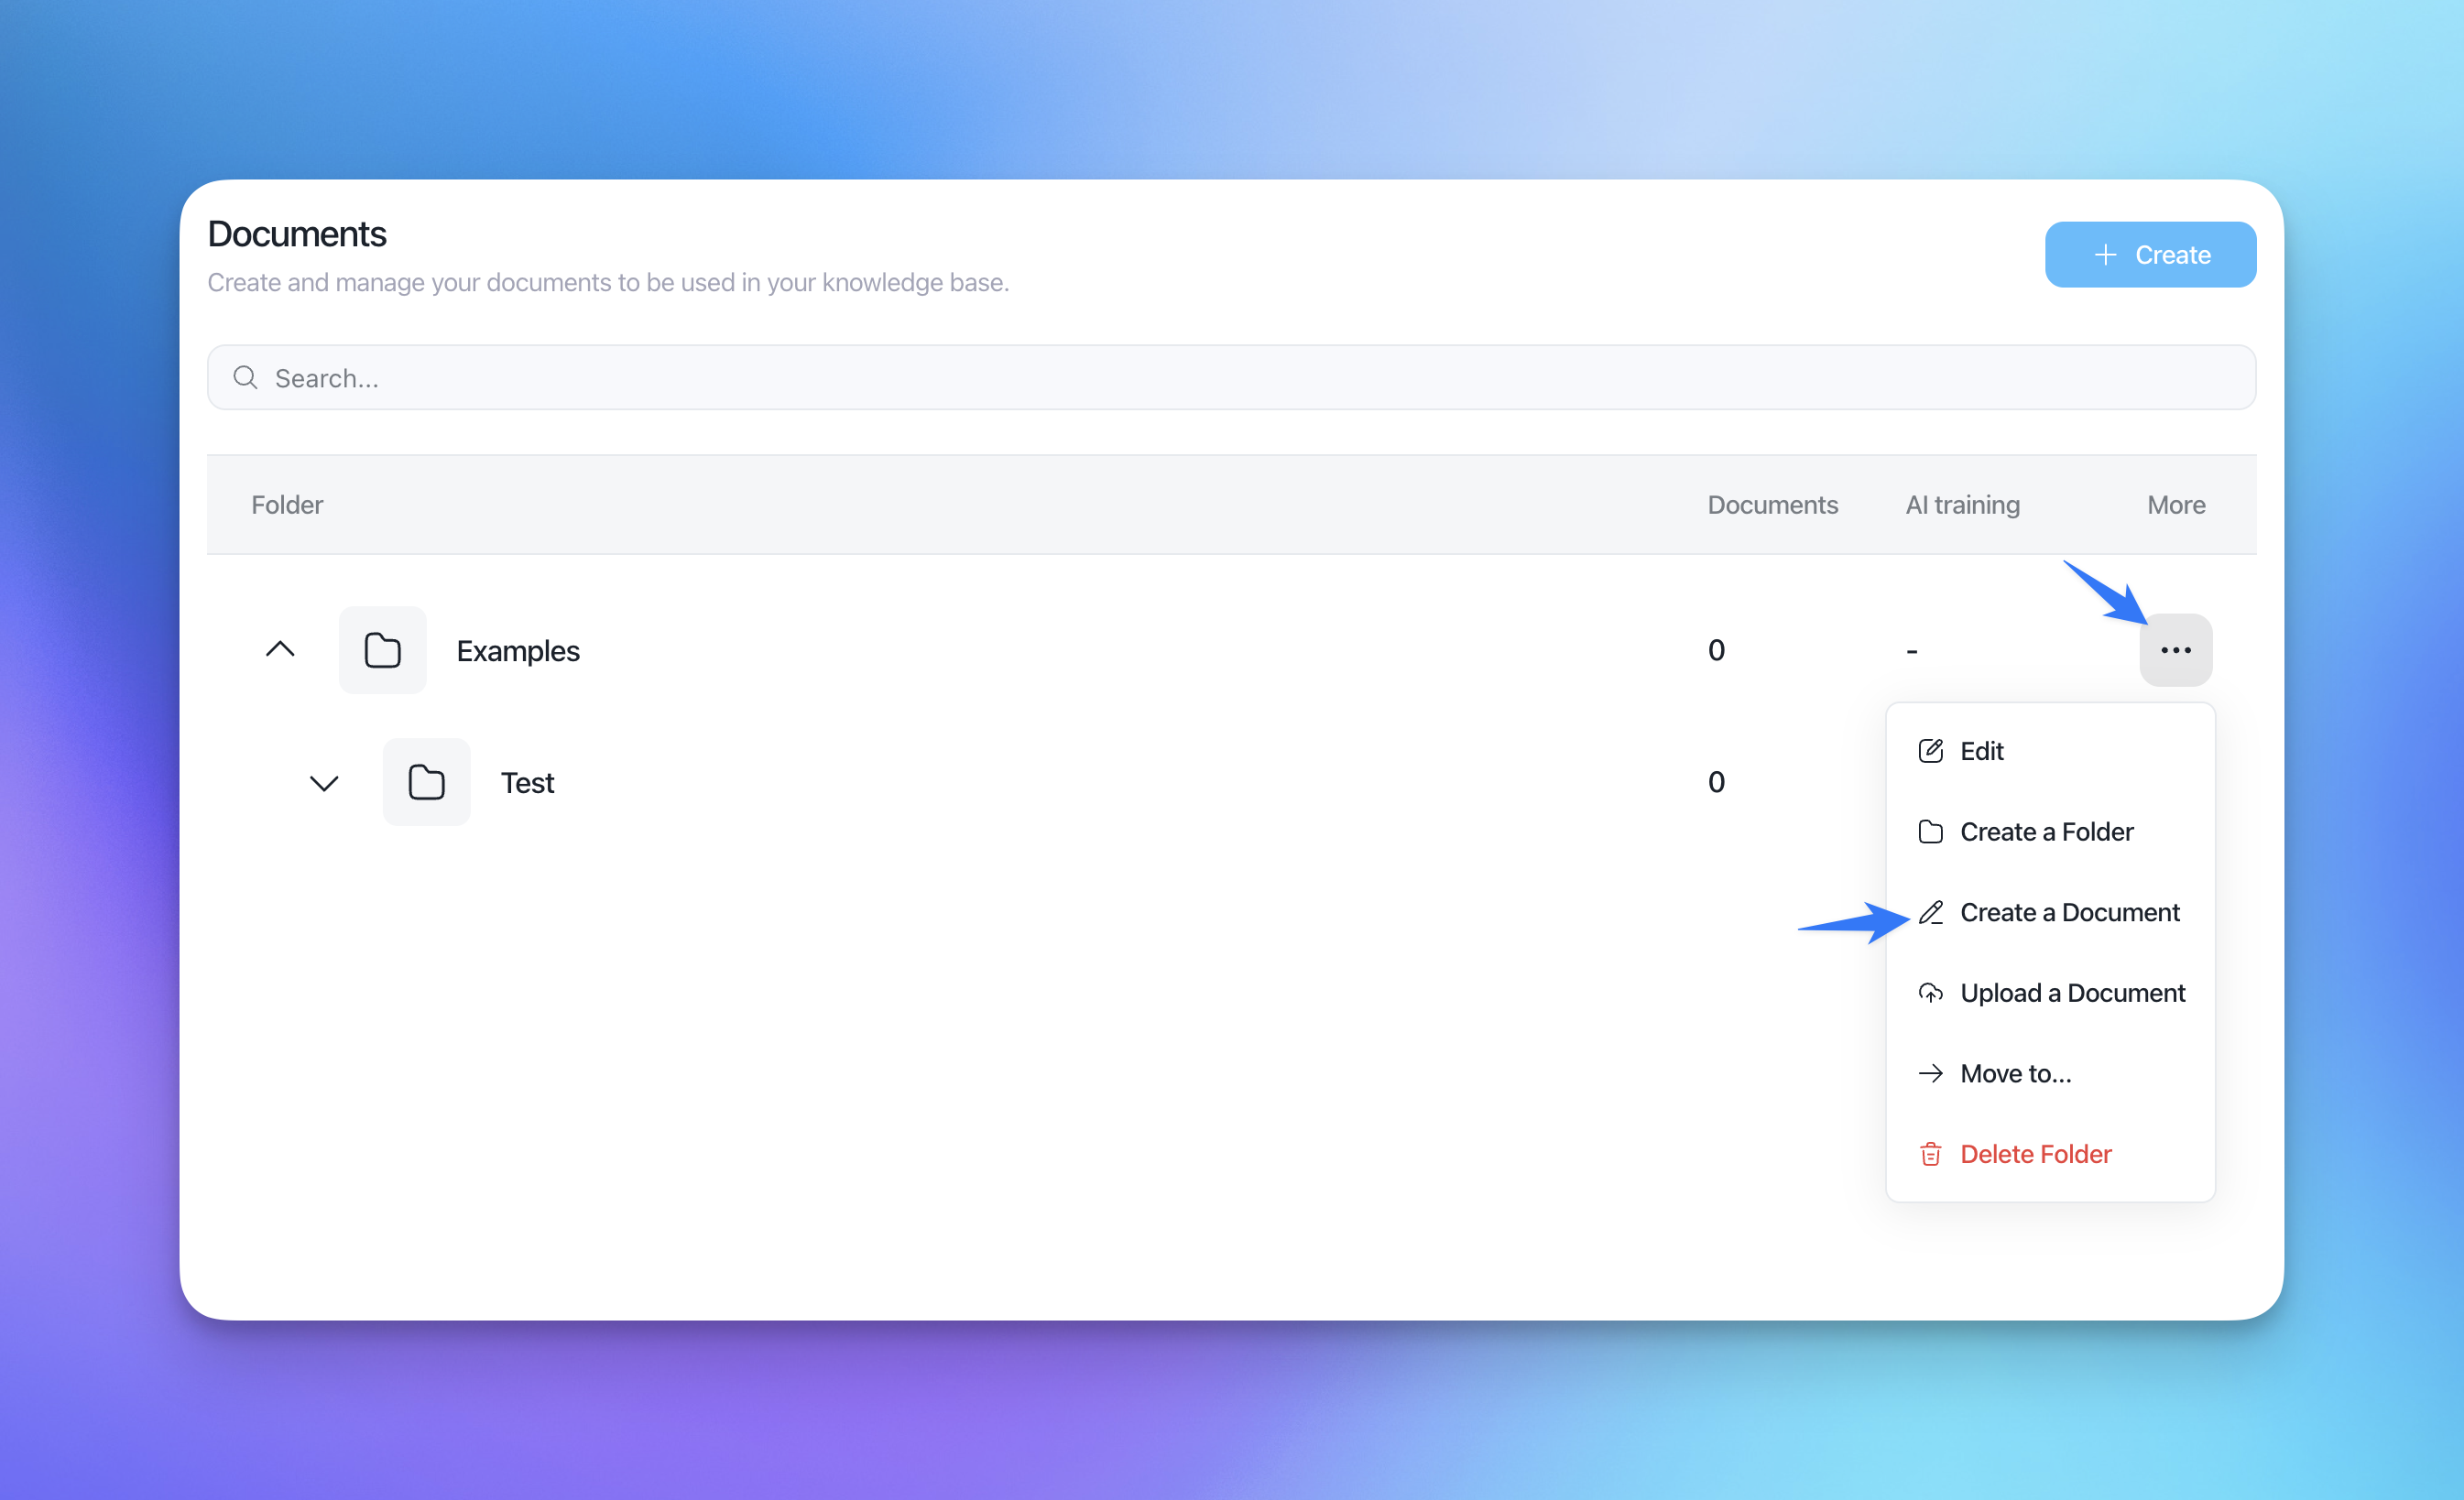
Go to Knowledge → Documents.
Click Create → Create a Document (OR you can create a document directly into a folder, as showed in the previous screenshot)
Enter a Document Title.
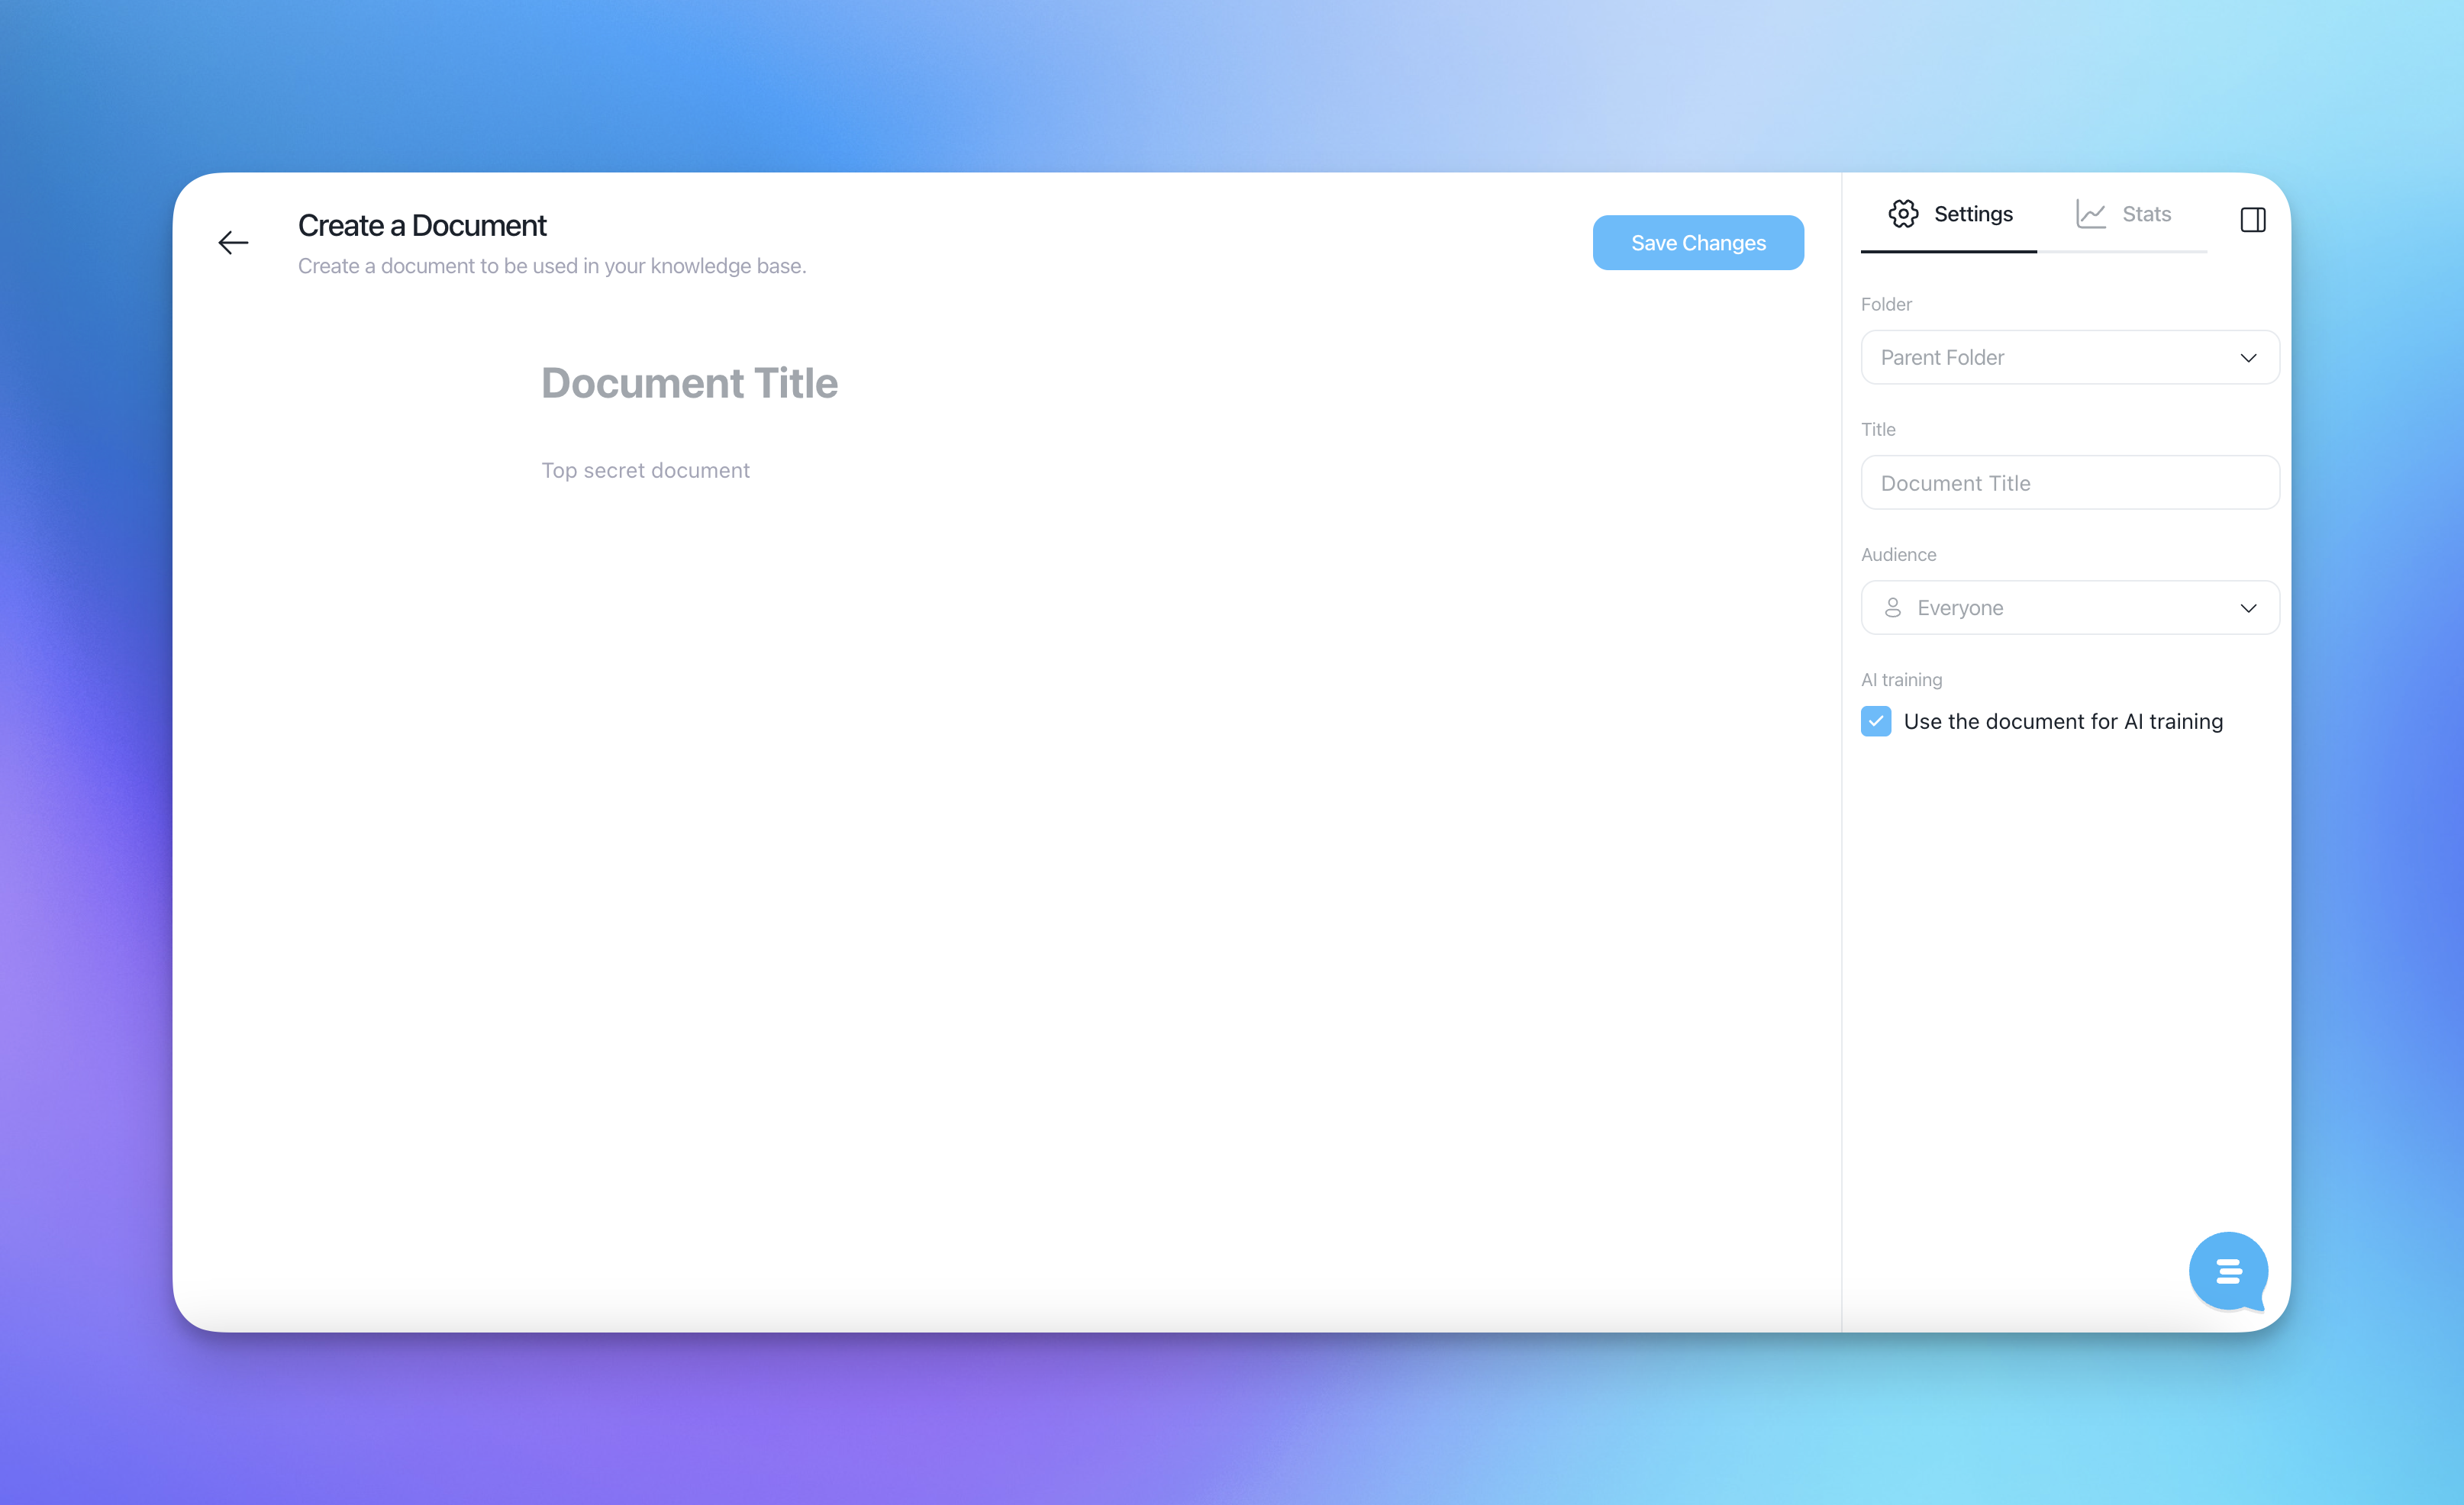
Write or paste your content in the editor.
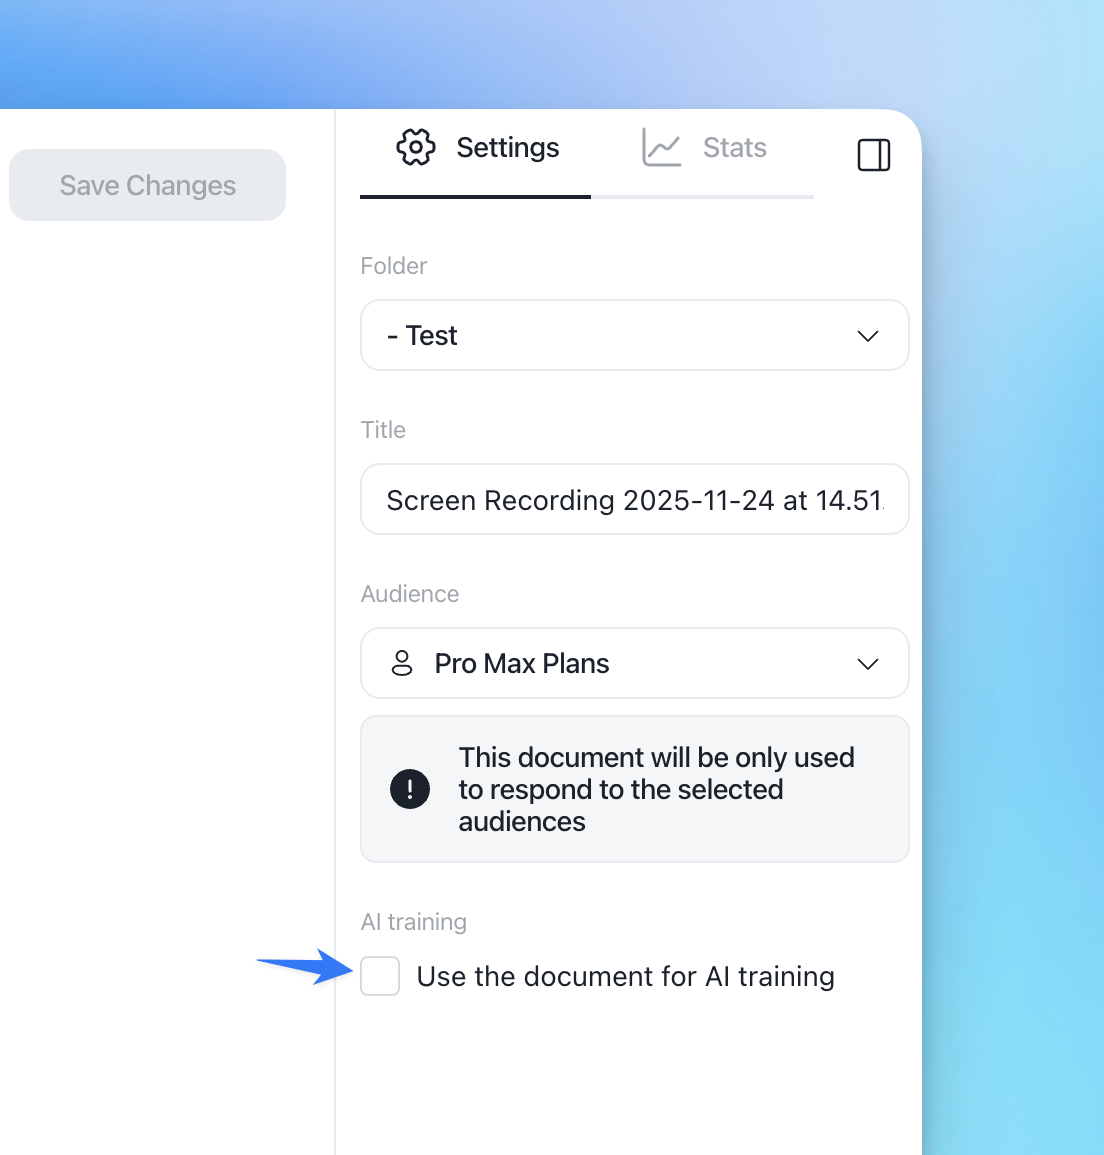
On the right side, choose:
Audience – who can see this document and for whom Aura can use it.
Use the document for AI training – keep this checked if you want Aura to use it.
Click Save Changes.
Uploading a document
Go to Knowledge → Documents.
Click Create → Upload a Document (OR you can upload it directly from a folder)
Select your file (
.pdf,.doc,.docx,.txt).After upload, open the document to:
Review the content
Adjust Audience and AI training options if needed
Click Save Changes.
Uploaded documents can also be edited (see next section).
Editing document content
To change the content of a document (written or uploaded):
In Knowledge → Documents, click directly on the document name in the list.
This opens the full document editor.
Update the text or content as needed.
Click Save Changes.
This works for both documents you wrote in Customerly and those you uploaded (PDF/Doc/Txt).
Renaming a document or changing its audience
If you only need to update the title or audience:
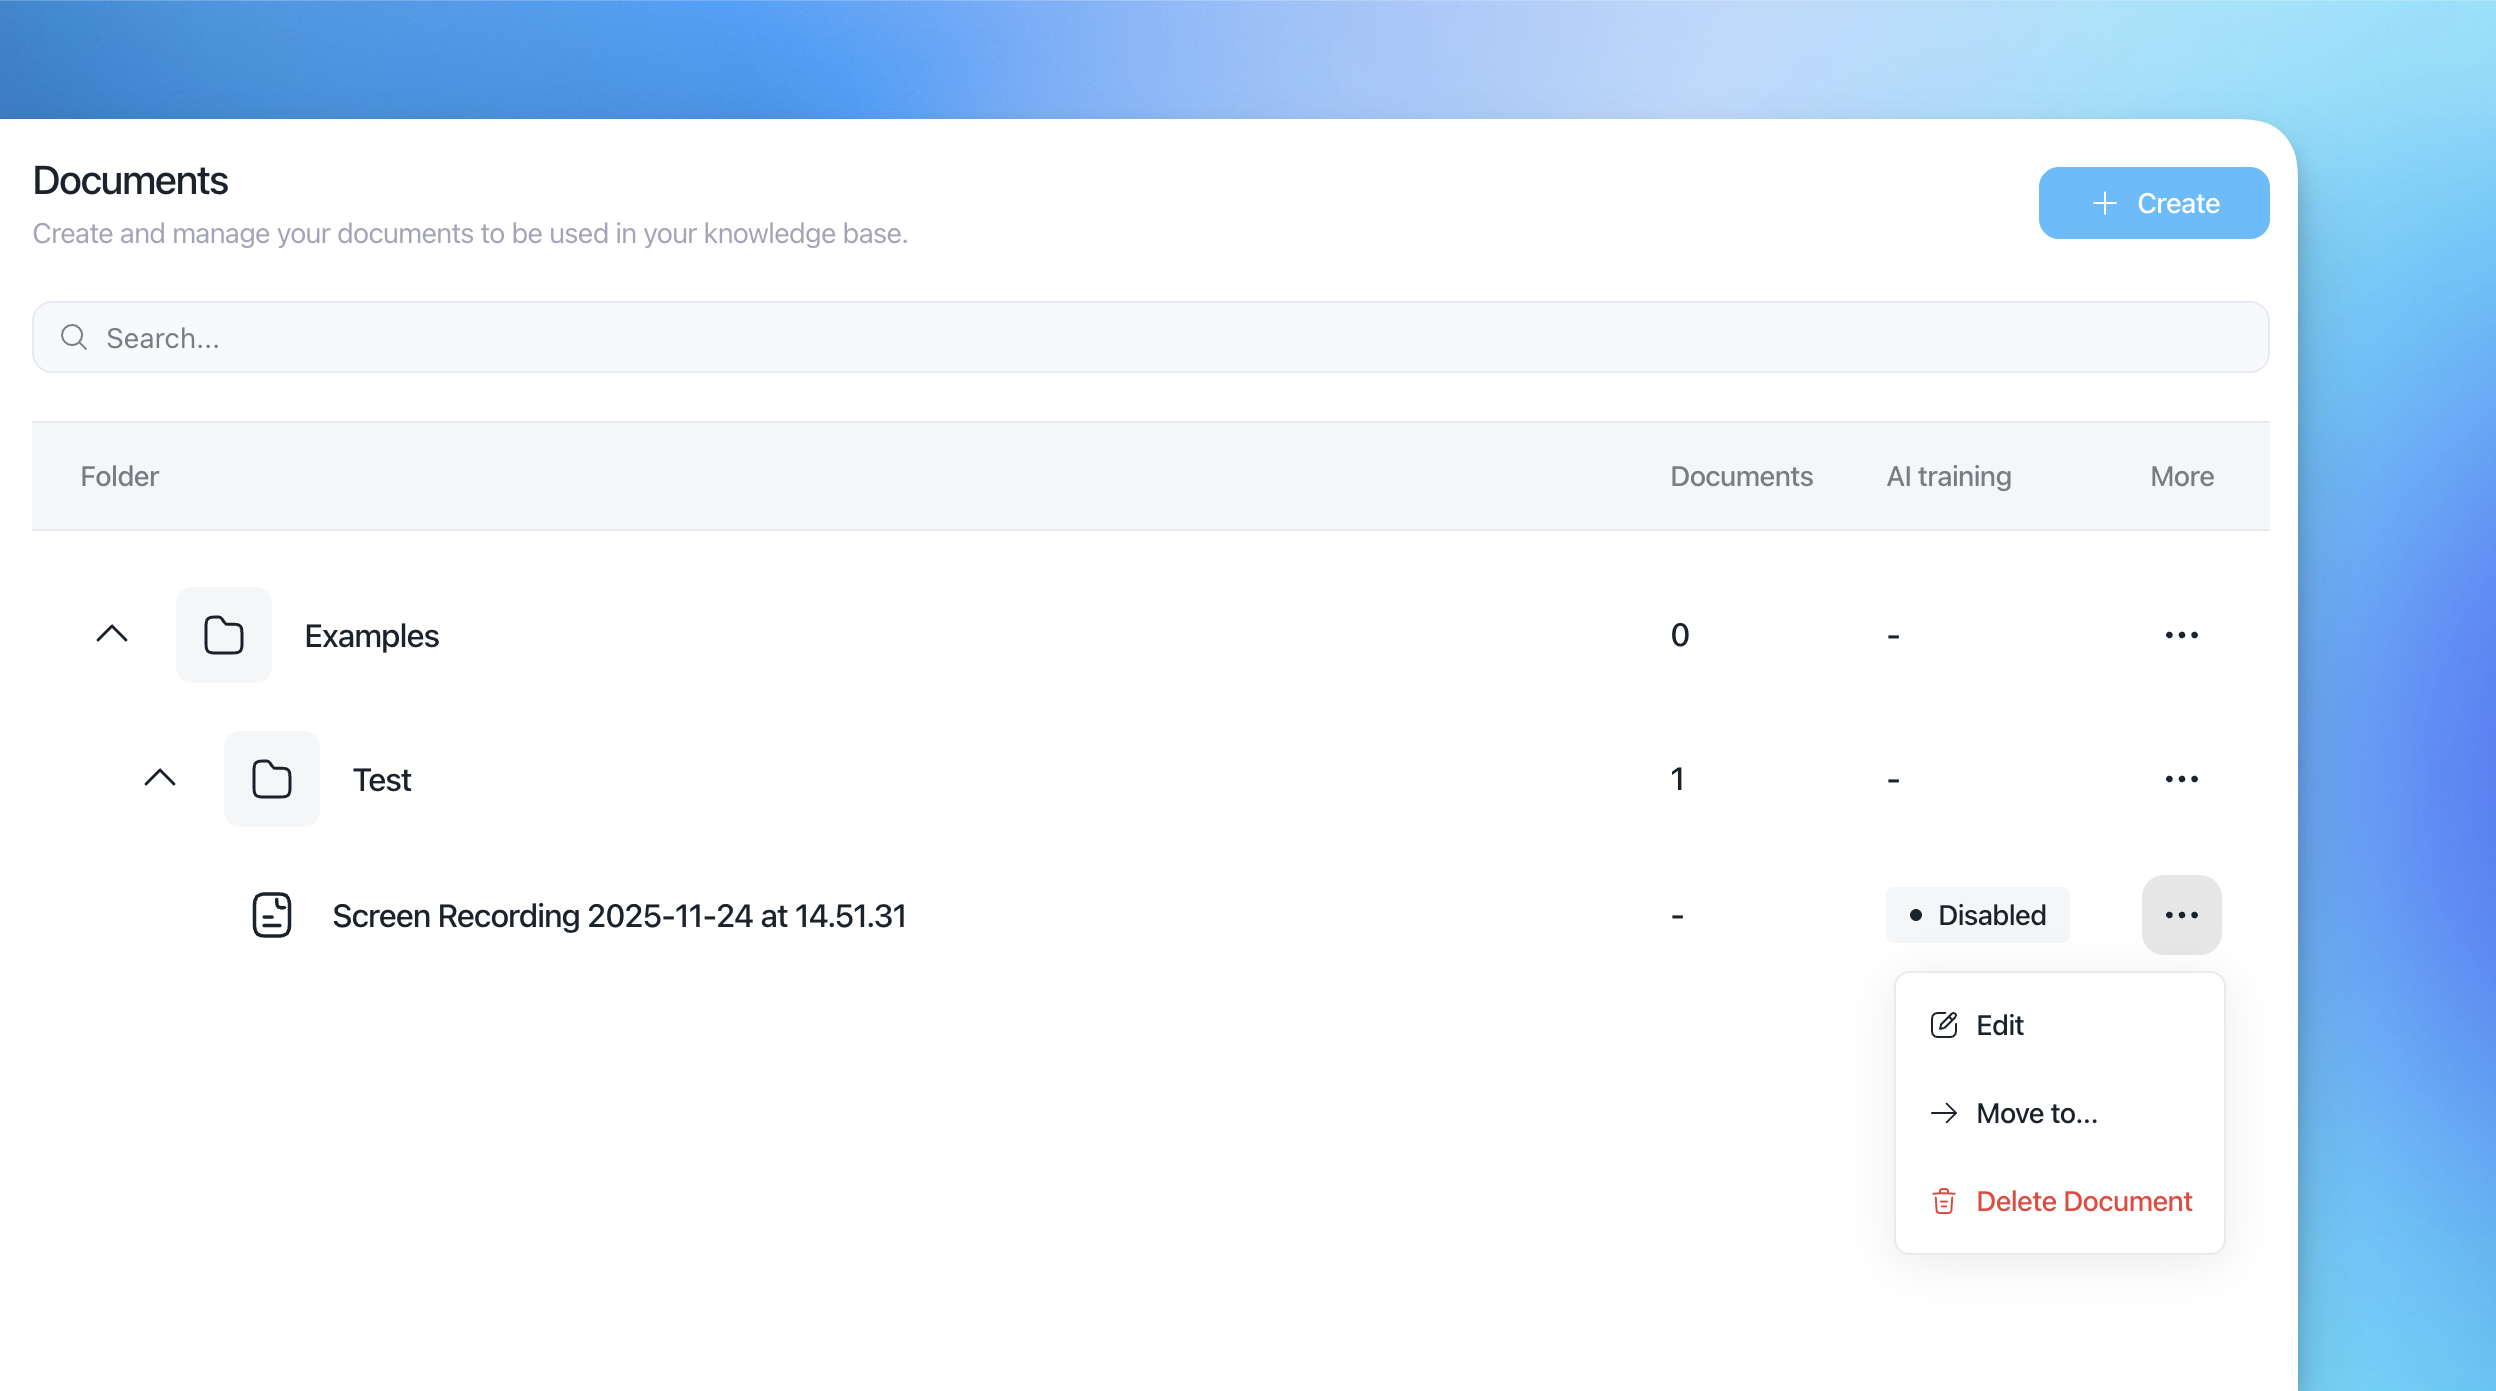
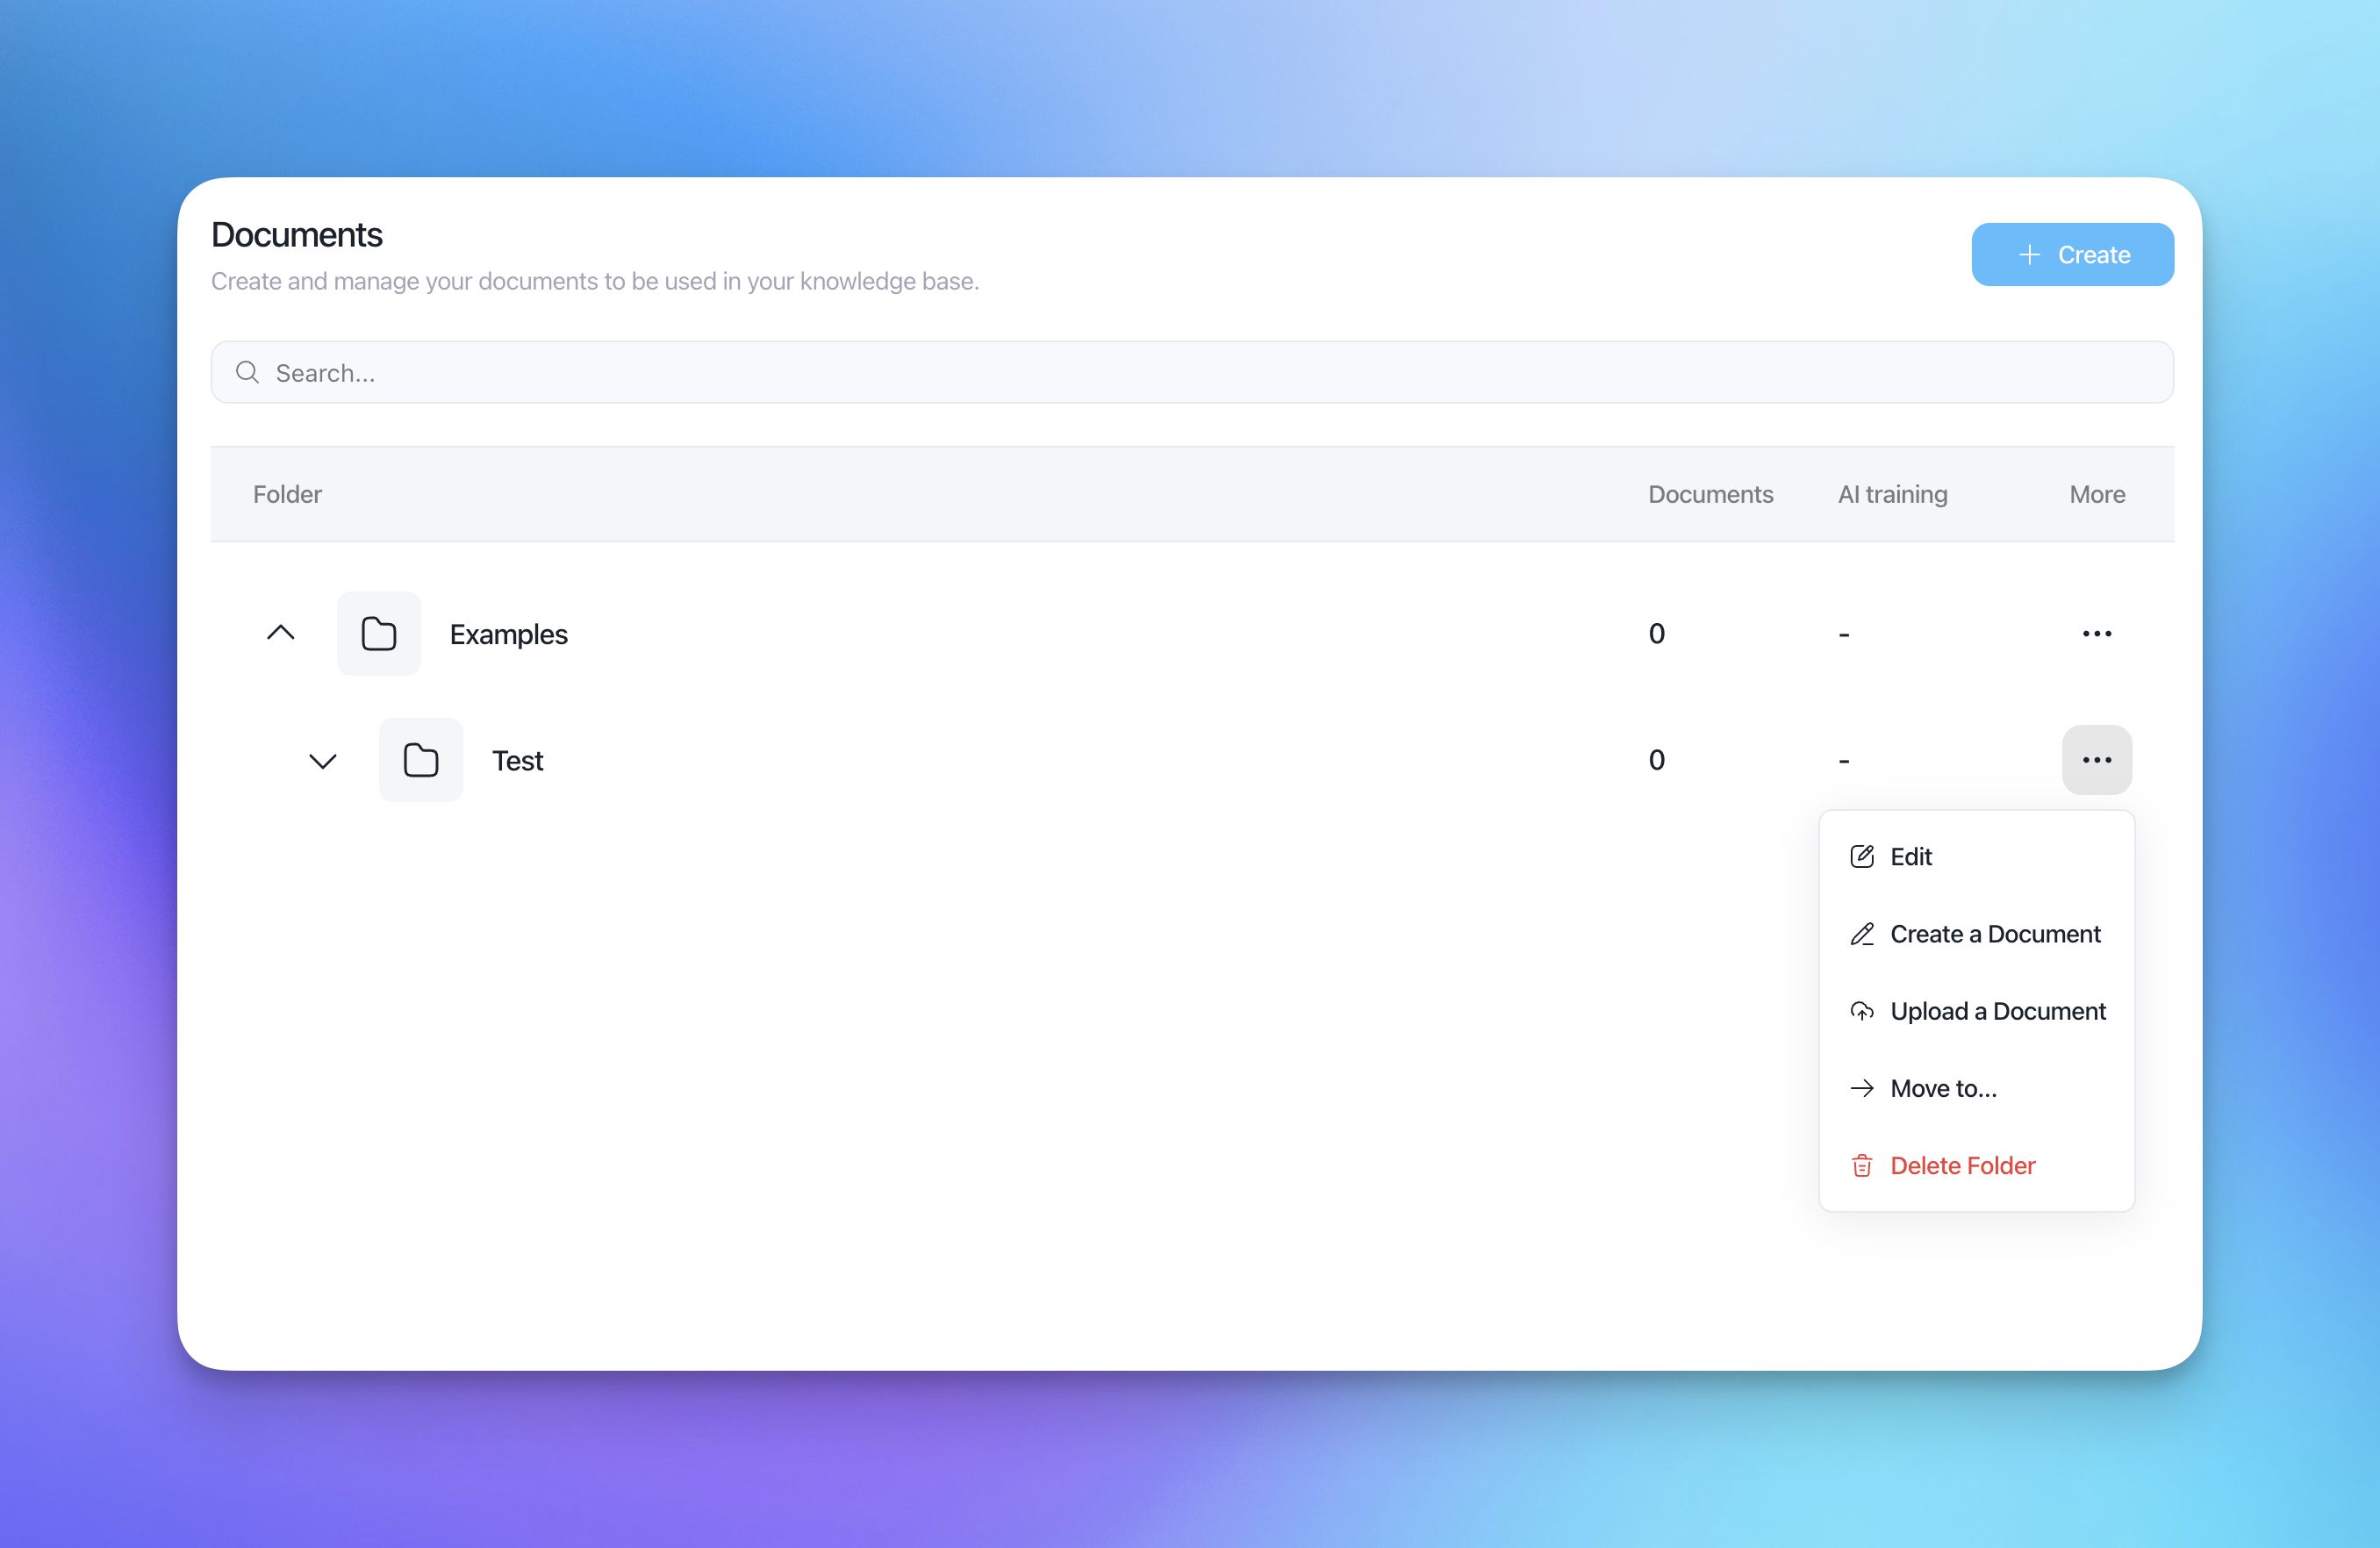
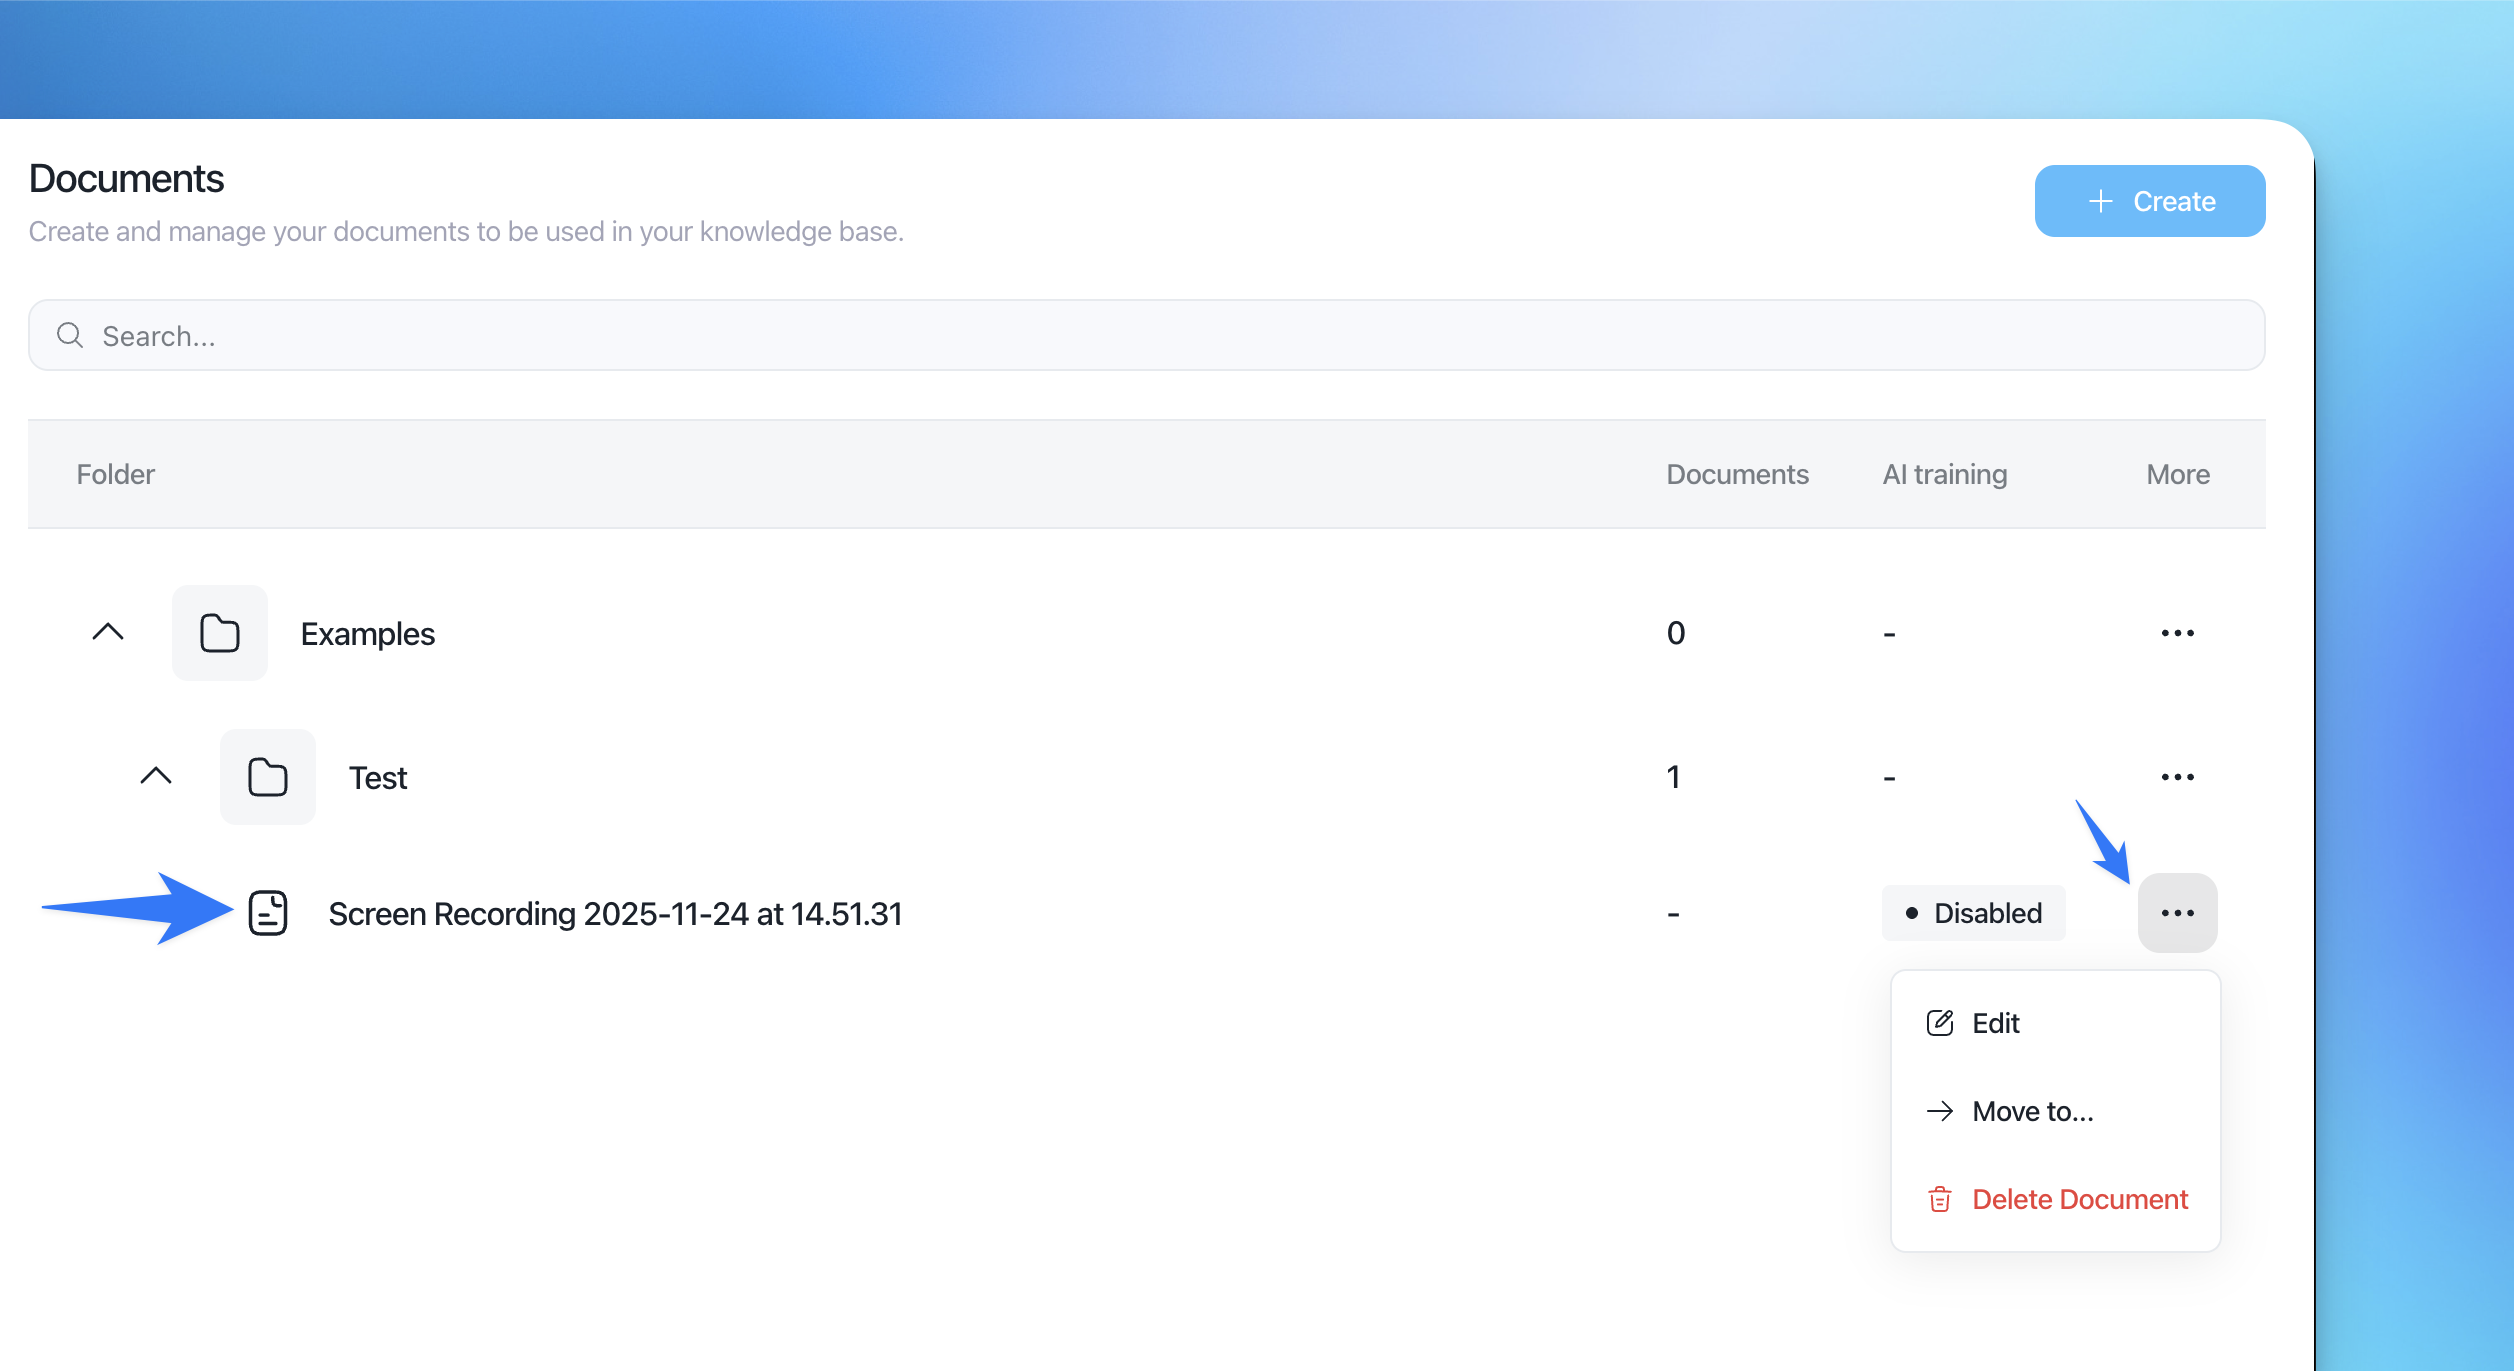
In Knowledge → Documents, click the ⋯ (three dots) next to the document.
Select Edit.
Update the Title and/or Audience.
Click Confirm.
From this “Edit document” modal you can’t change the content itself – only title and audience. To edit content, click the document name as described above.
Controlling AI training
Each document has a setting Use the document for AI training:
Enabled (checked): Aura will use this document to answer questions for the selected audience only.
Disabled (unchecked): The document won’t be used by Aura, but can still be visible in the Help Center if the audience can access it.
You can toggle this from inside the document editor.
Managing existing documents
From Knowledge → Documents:
Use the Enabled status to quickly see which docs are active.
Click ⋯ → Move to… to move a document into another folder.
Click ⋯ → Delete Document to permanently remove it.