
AI-powered flows let you design complex conversational logic quickly, without starting from a blank canvas.
This guide walks you through the full process: from generating a flow with AI to managing live and paused flows.
1. Creating a Flow with AI Prompting
When creating a new flow, you can start in two ways:
Option A: Use a templated AI prompt
Click on a templated prompt (e.g. Password Reset Automator).
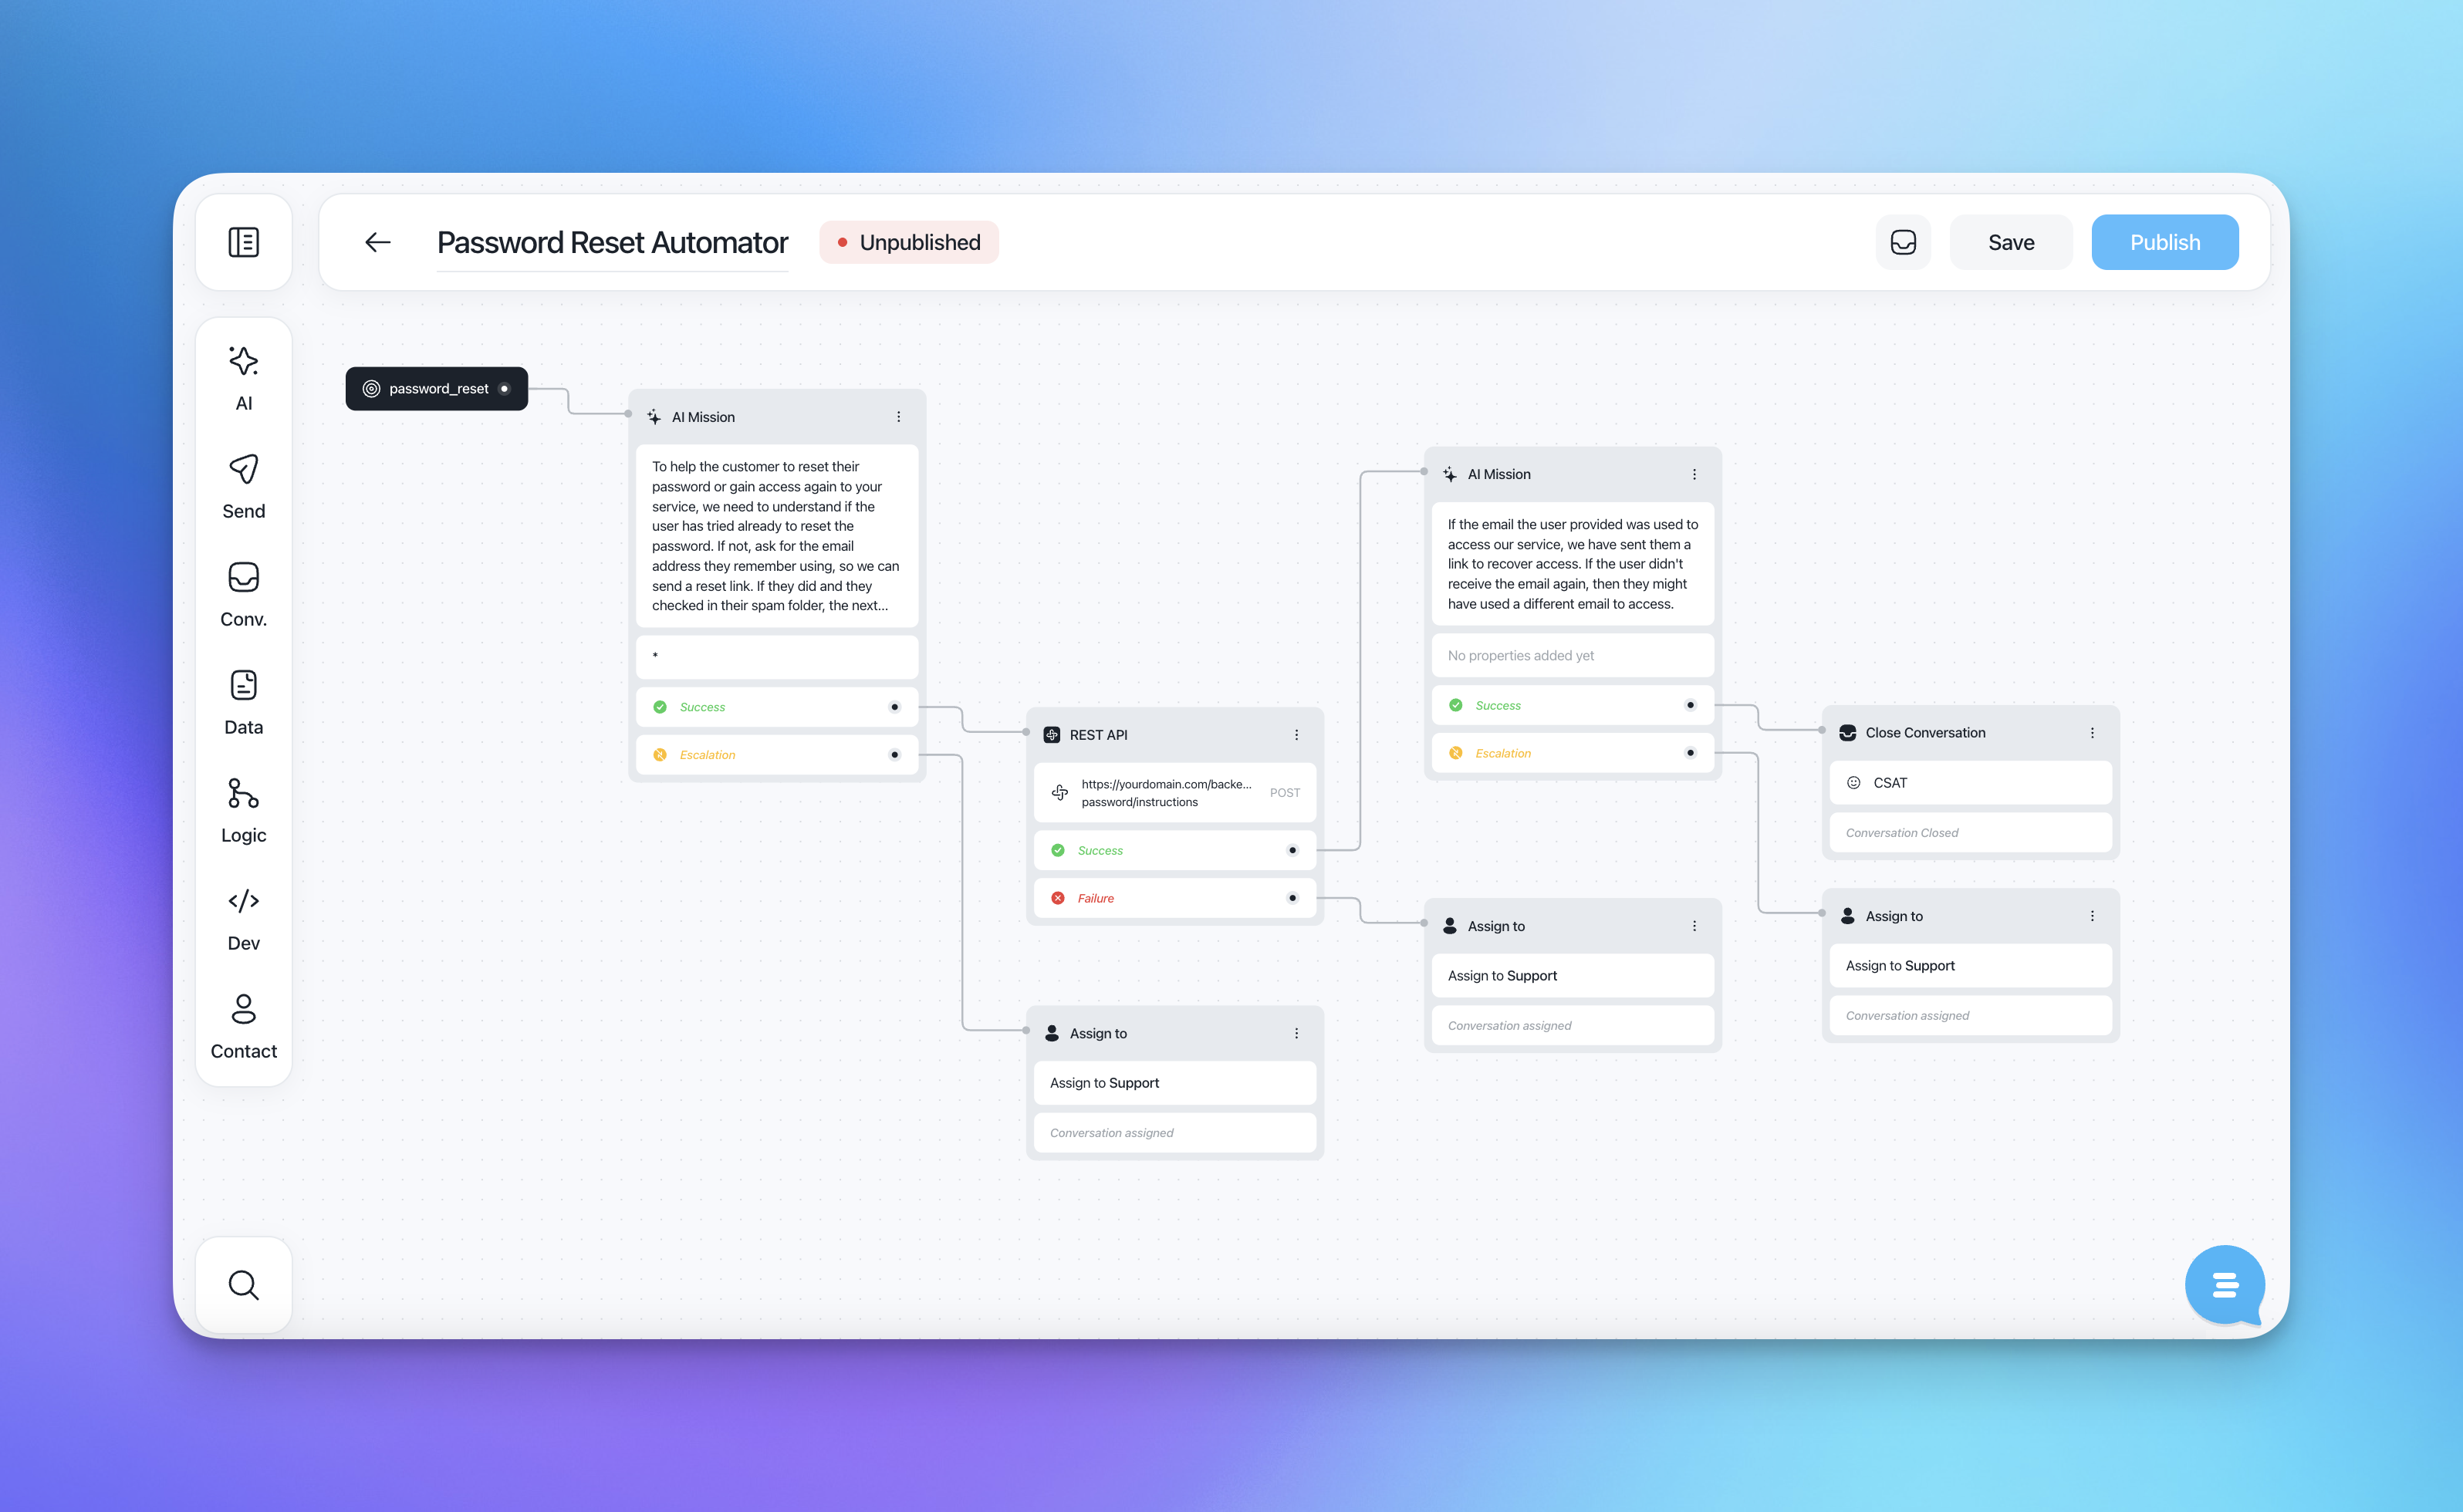
Select Generate to instantly create a structured flow with:
AI Mission blocks
Conditional success / escalation paths
API calls or assignments where relevant
This is the fastest way to get a production-ready flow that follows best practices.
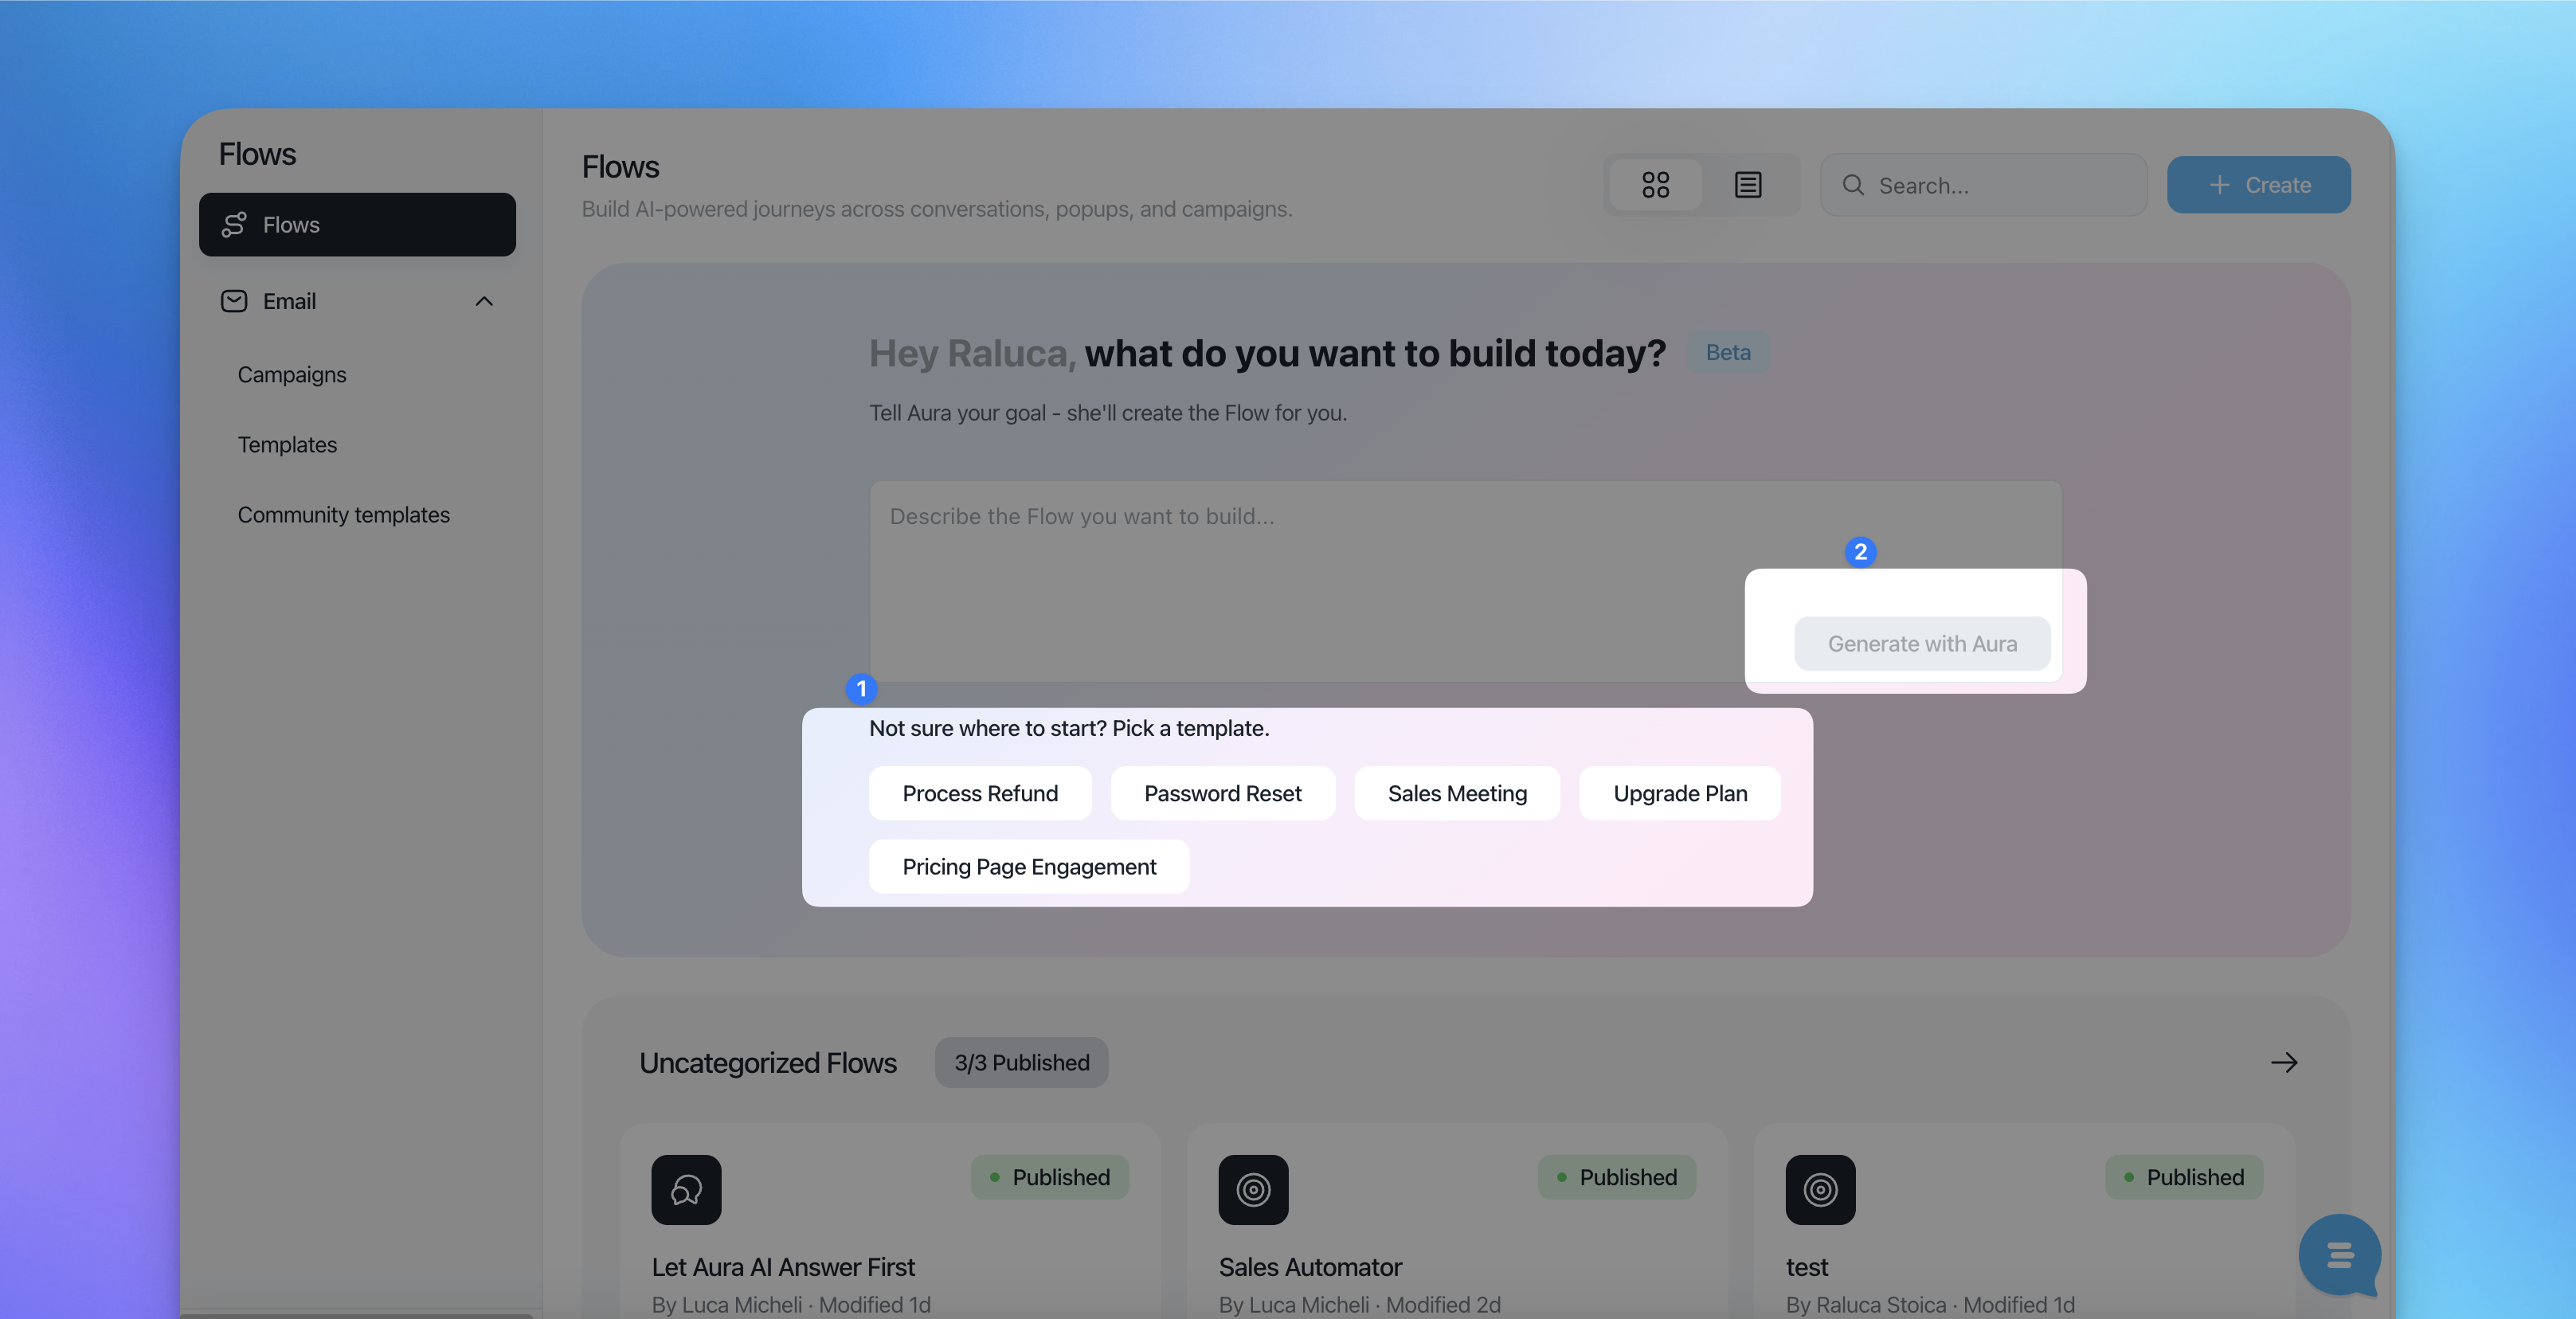
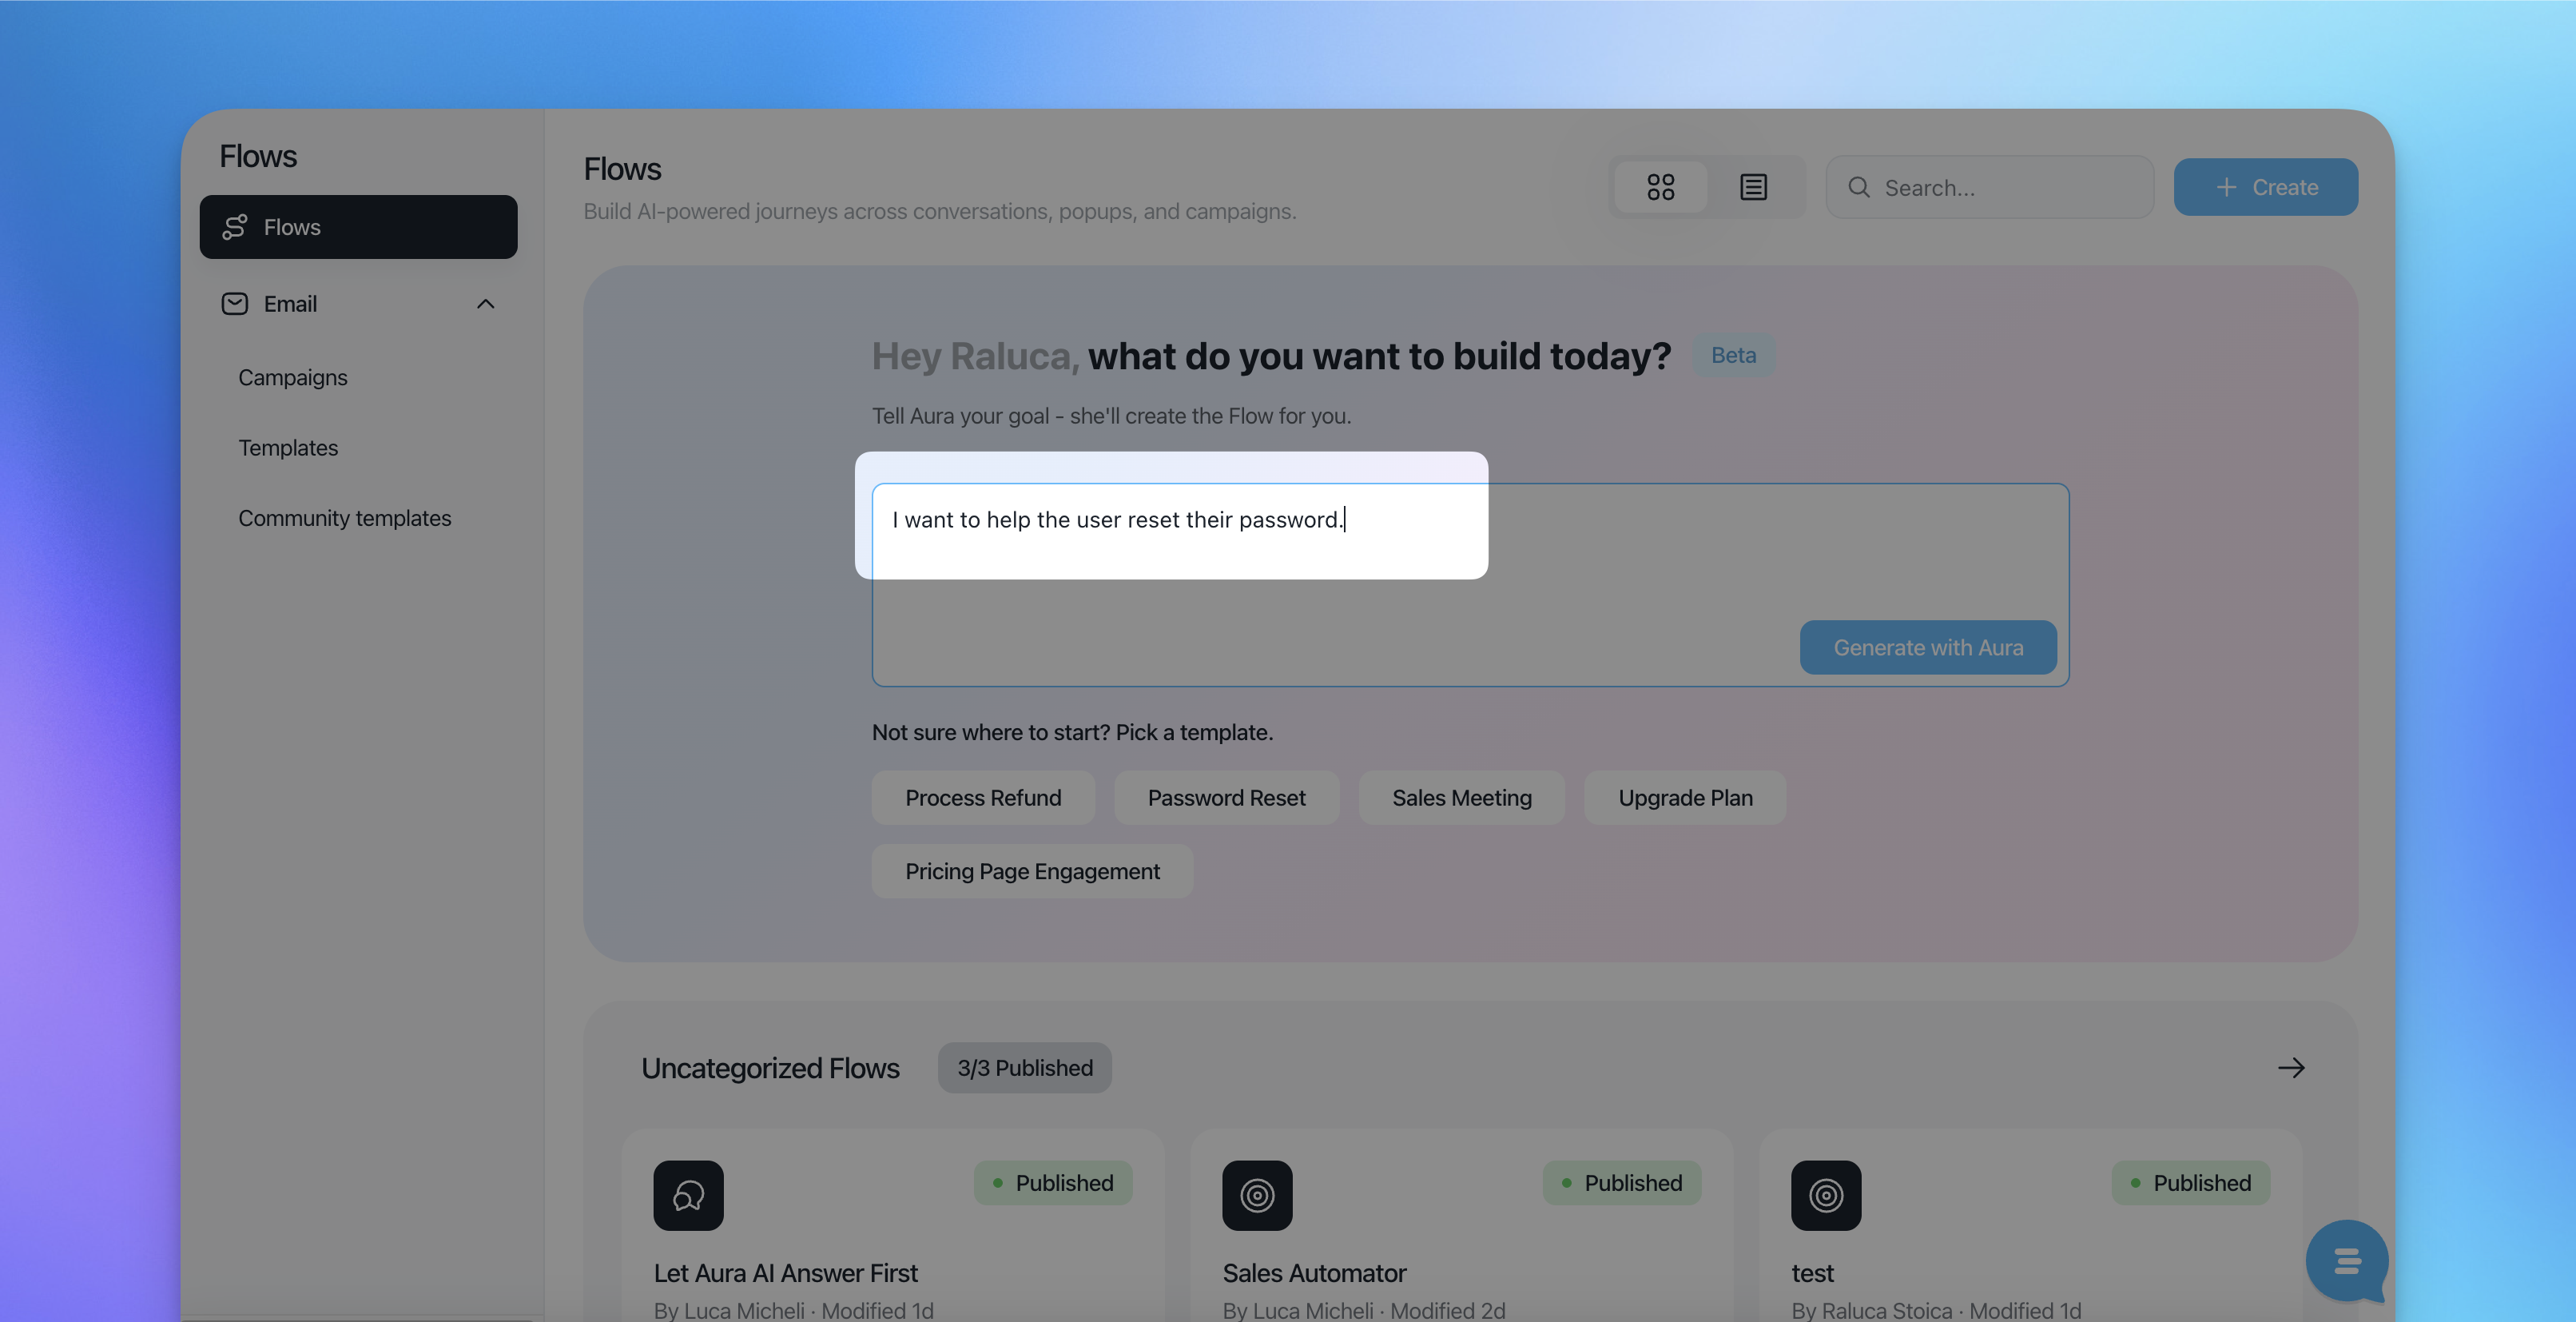
Option B: Write your own AI prompt
Type your own instructions directly into the prompt field.
Describe:
The customer problem
What information the AI should collect
When to resolve automatically vs escalate to support
The AI will generate a complete flow based on your instructions.
2. Editing the Generated Flow
Once the flow is generated, it behaves like any other flow, you have full control.
You can:
Edit AI Mission instructions to refine tone or logic
Add or remove steps (API calls, assignments, close conversation blocks)
Adjust success, failure, or escalation paths
Rename the flow to match your internal conventions
Each block is editable, so the AI output is a starting point, not a limitation.
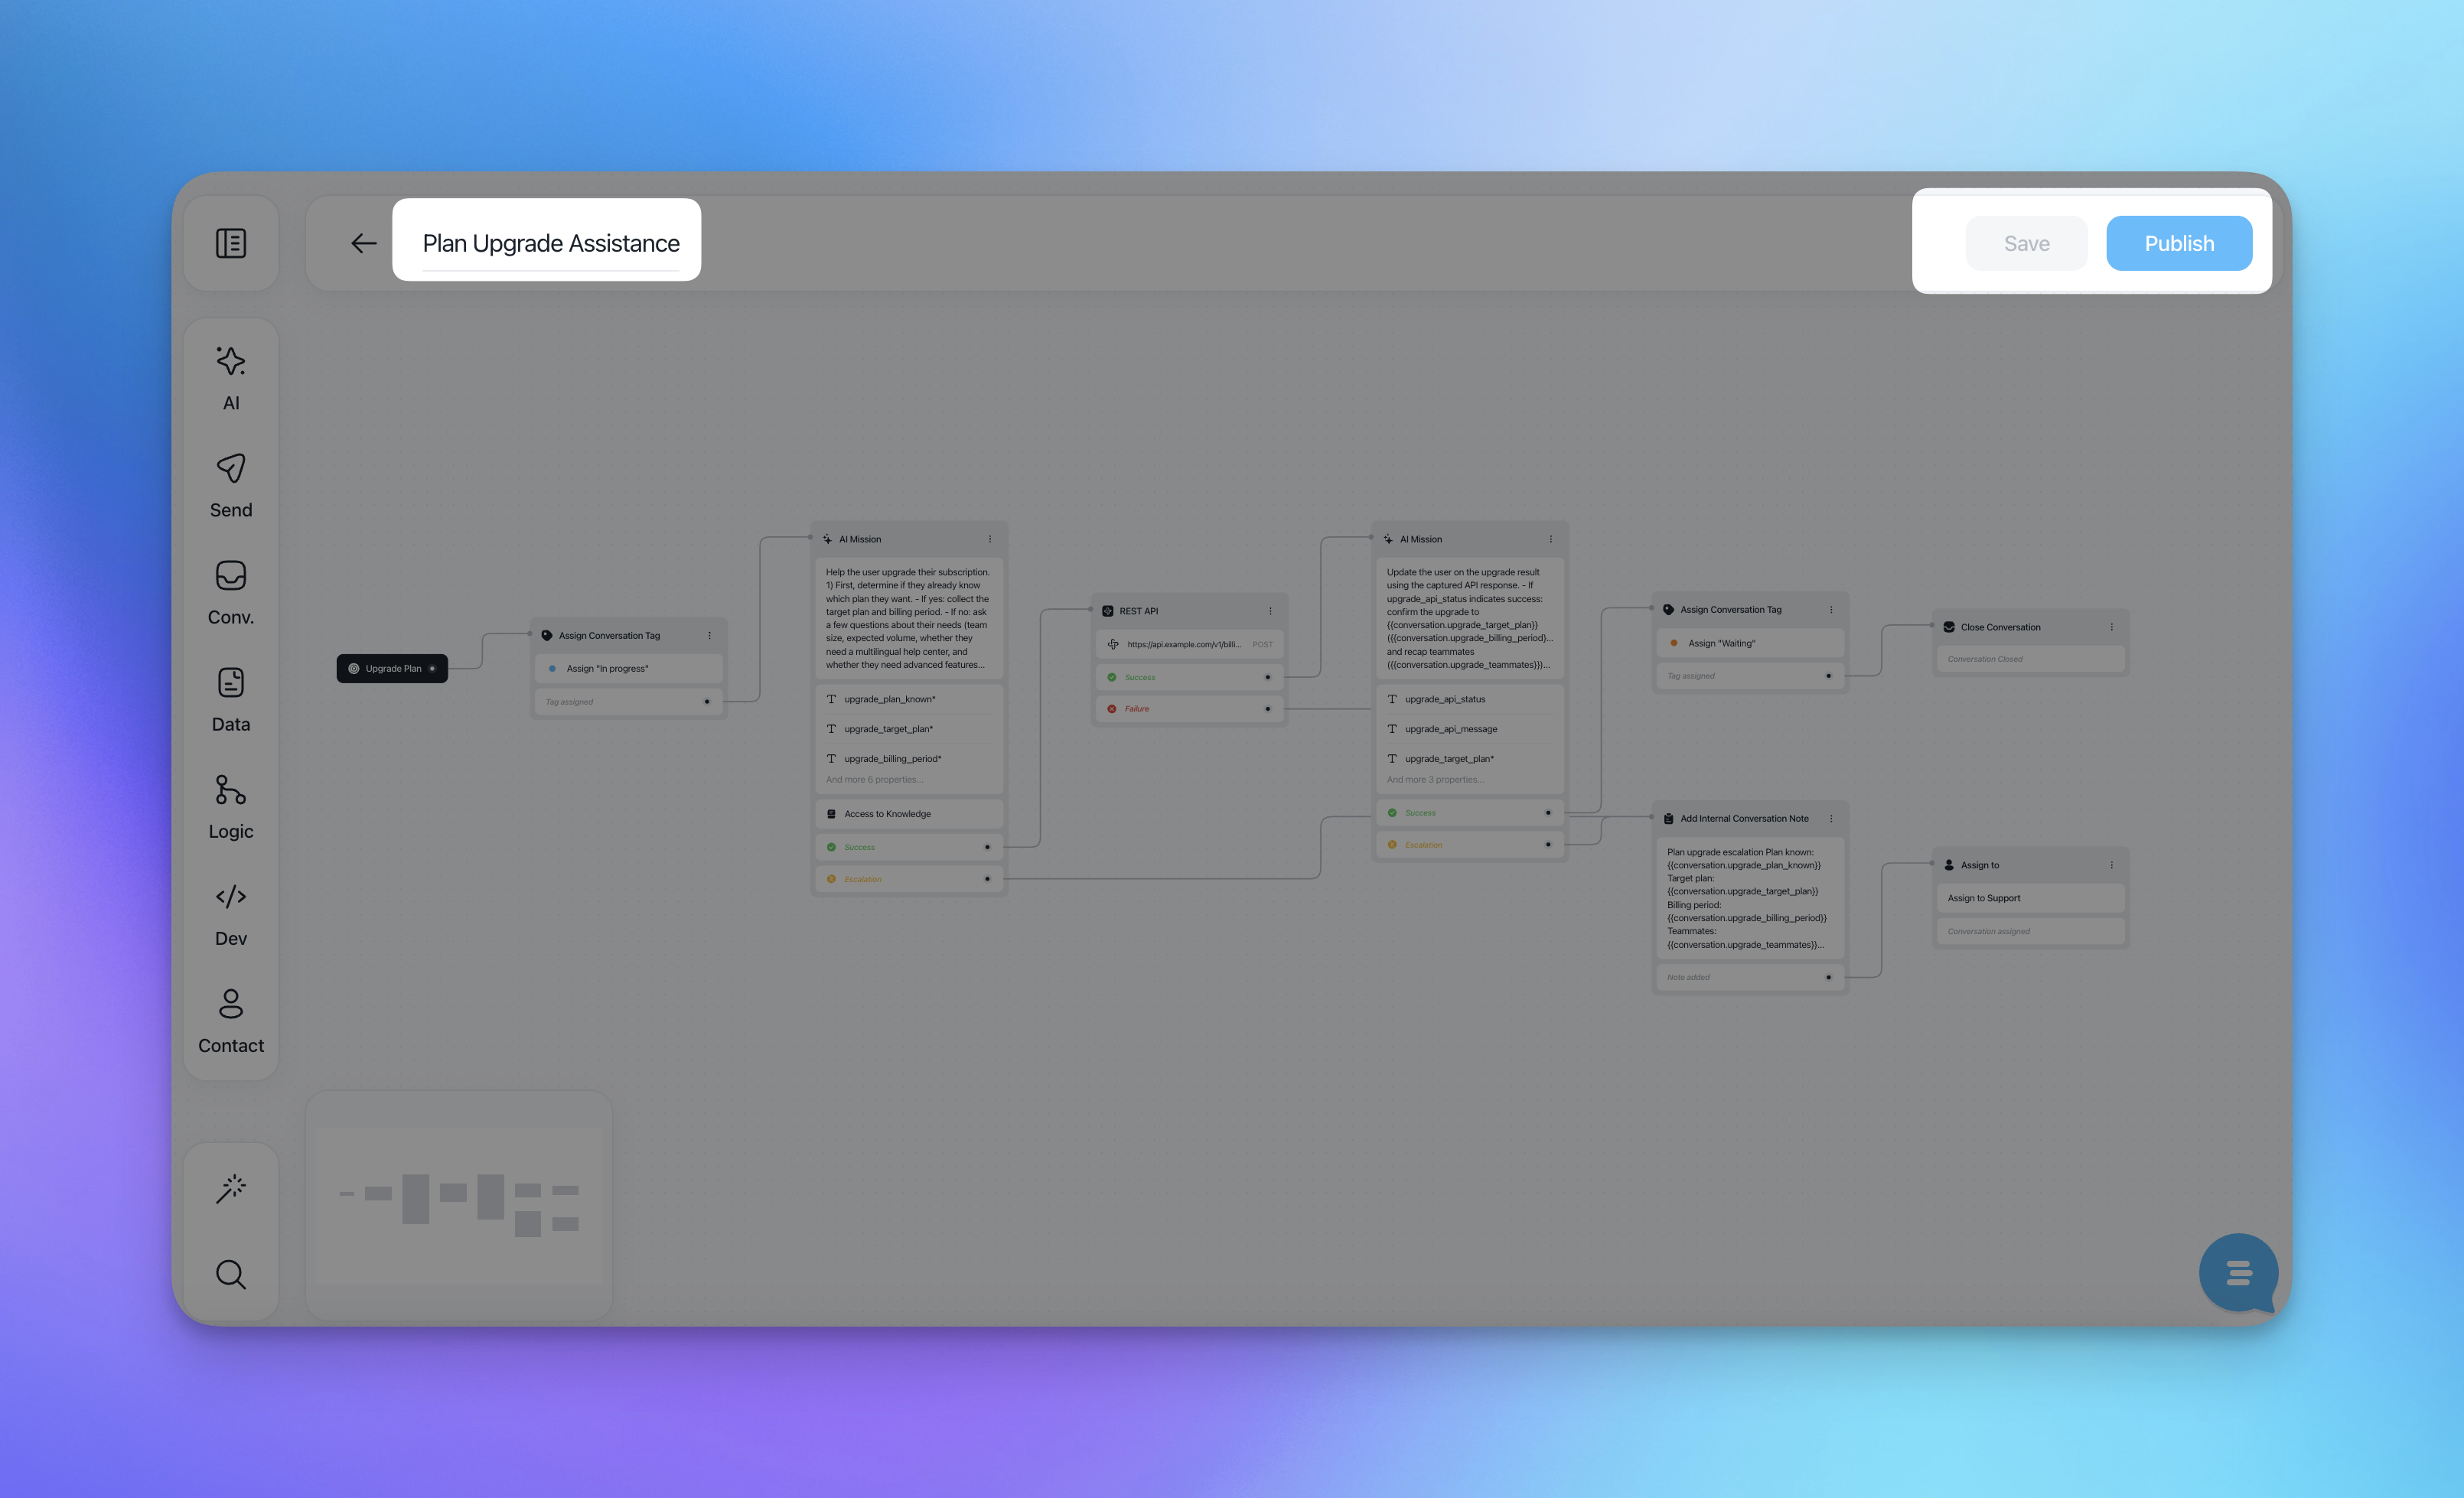
3. Rename, Save or Publish a Flow
At the top of the flow editor, you'll find three key actions:
Rename
Change and rename the flow at any time
Save
Keeps the flow as a draft. Useful while iterating or reviewing internally.Publish
Makes the flow live and available to users.
This allows you to safely test, iterate, or stop automation without losing configuration.
4. View and Edit Published Flows
Once published, you can still perform many actions on the flow:
Preview
See the stats associated (how many conversations passed through the flow)
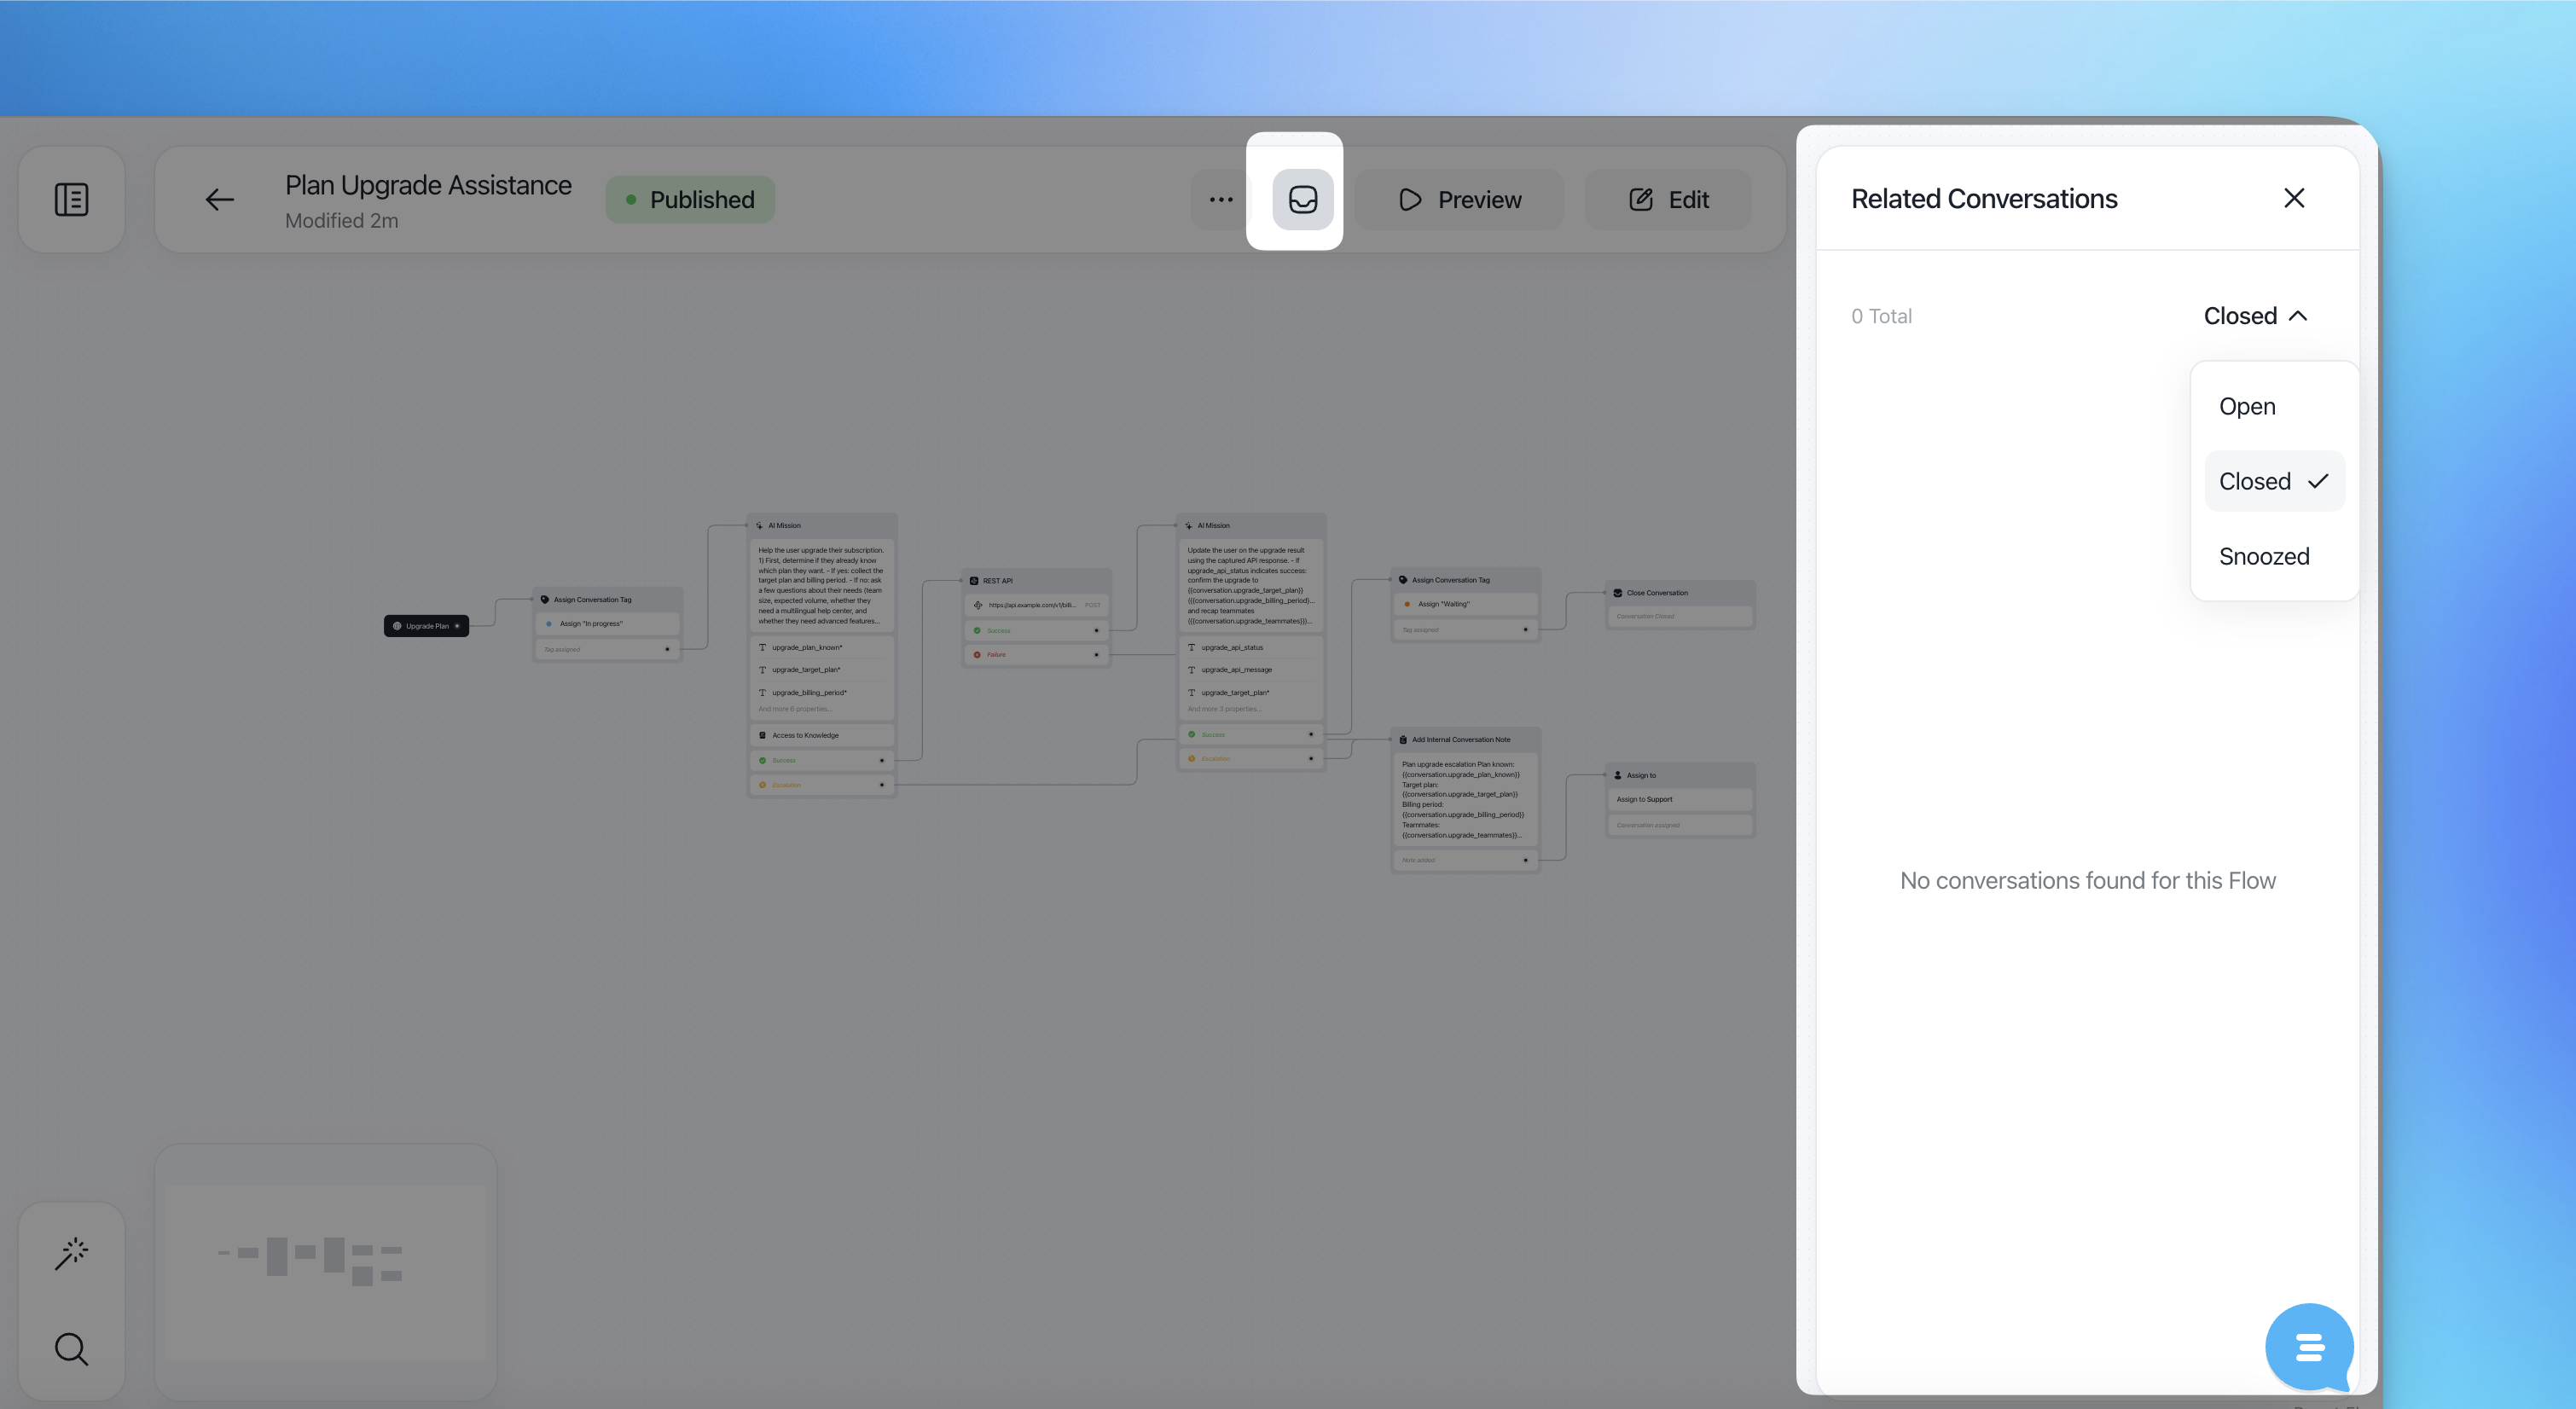
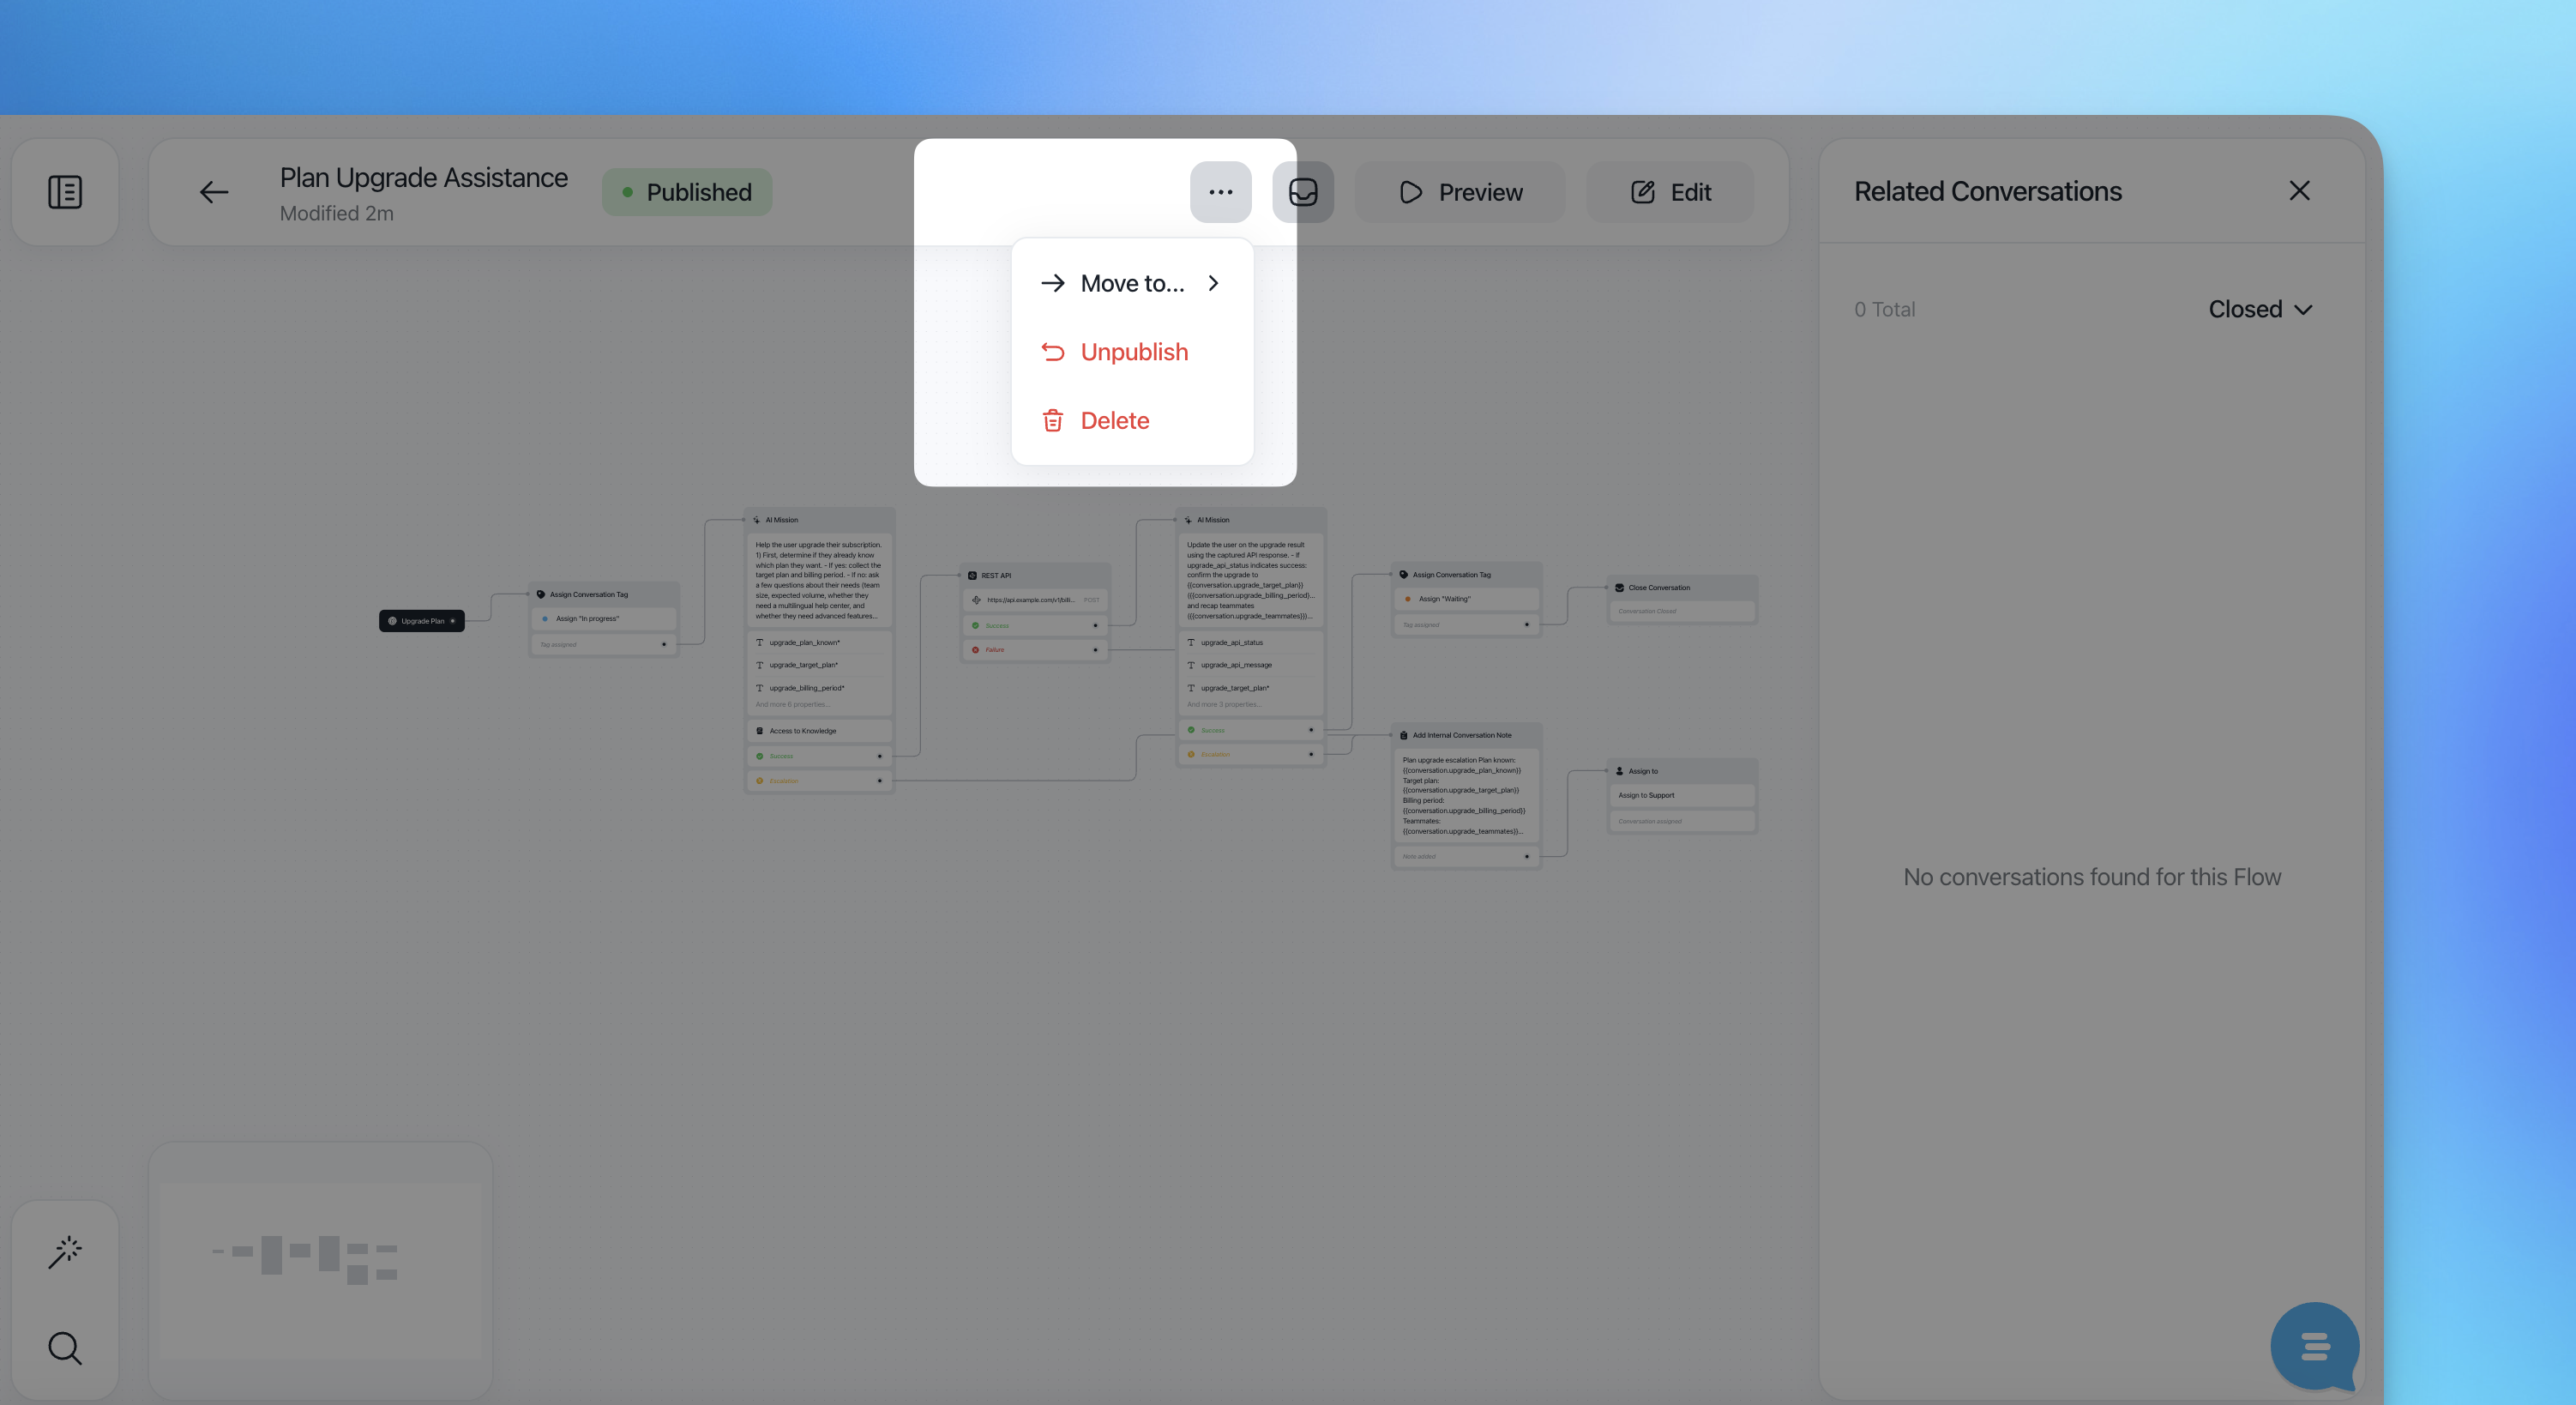
Edit: once clicked, you'll be redirected to edit the flow, move, delete, upublish and rename (just click on the title)
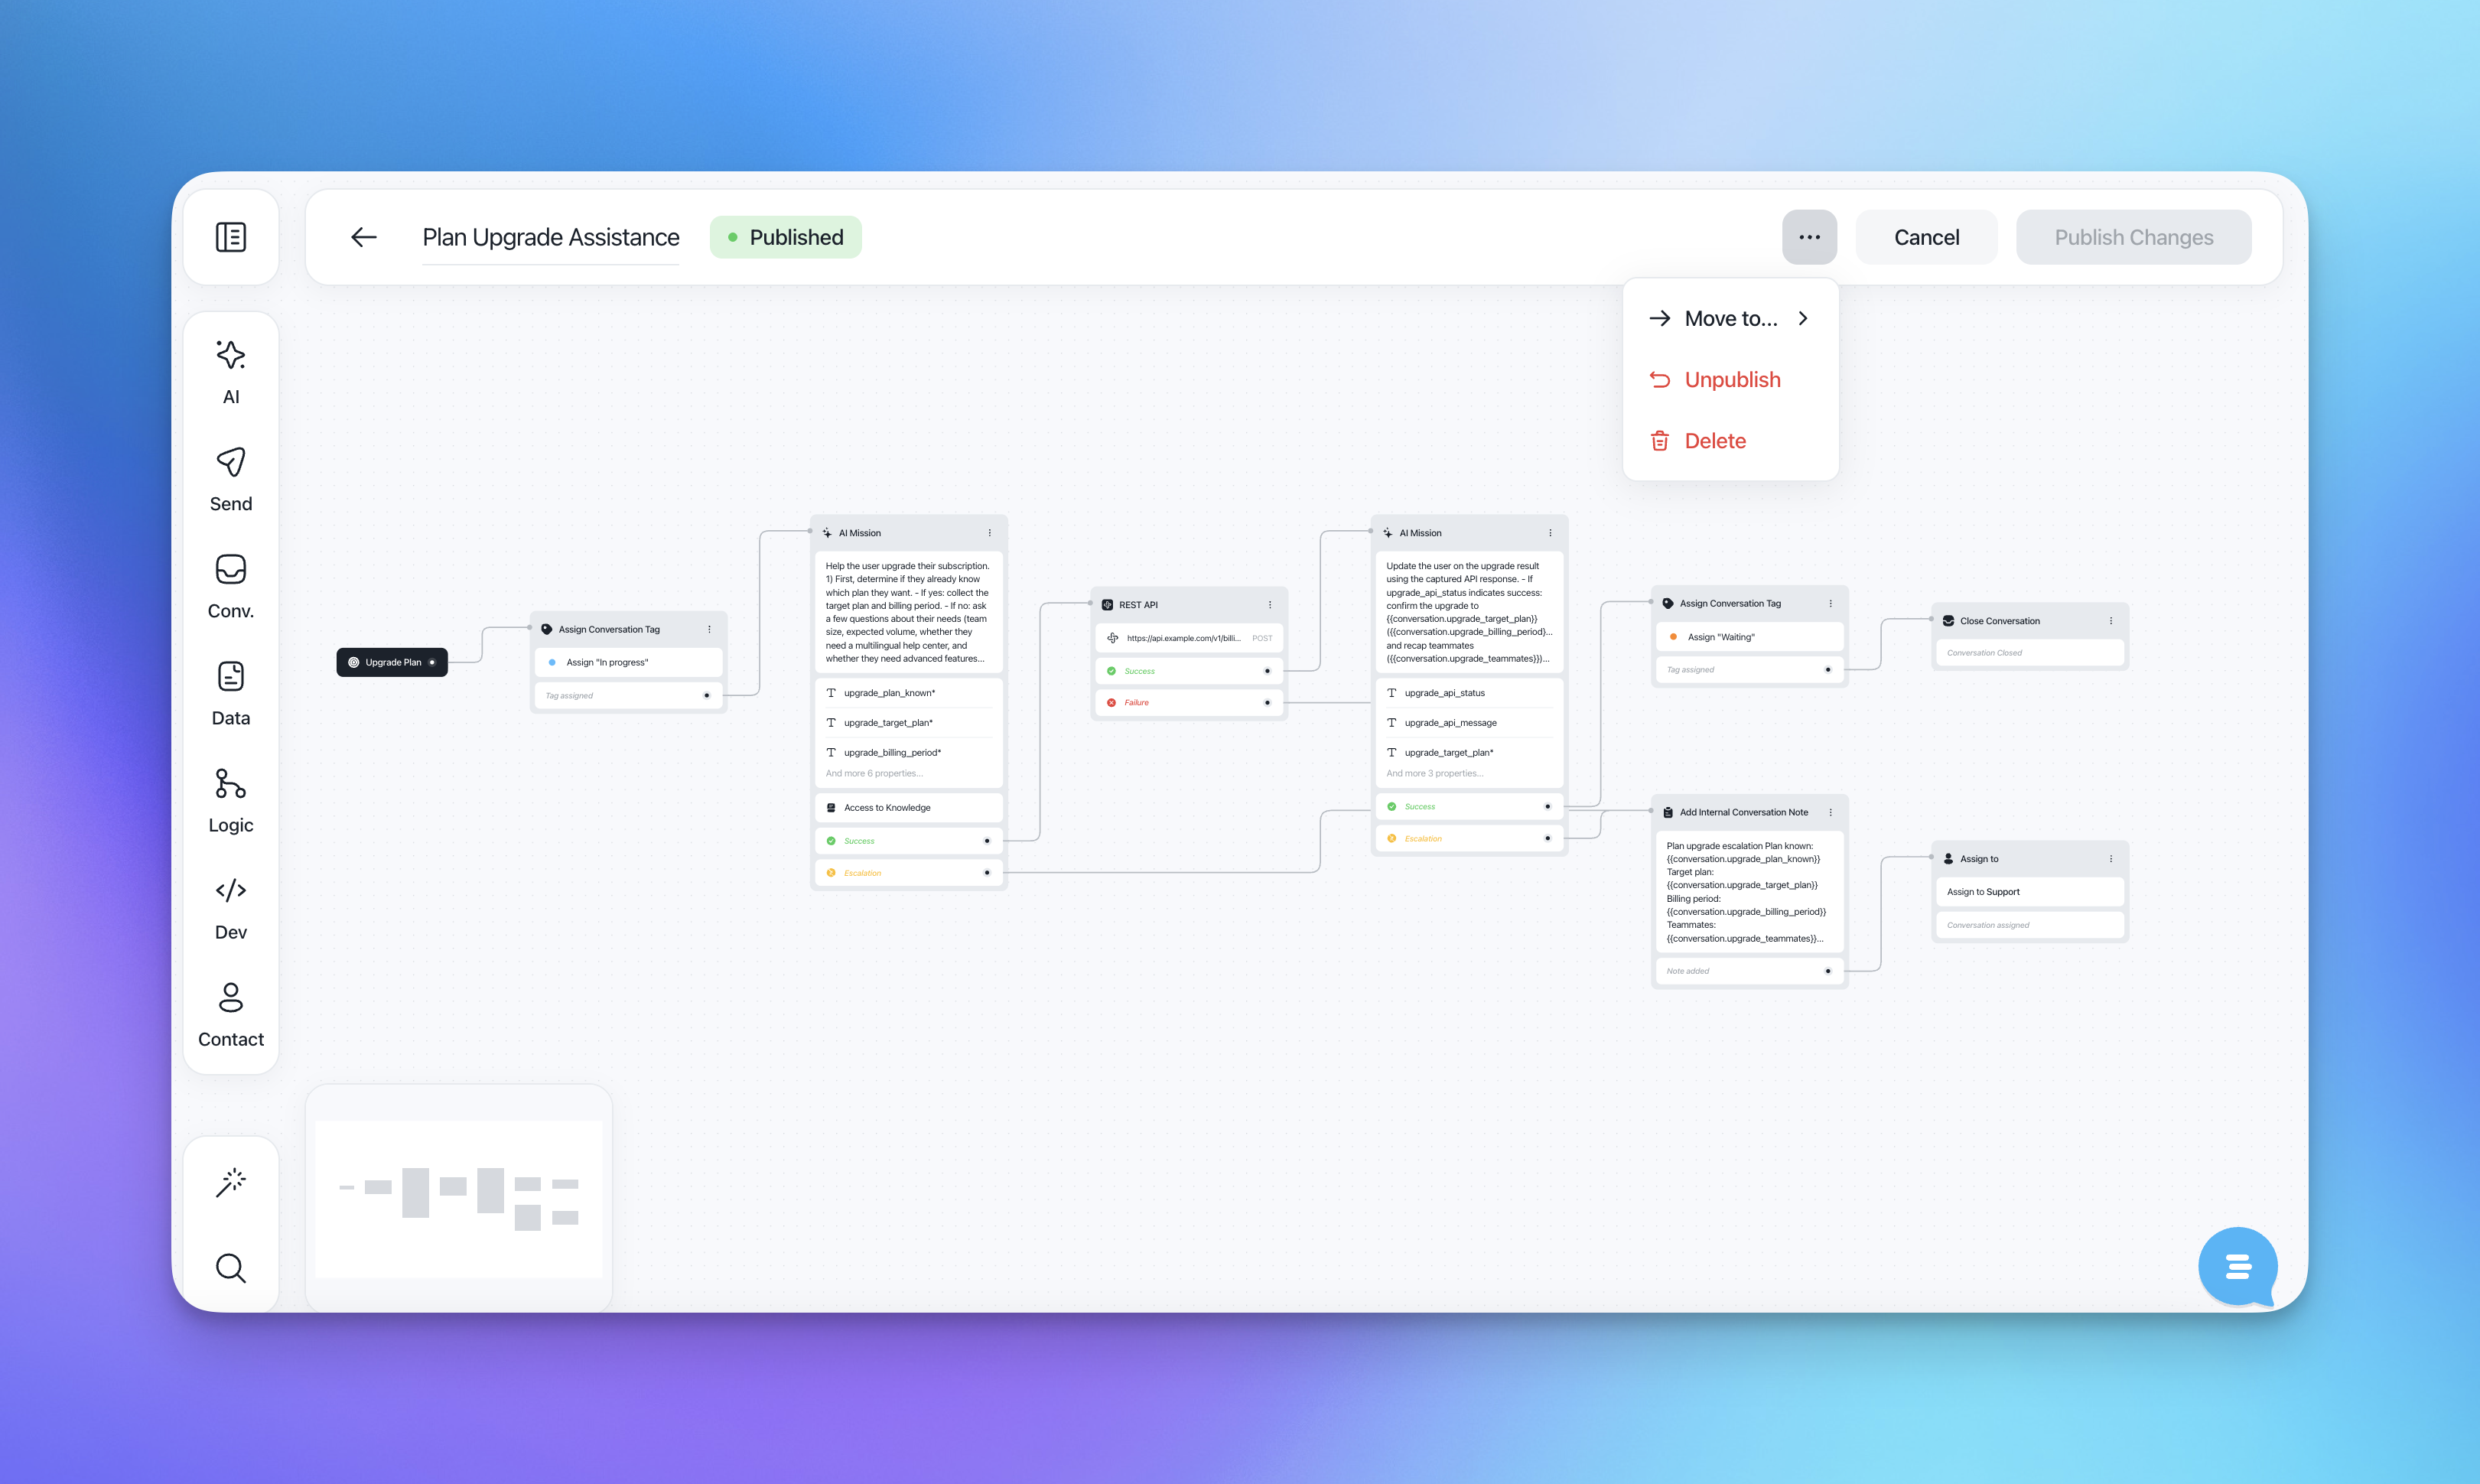
Move to a folder, unpublish or delete
4. Best Practices for AI Prompted Flows
Be explicit in prompts about when to escalate
Clearly define what counts as a successful resolution
Keep AI Missions focused on a single objective
Review related conversations before re-publishing changes