
Tags are a great tool for email marketing. You have a few options in Customerly regarding how you want to assign a tag to your leads or users:
Add tags via API
Manually
With the flow
We will discuss here the last option on the list - how to assign or delete a tag with the flow.
Here are the steps you need to do when you assign a tag:
Go to the Flows tab on the left and click on Flow.
Click on "Create flow".

Use "Create manually" to create a flow from scratch > select trigger "Audience matched"
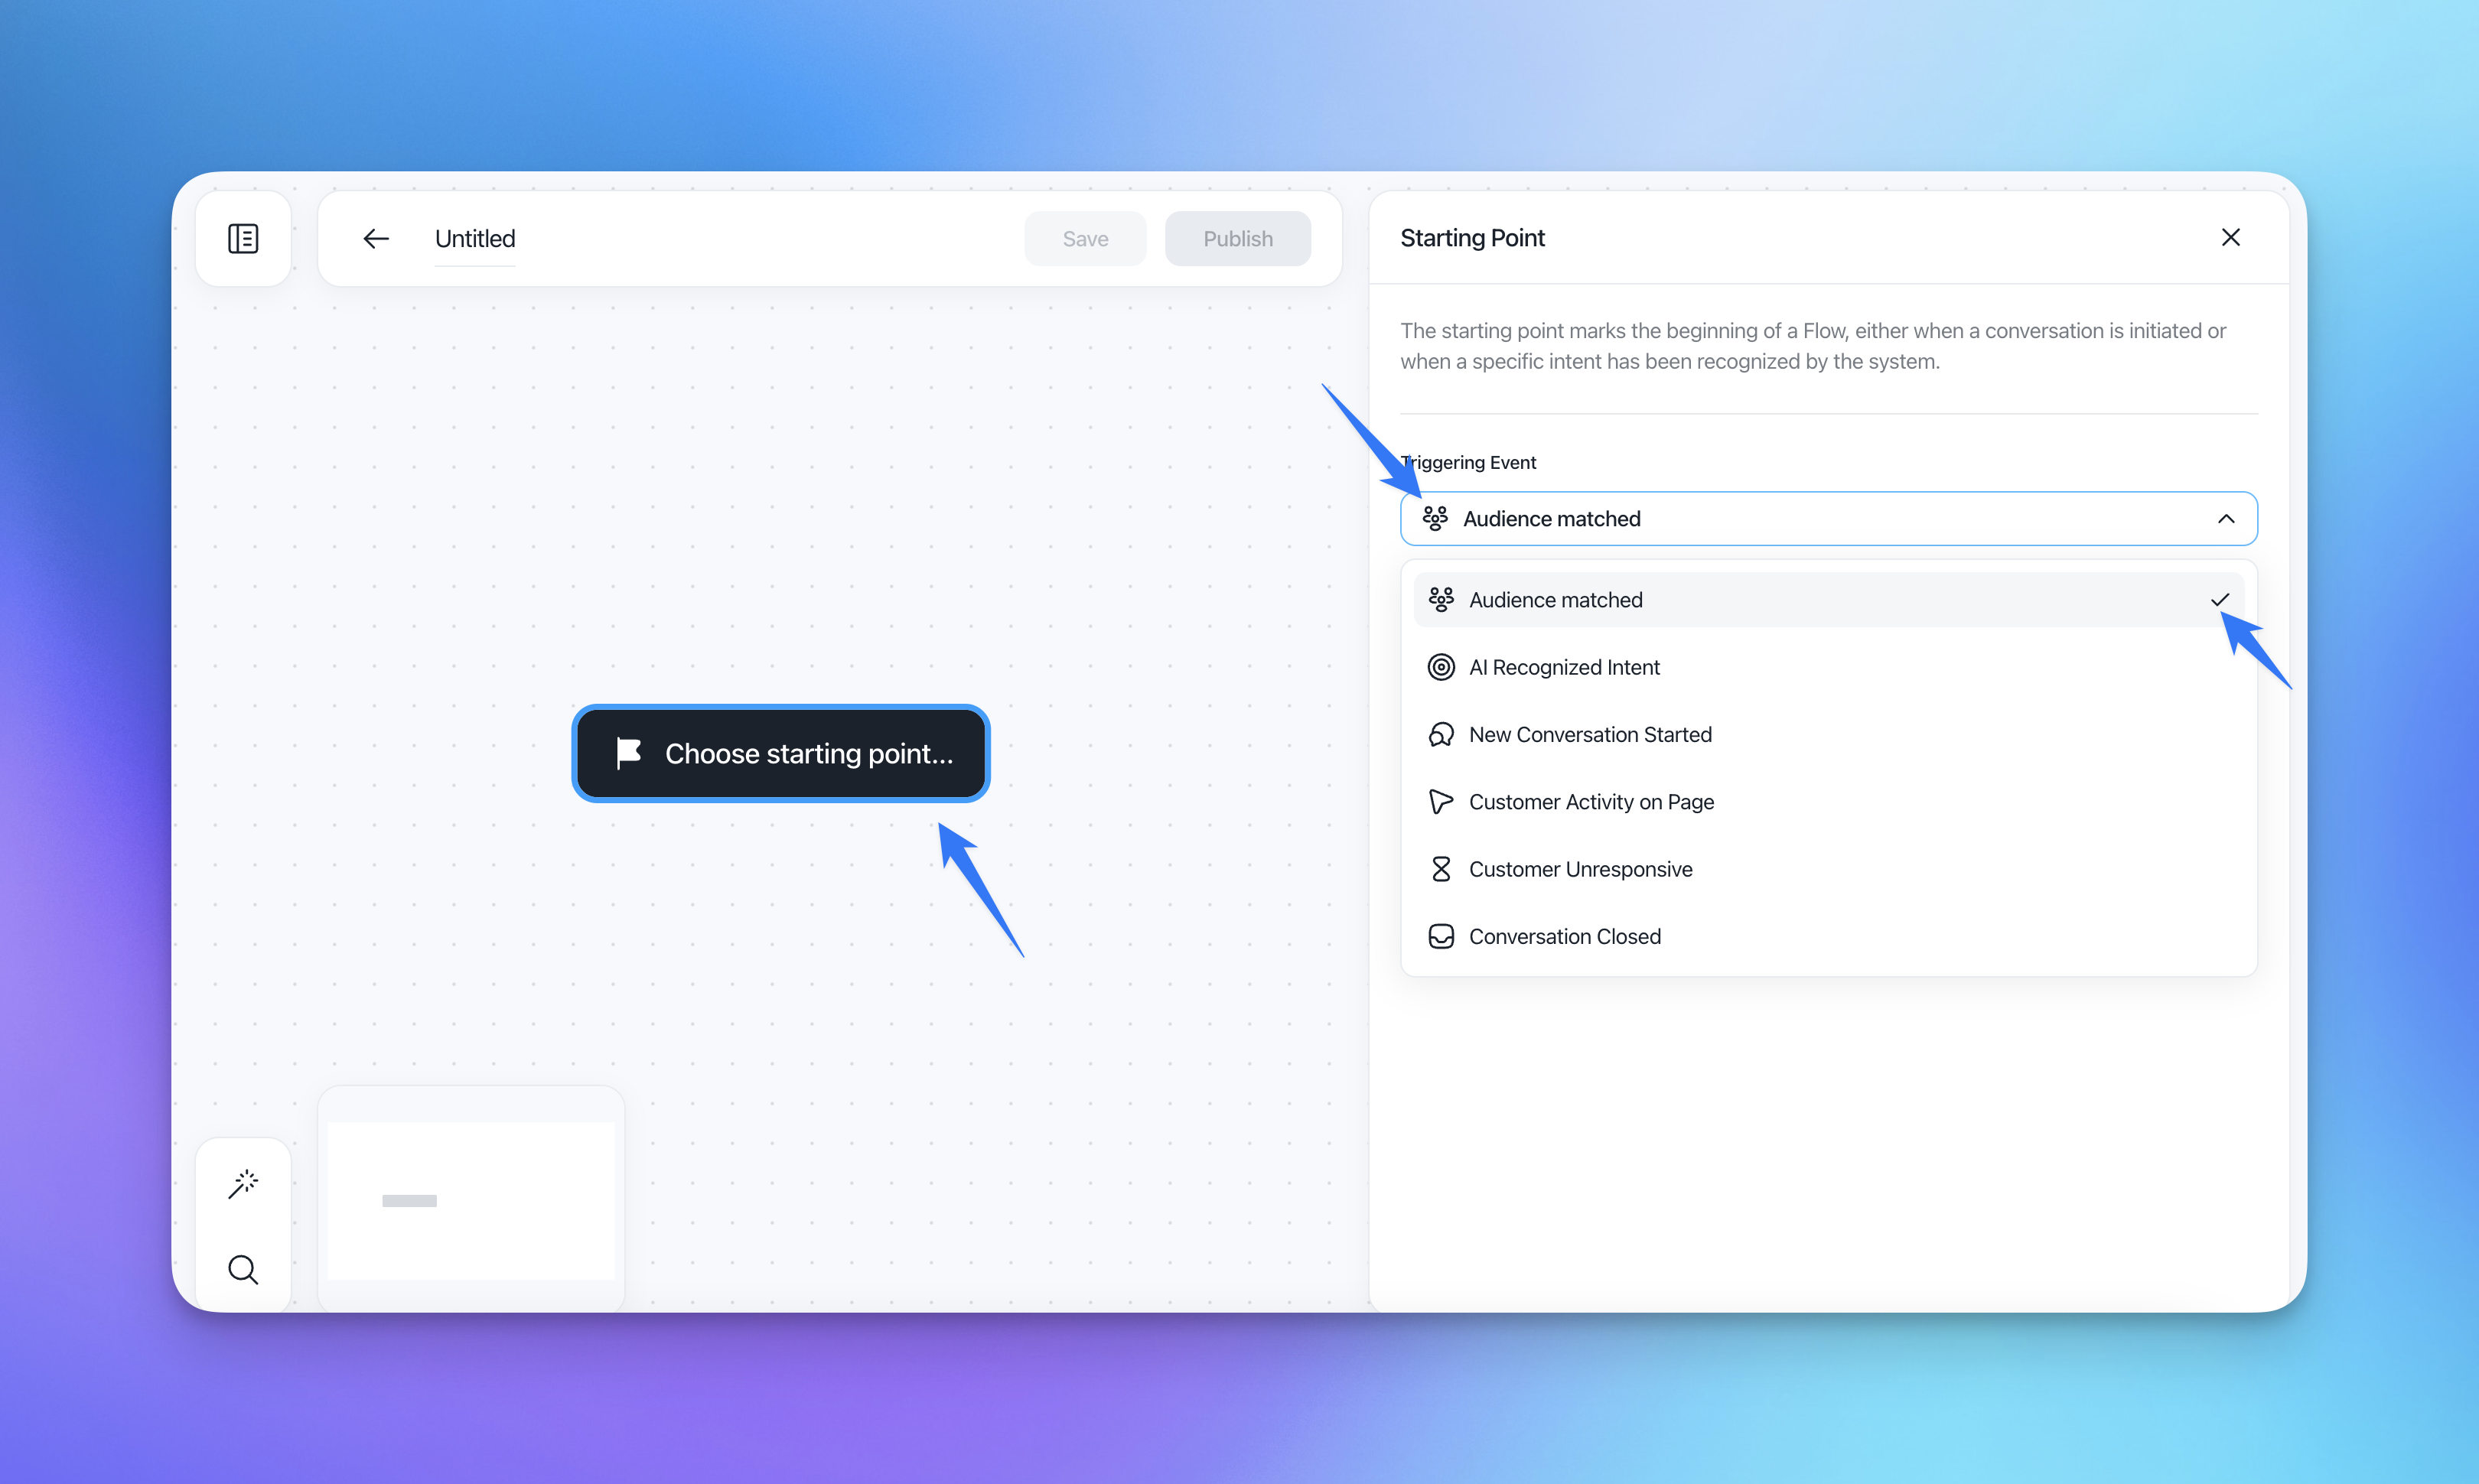
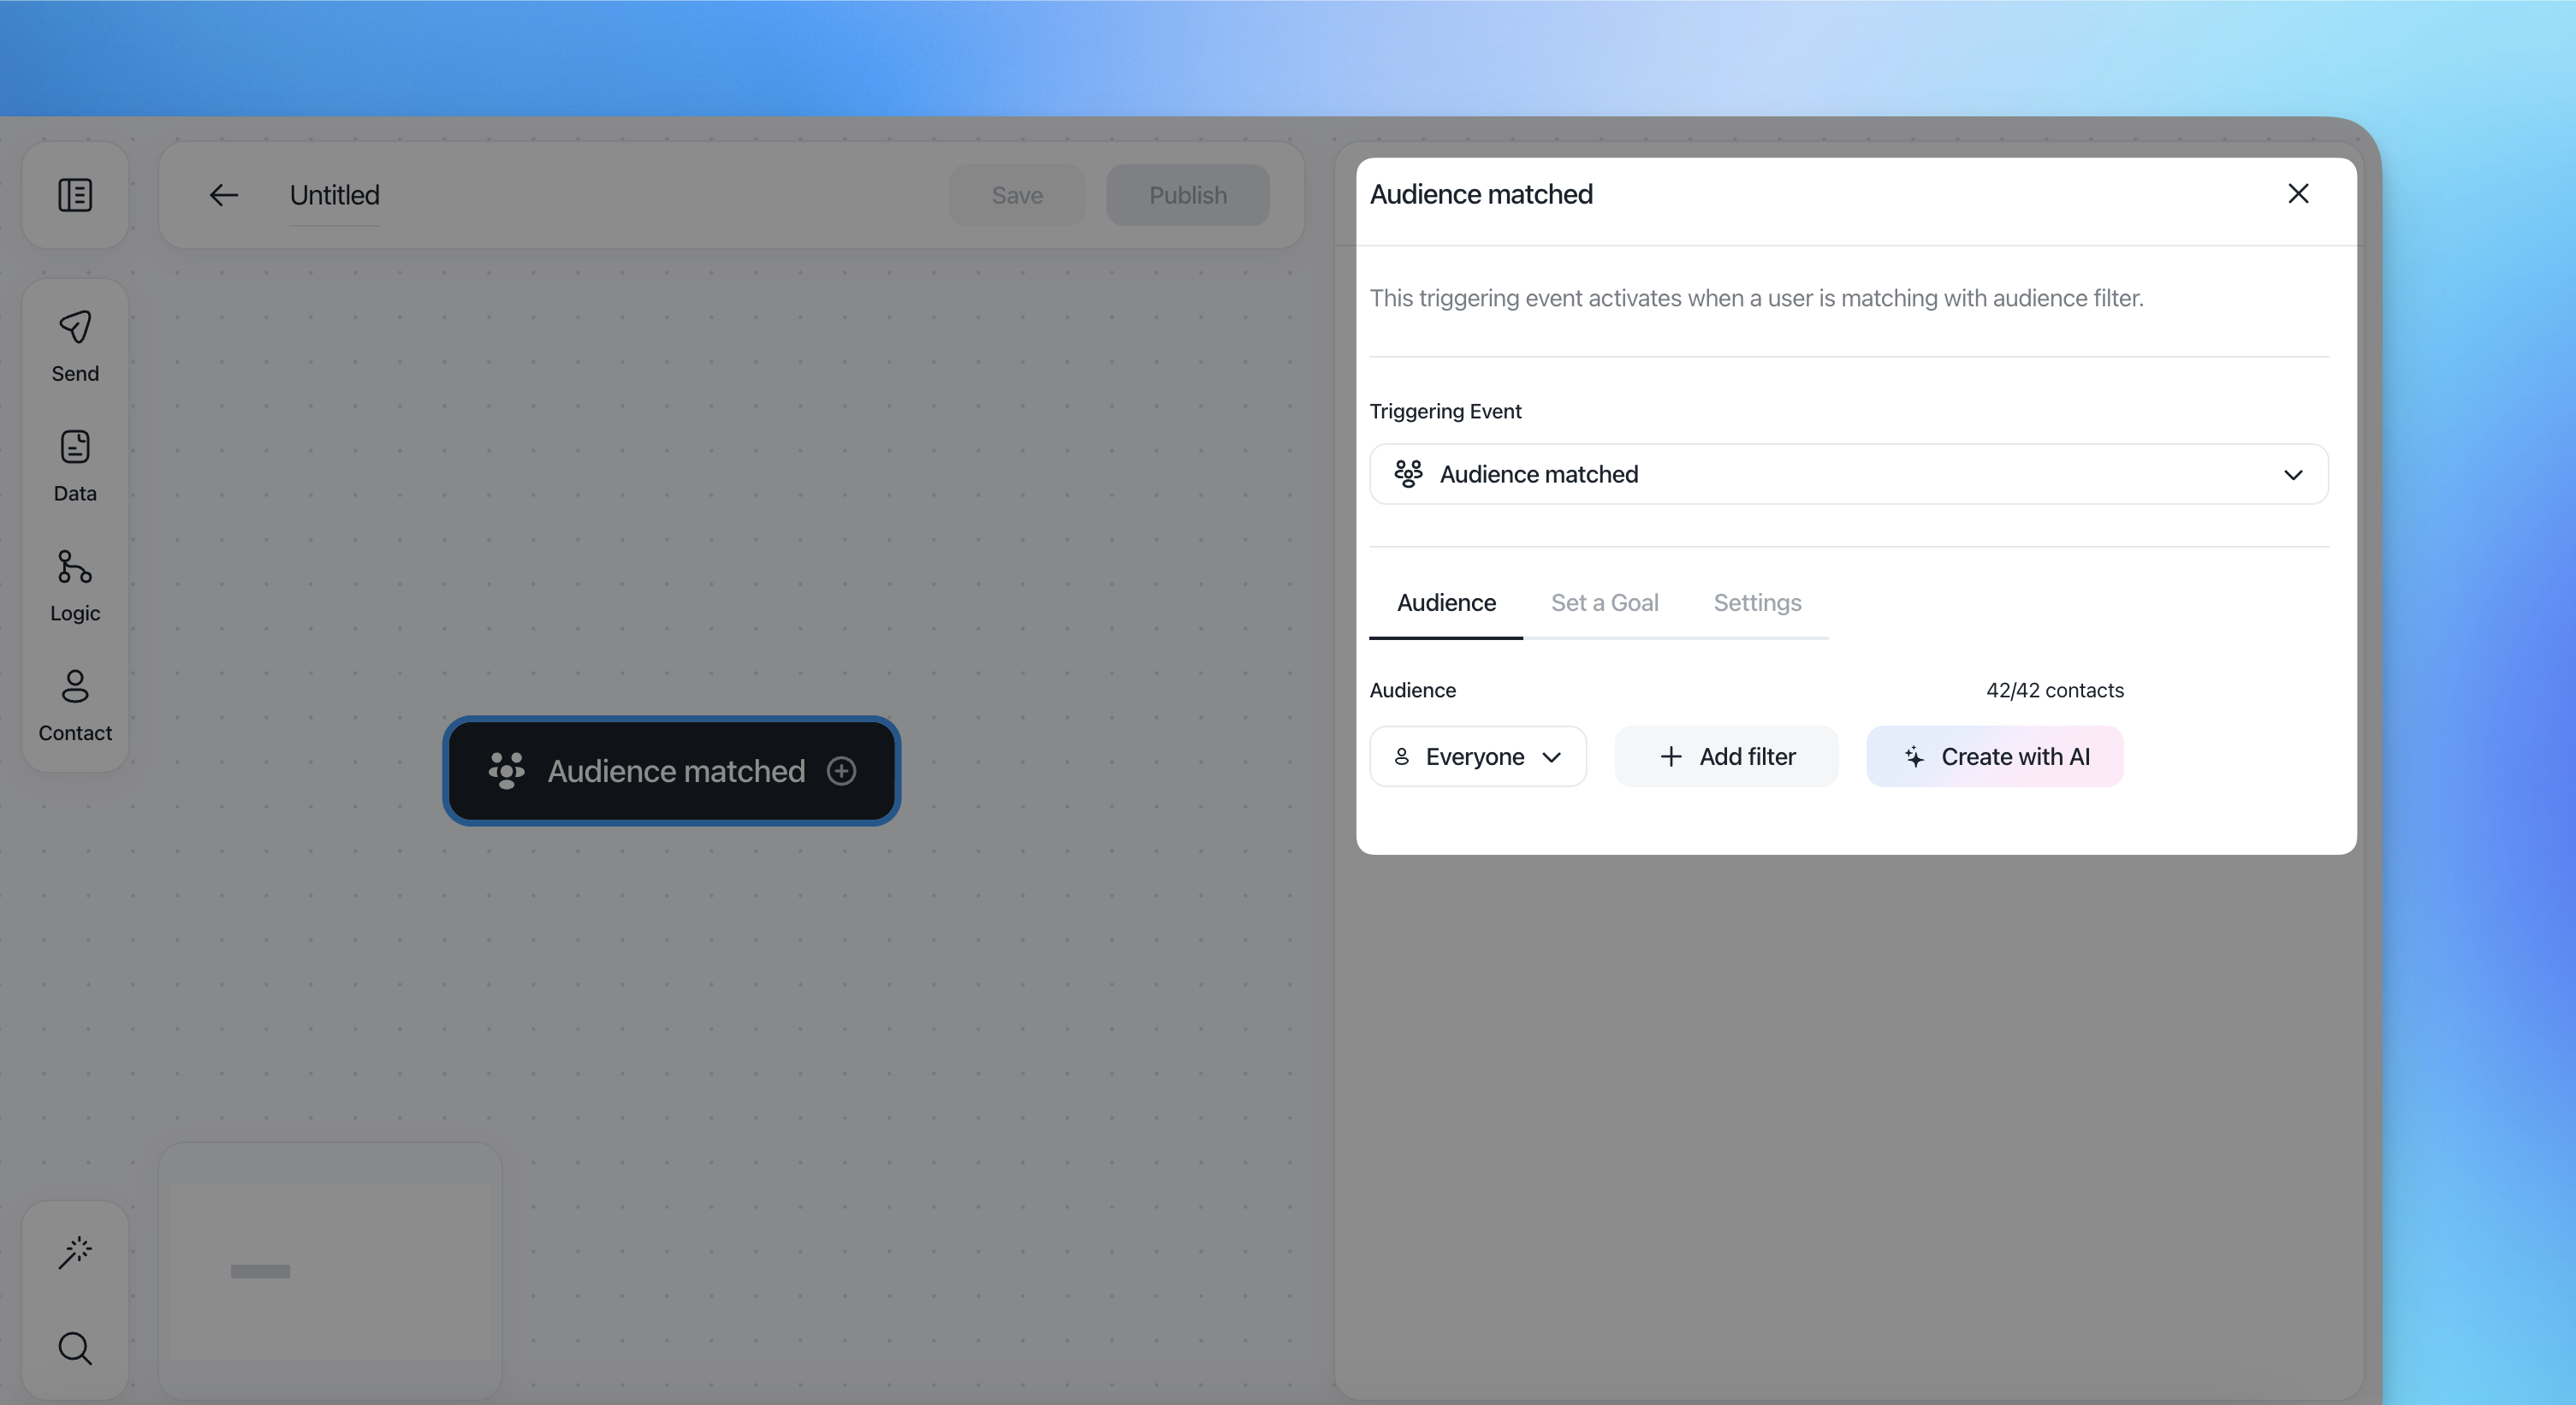
Select an audience between "All leads", "All users", and "All contacts". We selected "All users".
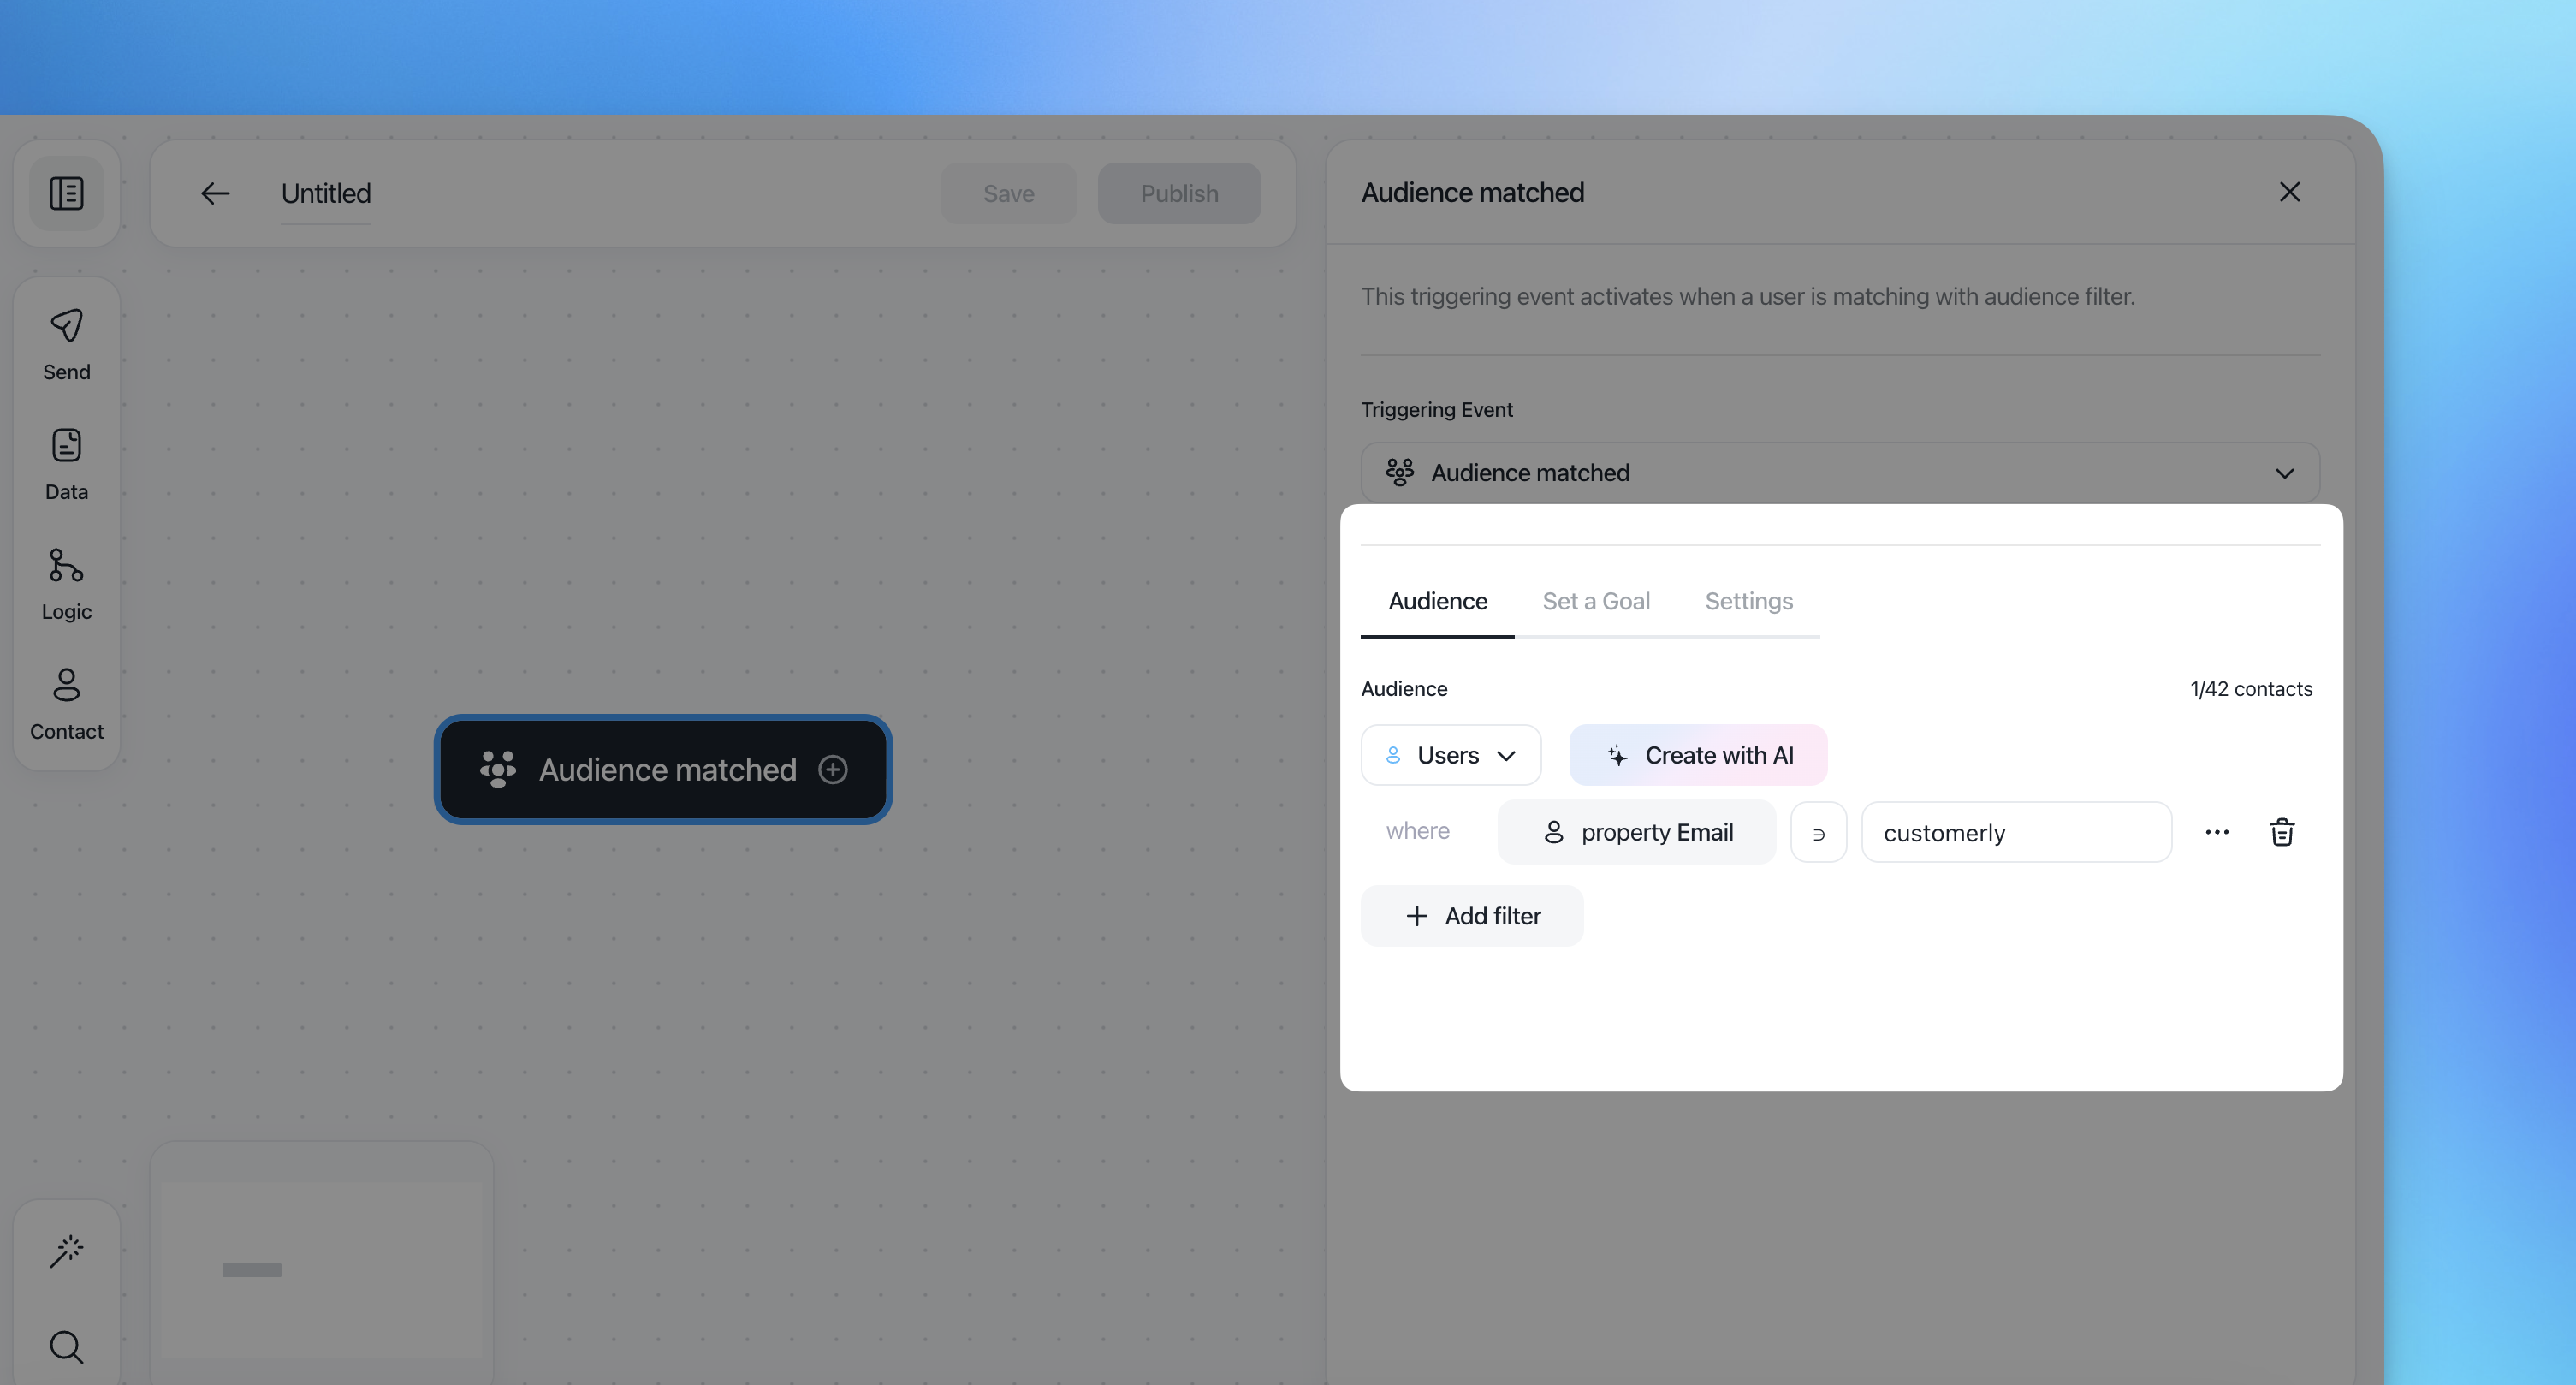
Add conditions.
After you selected the contact type and filtered it, click on "Assign a tag" on the right sidebar.

Type in your tag or select the existing one from the list and click on "Apply and close".
Connect the actions. Once you have completed your funnel, continue by clicking on the top right button to publish.
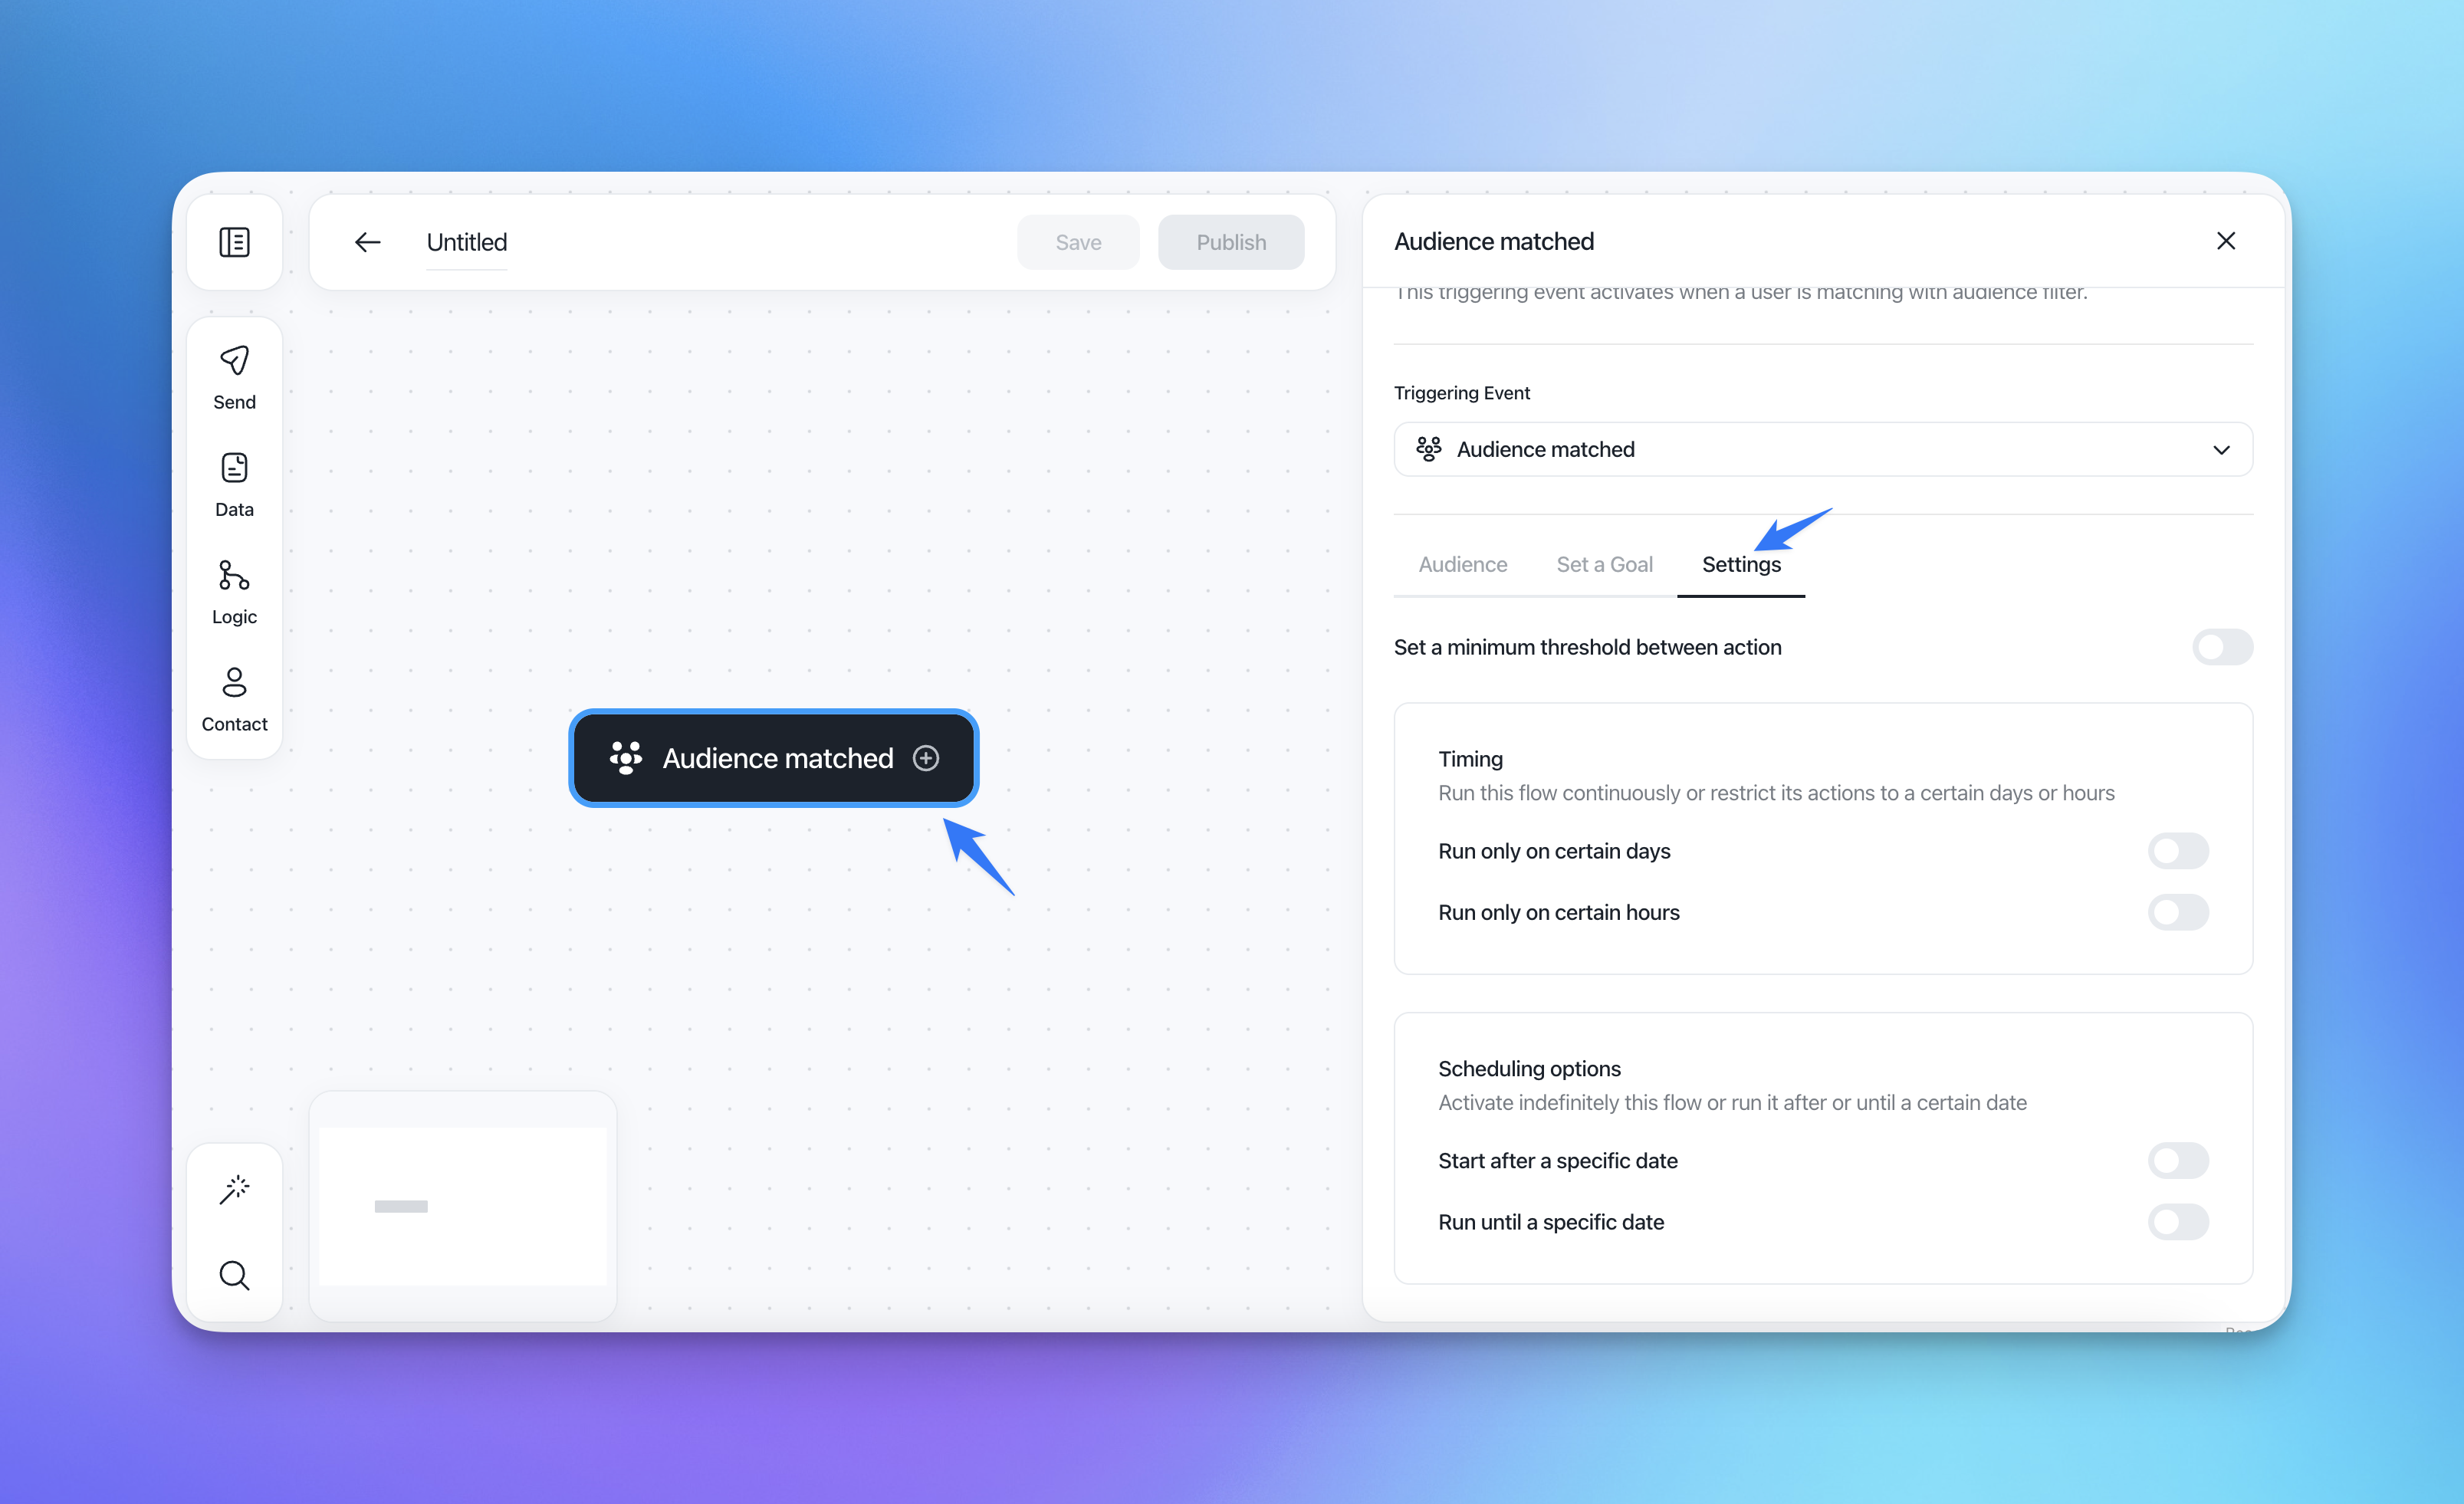
At the trigger level, set a goal: run without a goal or track performances.

If you want to run your flow on certain days and time or schedule it, switch the toggles.
When you are ready, save it as a draft or publish it.
